Configure a Project (Git, Image, Namespace)
Git Administration
Select tab Git Administration, click ADD button on the Git Administration screen:
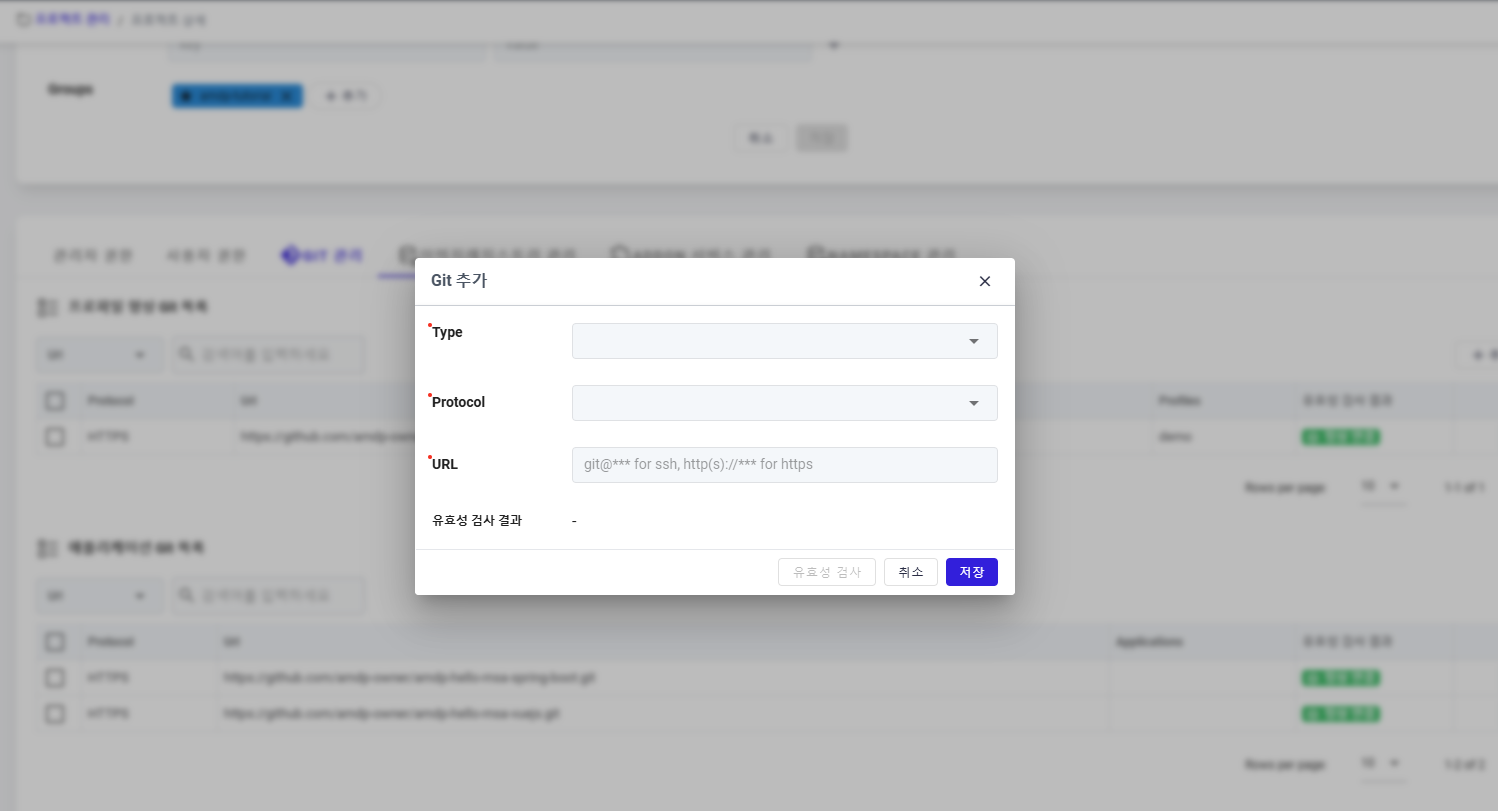
Complete the Git type, Protocol and URL ny select the type and protocol and input URL:
- Type: Profile or Application
- Protocol: provide ways to transfer data between repositories as HTTPS, SSH
- URL: specify the location of a repository and the protocol used to access to Git
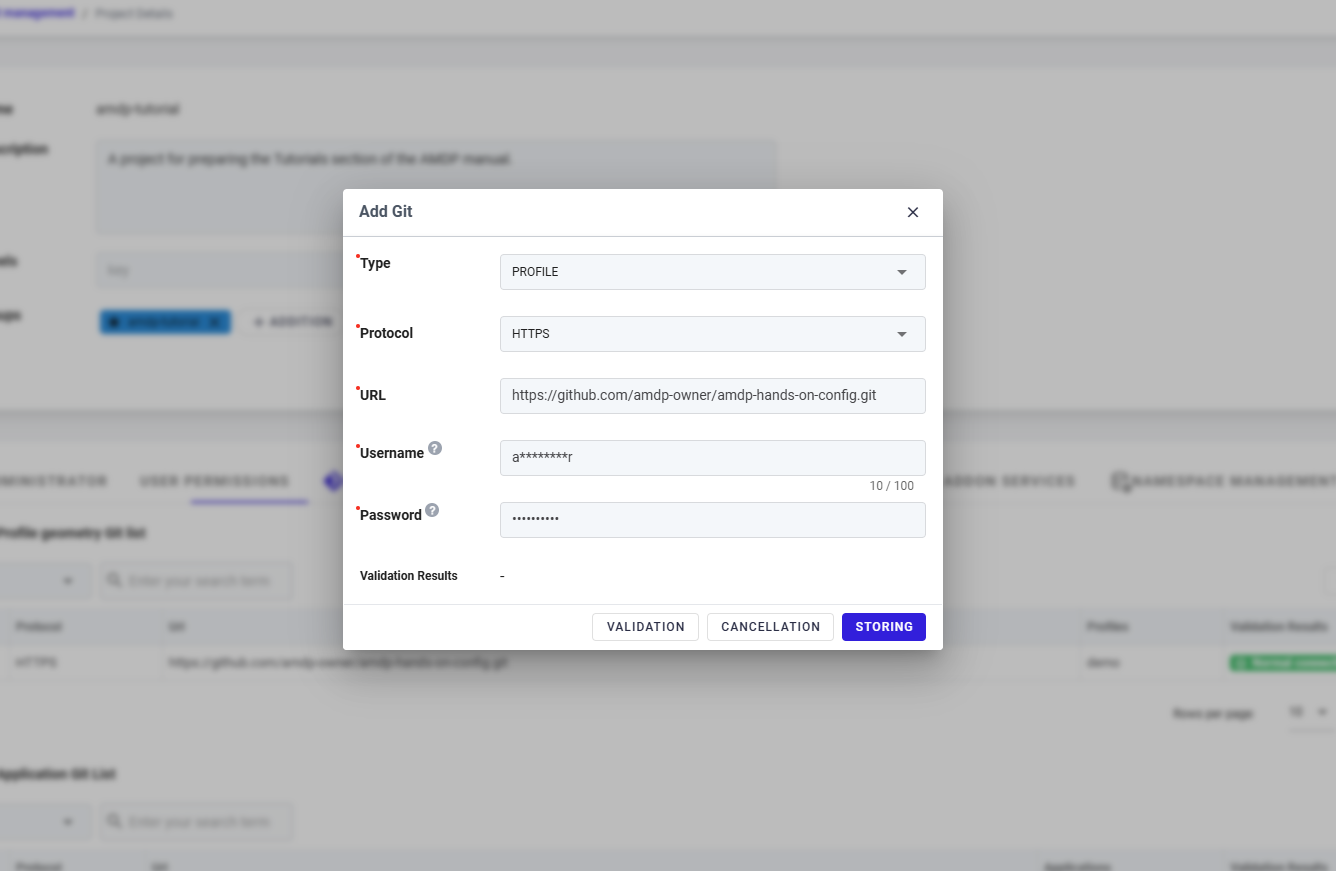
When completing to input the data, user should select button VALIDATE to check the Git setting
Then press on button Save to store the data in the system.
Create Application GitComplete the Git type, Protocol and URL:
- Type: Profile or Application
- Protocol: provide ways to transfer data between repositories as HTTPS, SSH
- URL: specify the location of a repository and the protocol used to access to Application
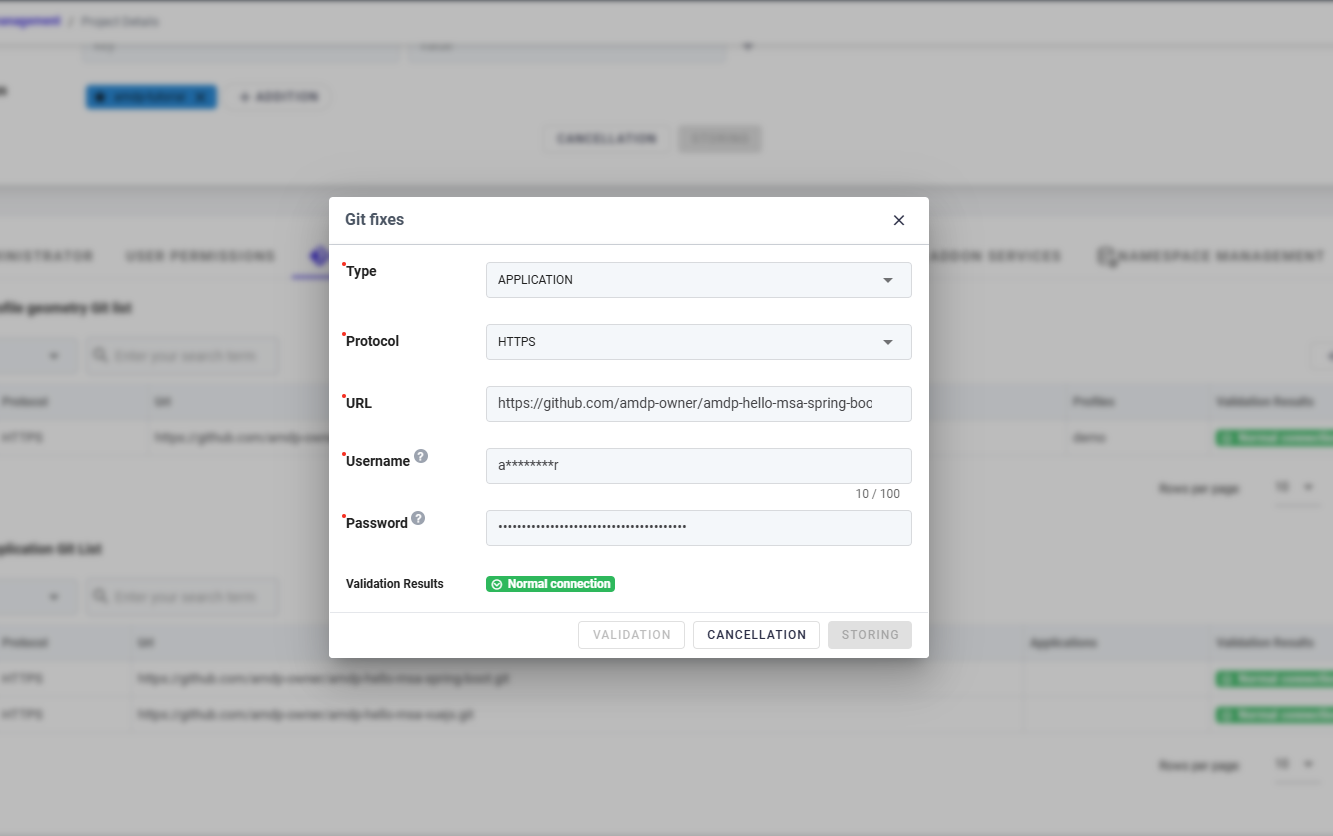
When Git creation is finished, the Git list will be displayed
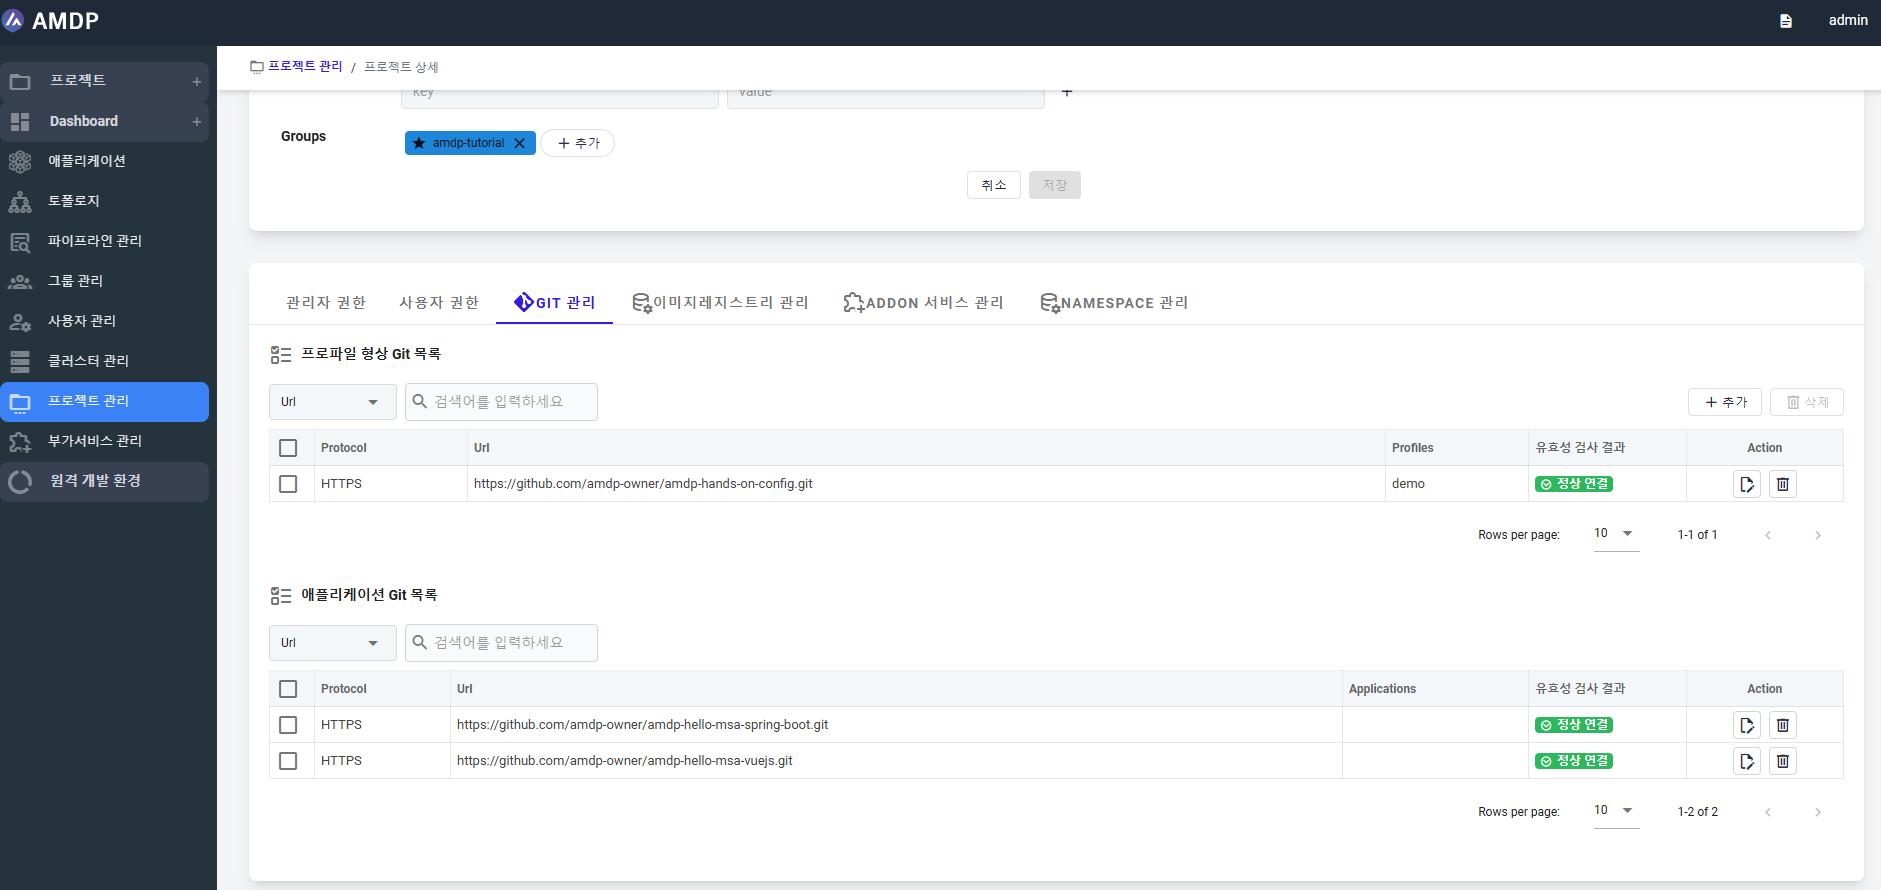
It requires to have Git registration for both Profile and Application type.
Image Registry Management
To create an image registry for storing container images of applications registered in the amdp-tutorial project, click the ADD button in the image registry list.
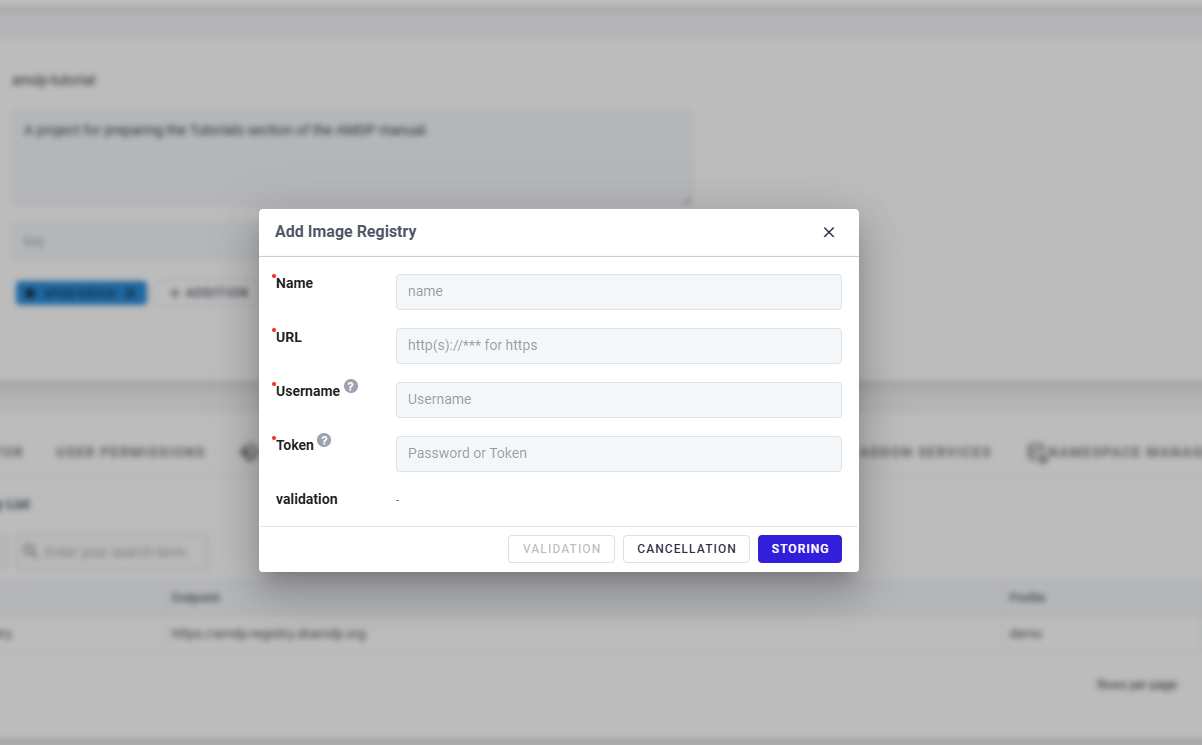
Add image registry information:
- Name: A unique identifier for the image registry entry within your system.
- URL: The web address where your image registry is hosted.
- User name: The account name used to log into the image registry
- Token: A personal access token or API key used for secure authentication with the registry
Once you've entered the URL, username, and token, you can click VALIDATE button to check if the credentials work correctly, then click Save button to finish the image registration.
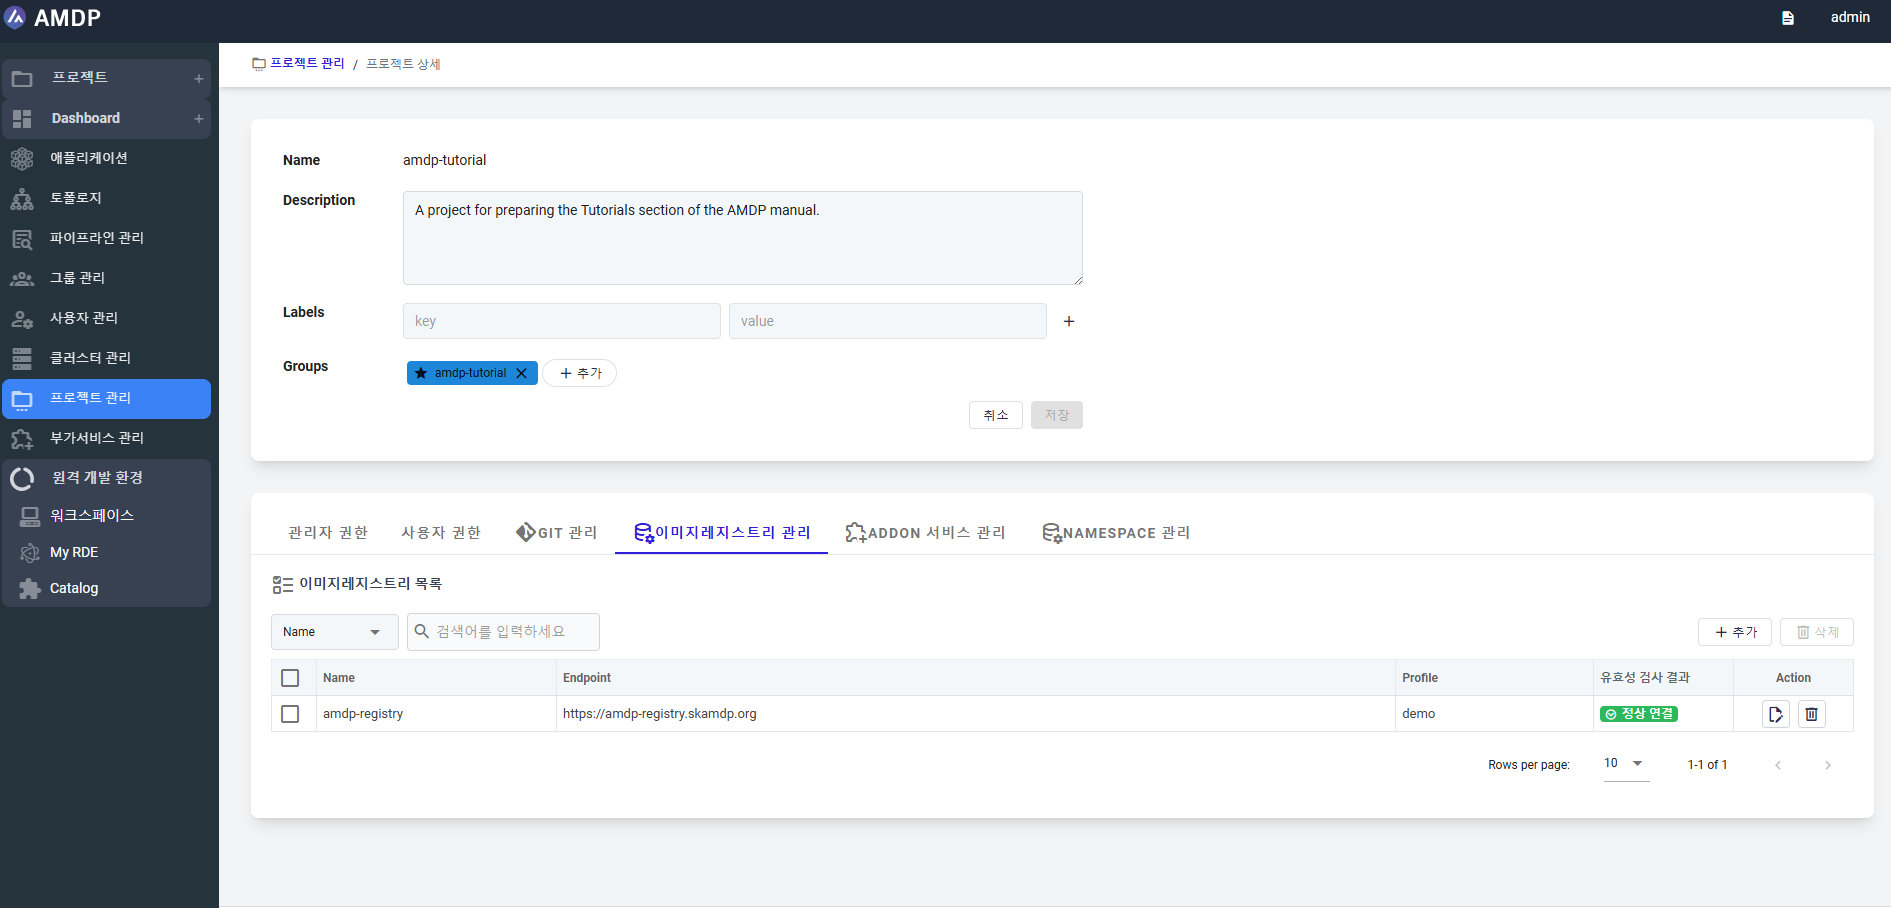
Once the image is registered, the associated information is displayed on the Image list.
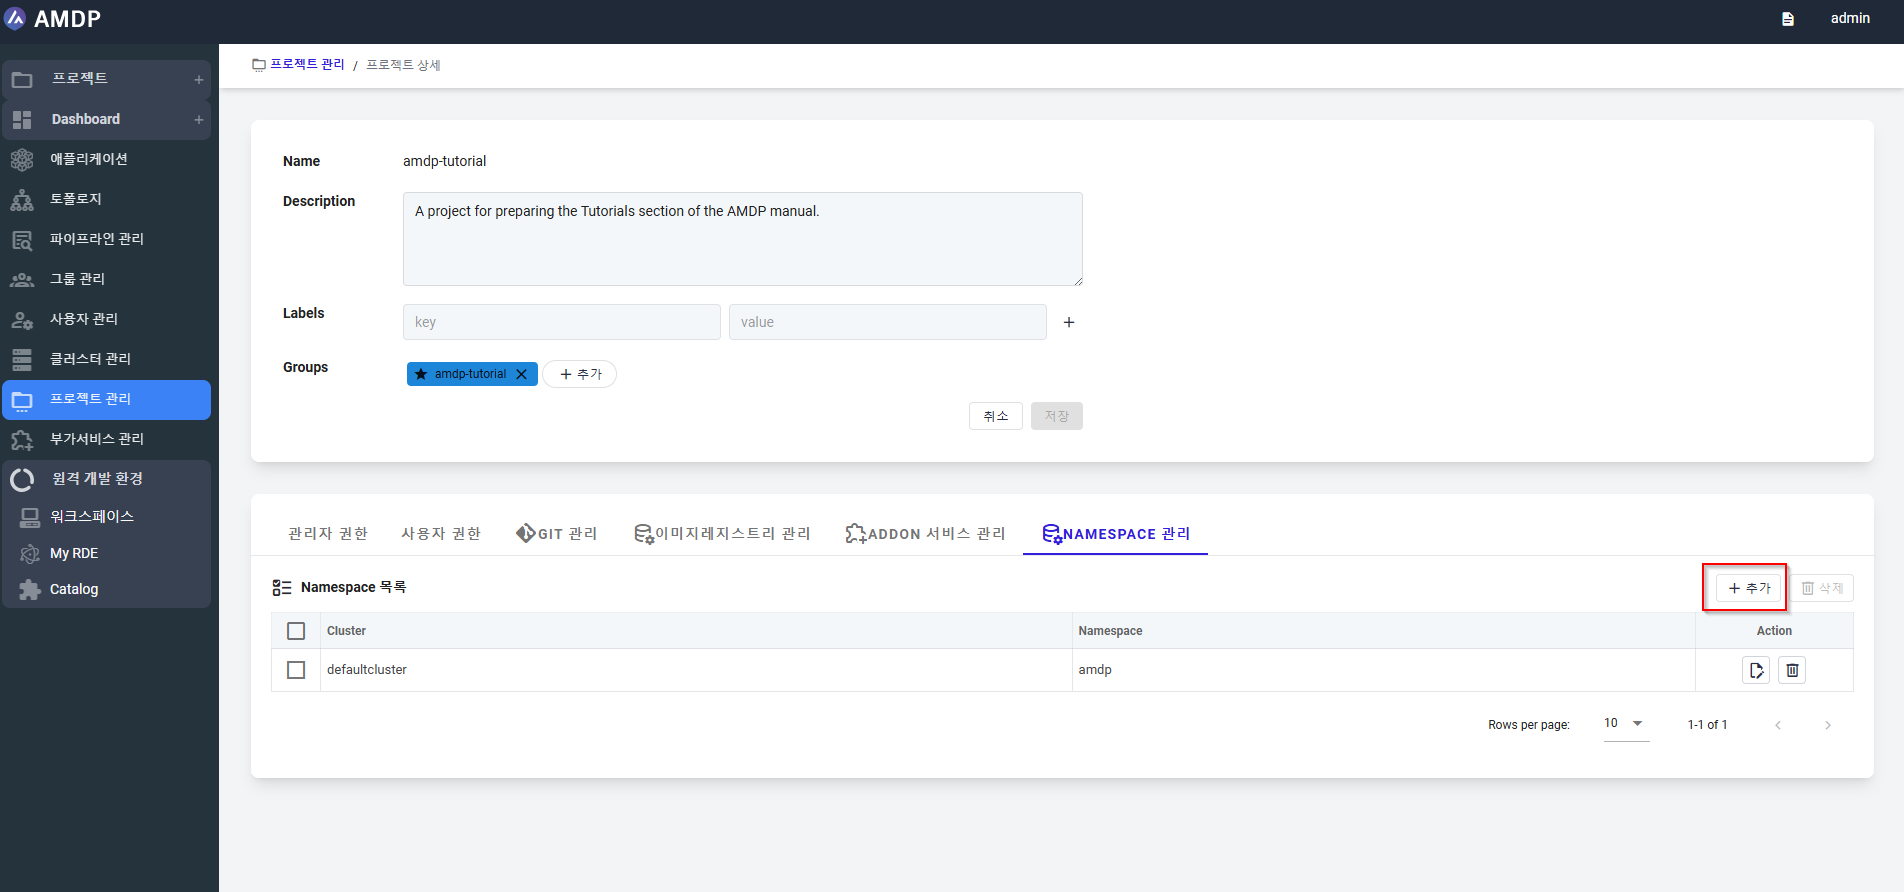
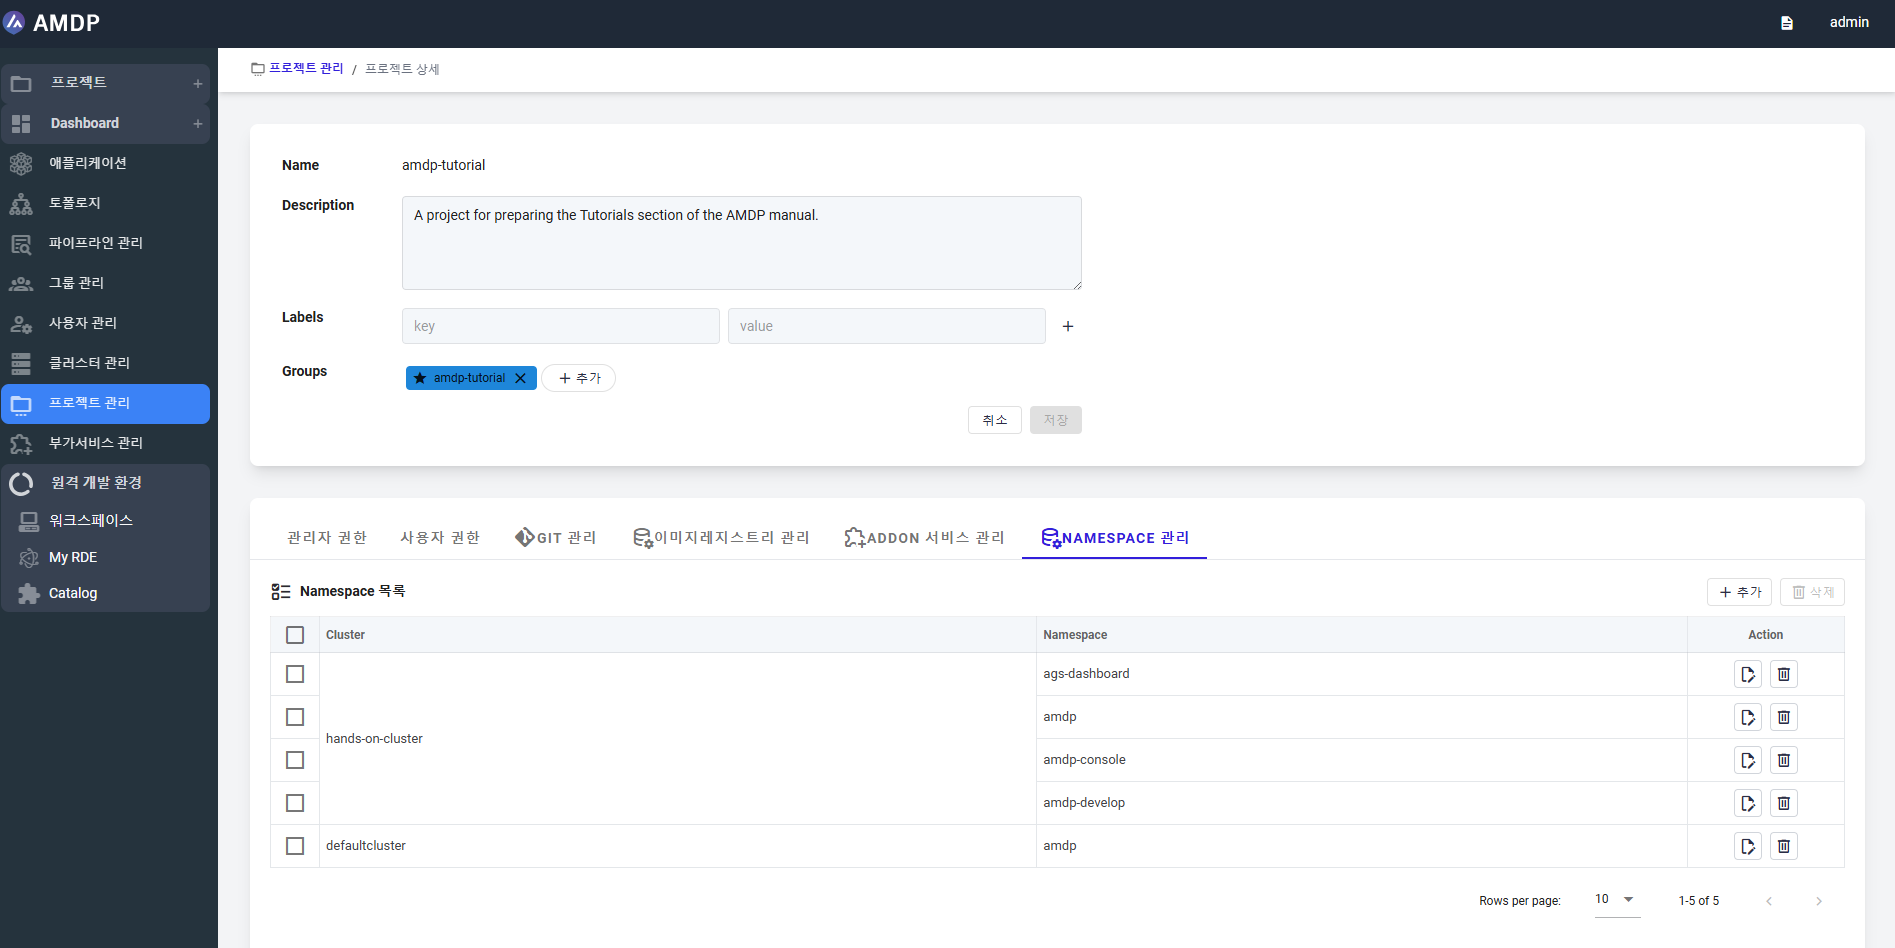
Namespace Management
To create Namespace for a project, access to Namespace tab, click on button ADD to register new namespace
On the Namespace creation page, select the cluster name from the dropdown list:
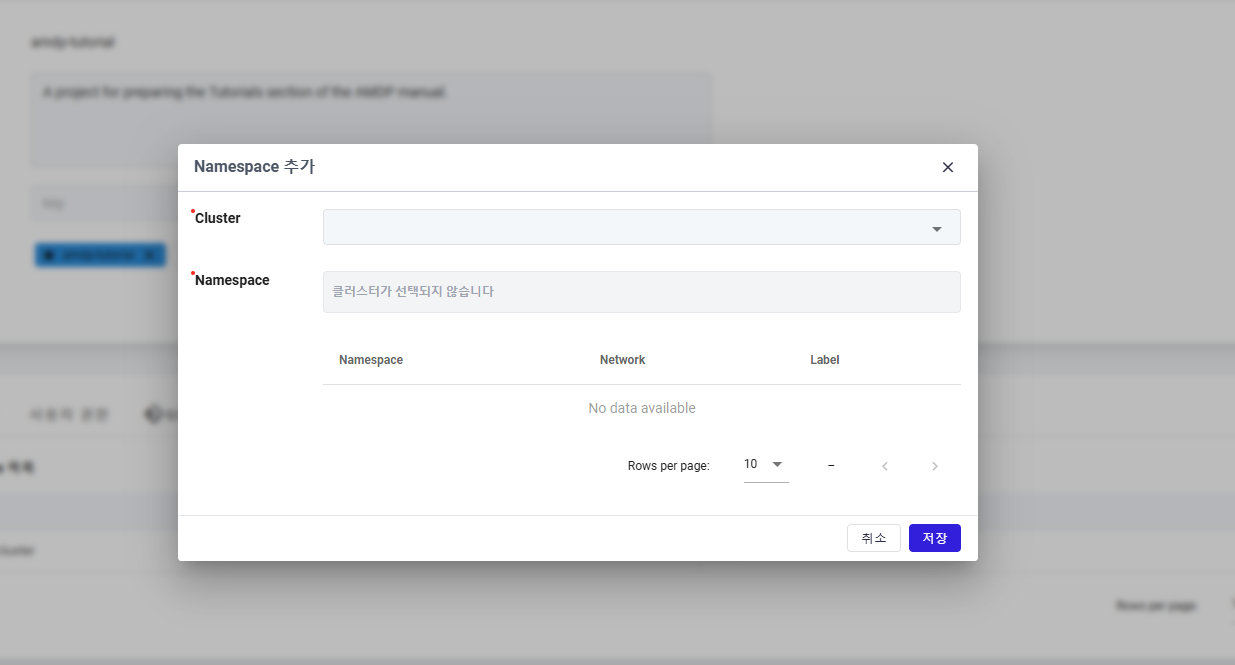
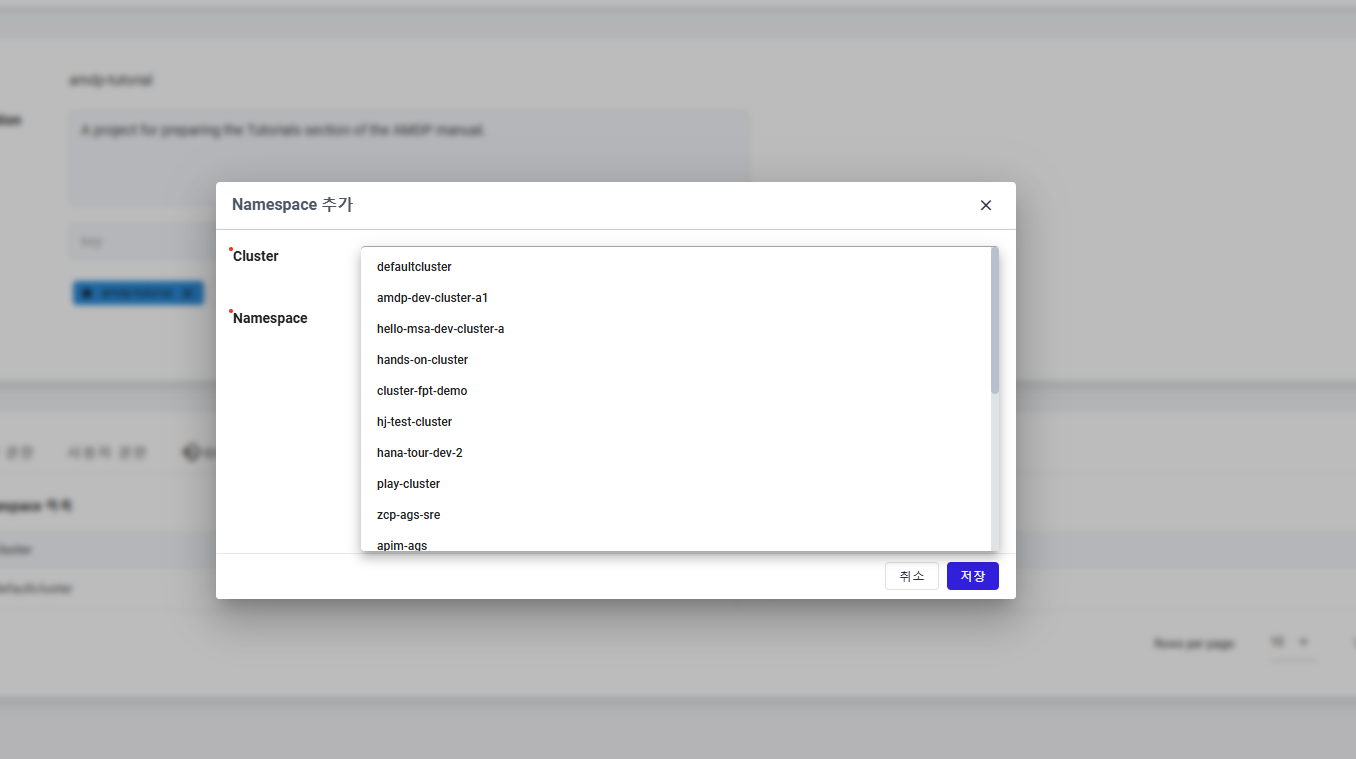
Select a cluster from the list, then the associated Namespace will be proposed on the list to select:
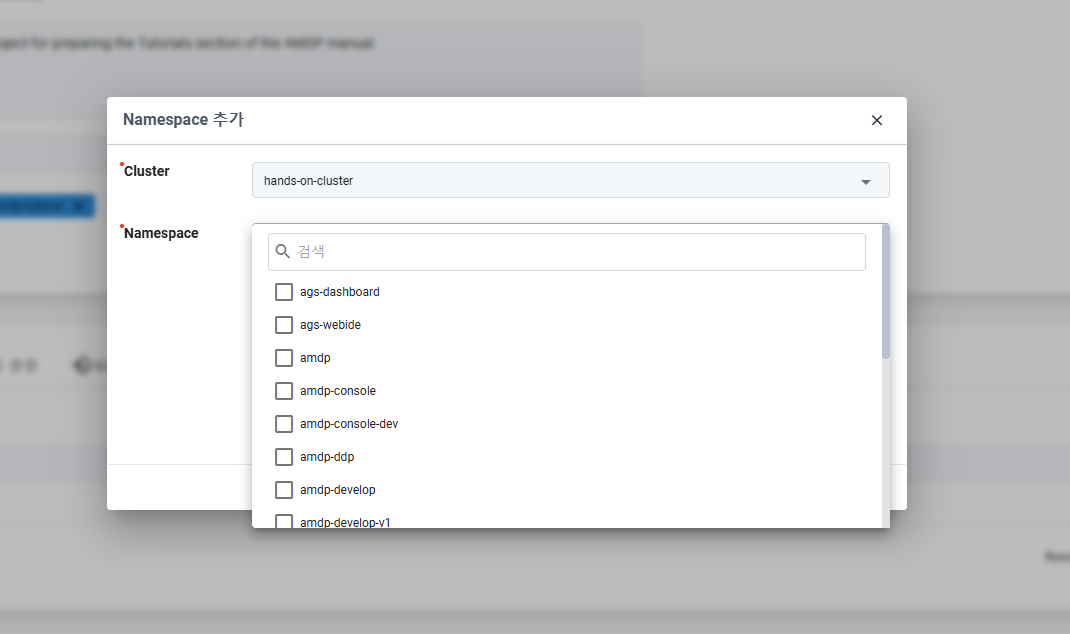
Here user can select single or multiple namespace from the list:
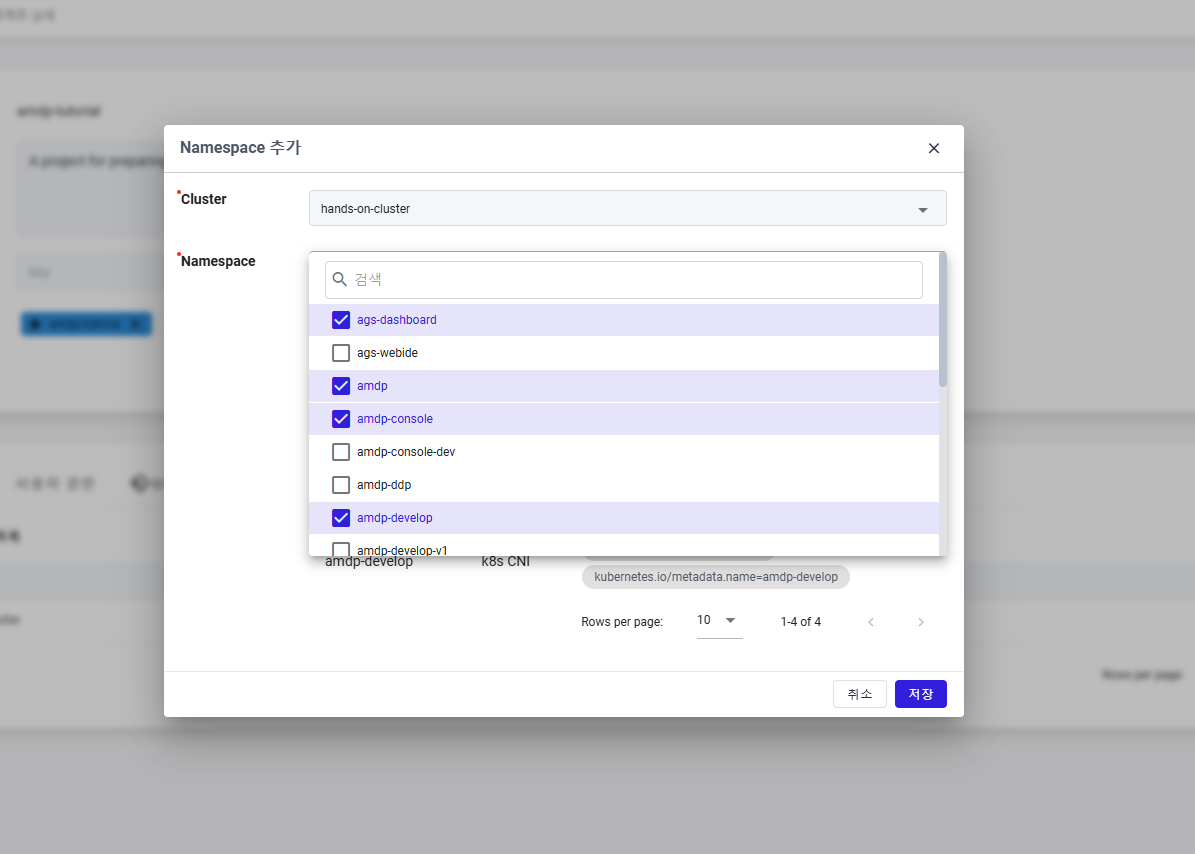
When Namespaces are selected completely, click on button SAVE to finish the namespace registration.
If only Cluster is selected but no Namespace is selected, user can click on button SAVE but in this case no data is saved.