Register and configure a Cluster
Create a cluster
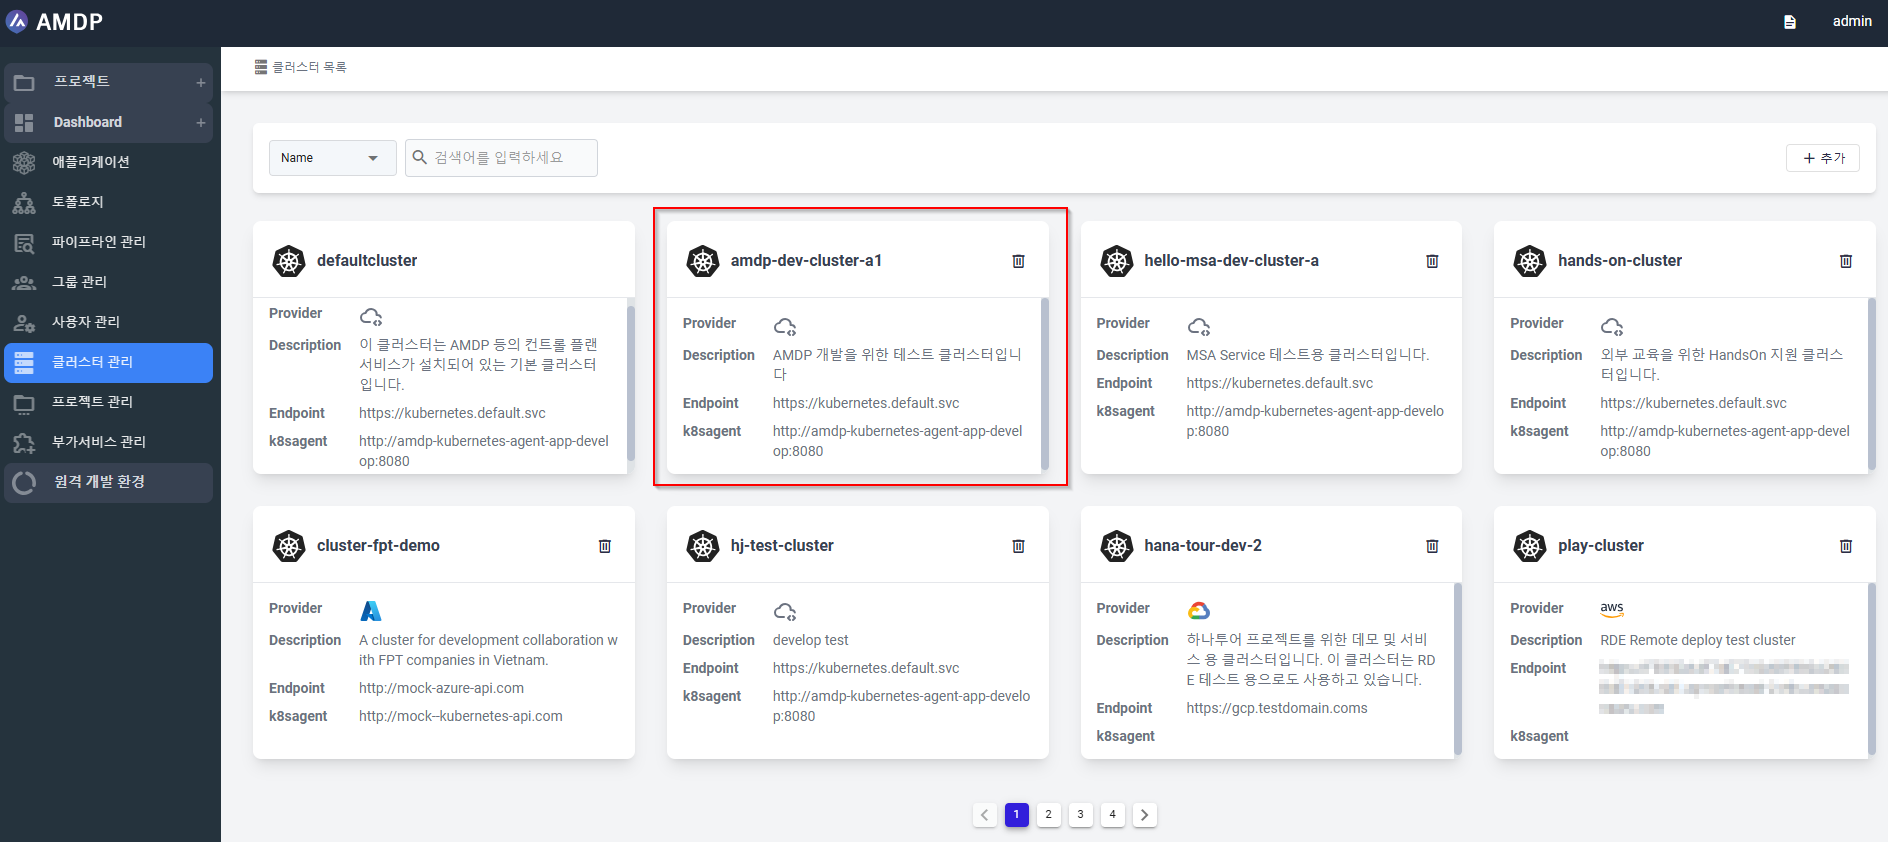
- Access to Homepage, click on Cluster management on the navigation bar. The Cluster list is displayed:
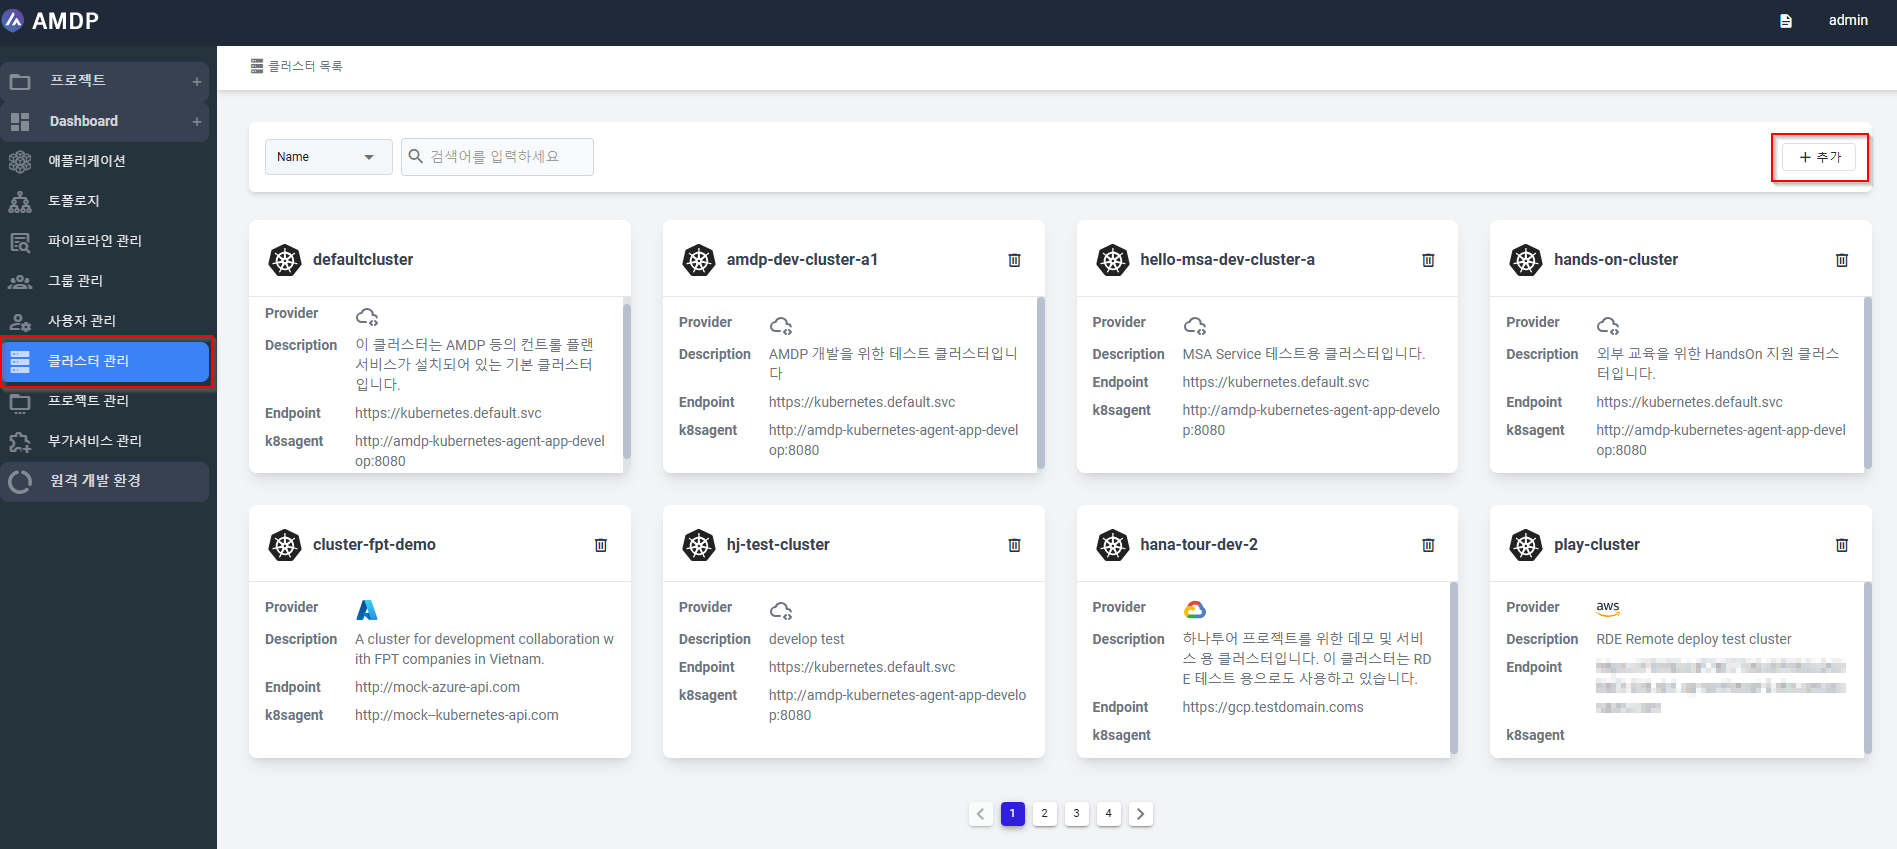
- Click on button ADD on the Cluster list:
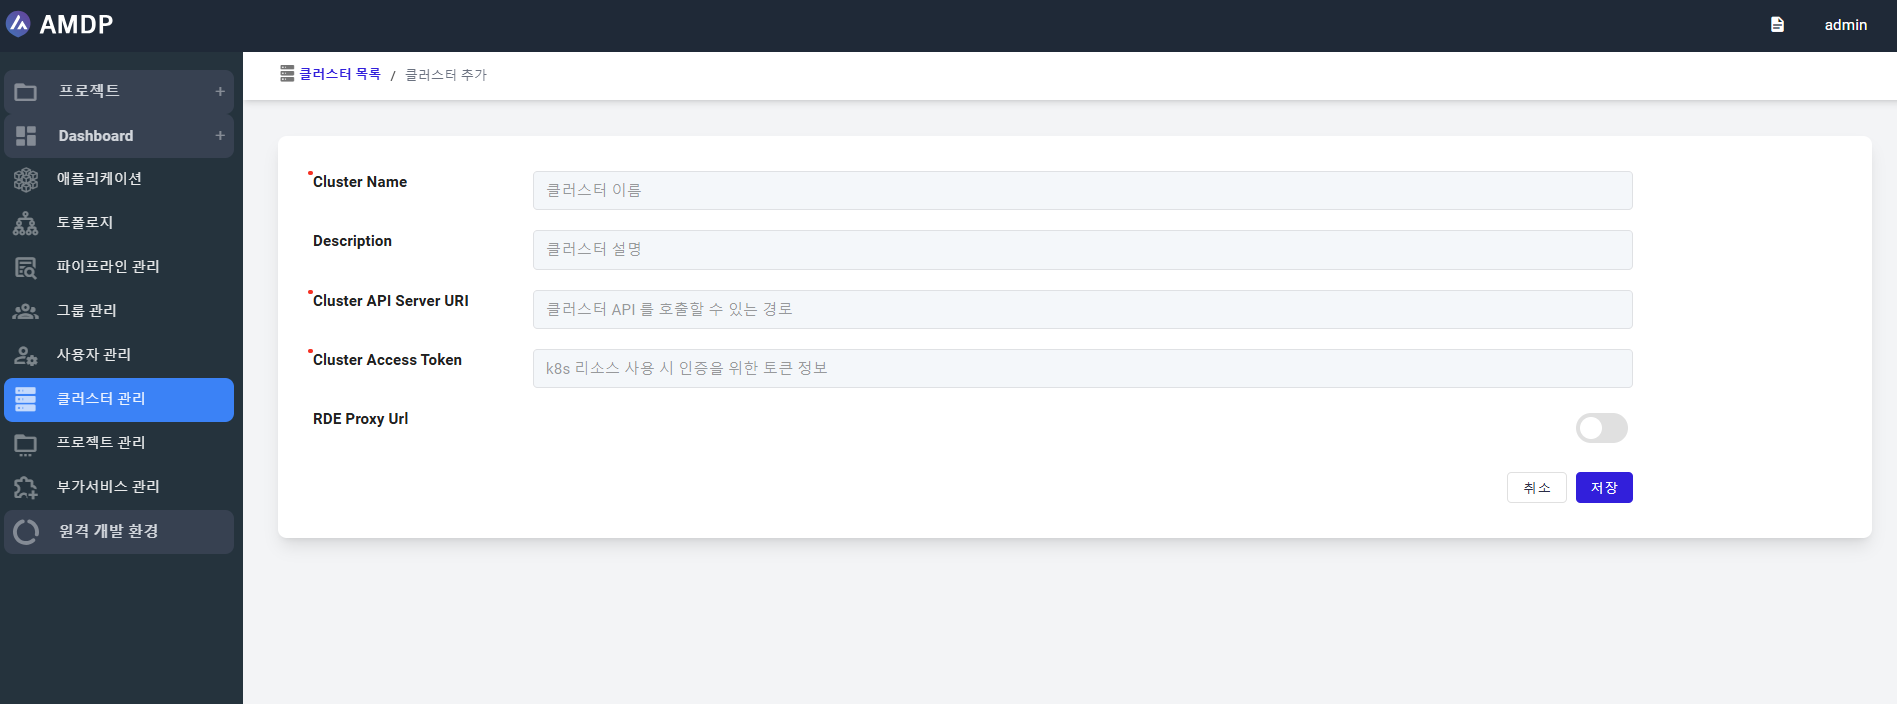
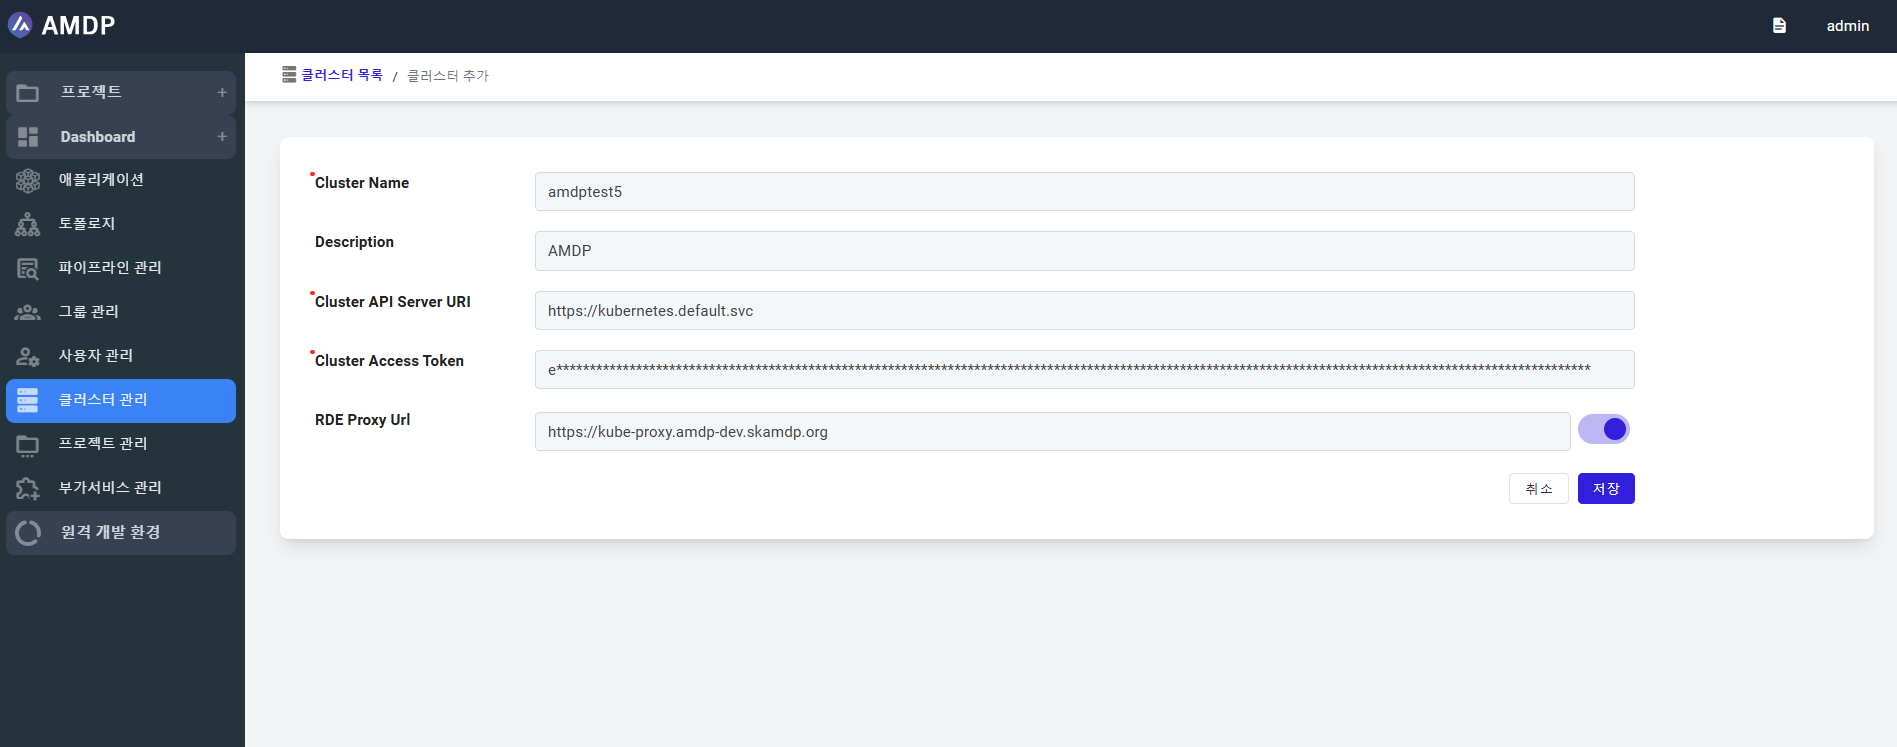
Fill in the input fields then click on SAVE button:
note
The cluster name is accepted with only lowercase alphanumeric characters and number
The auto-generated Secret resource is named amdp-platform-kubernetes-saadmin-token-xxxxx .
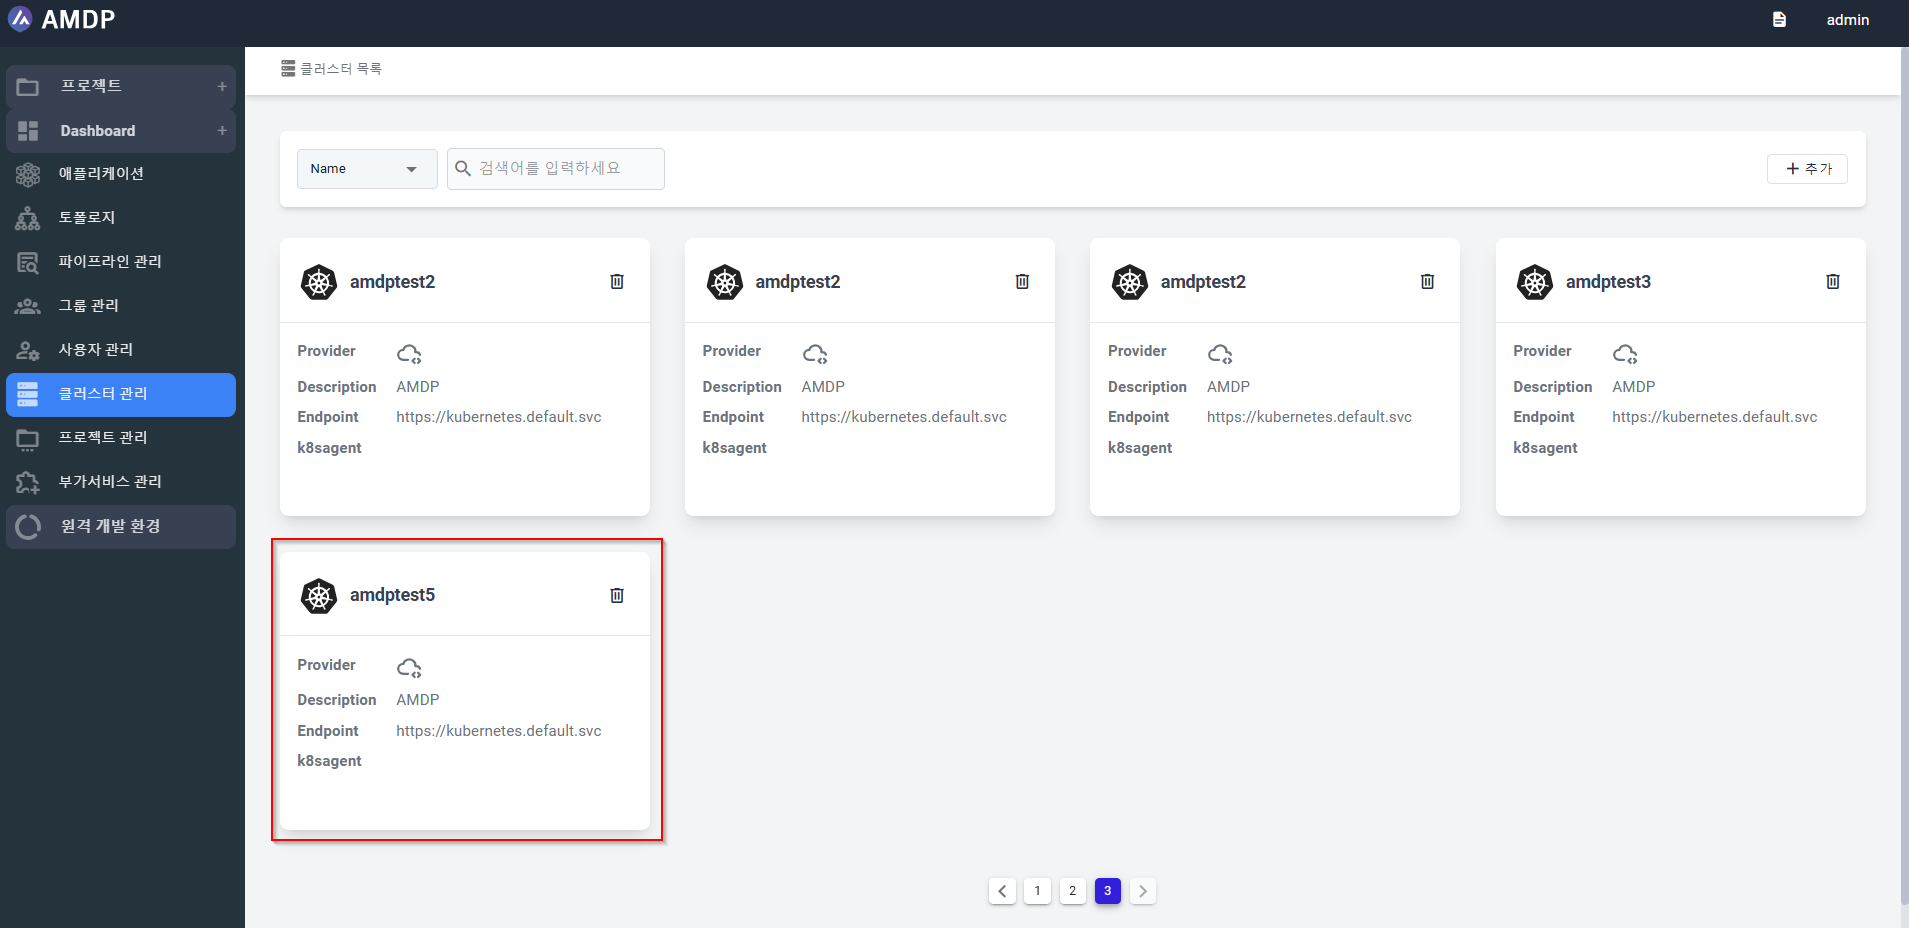
When a cluster is created, it will be displayed at the last of cluster list.
Configure a Cluster
note
AMDP supports multi-cluster environments. You must register a cluster after the initial installation. The first registered cluster should be named as default cluster. After registration, the Name and AMDP's Kubernetes Agent URI information cannot be modified.
Modify a cluster
- On the Cluster list, select a cluster:
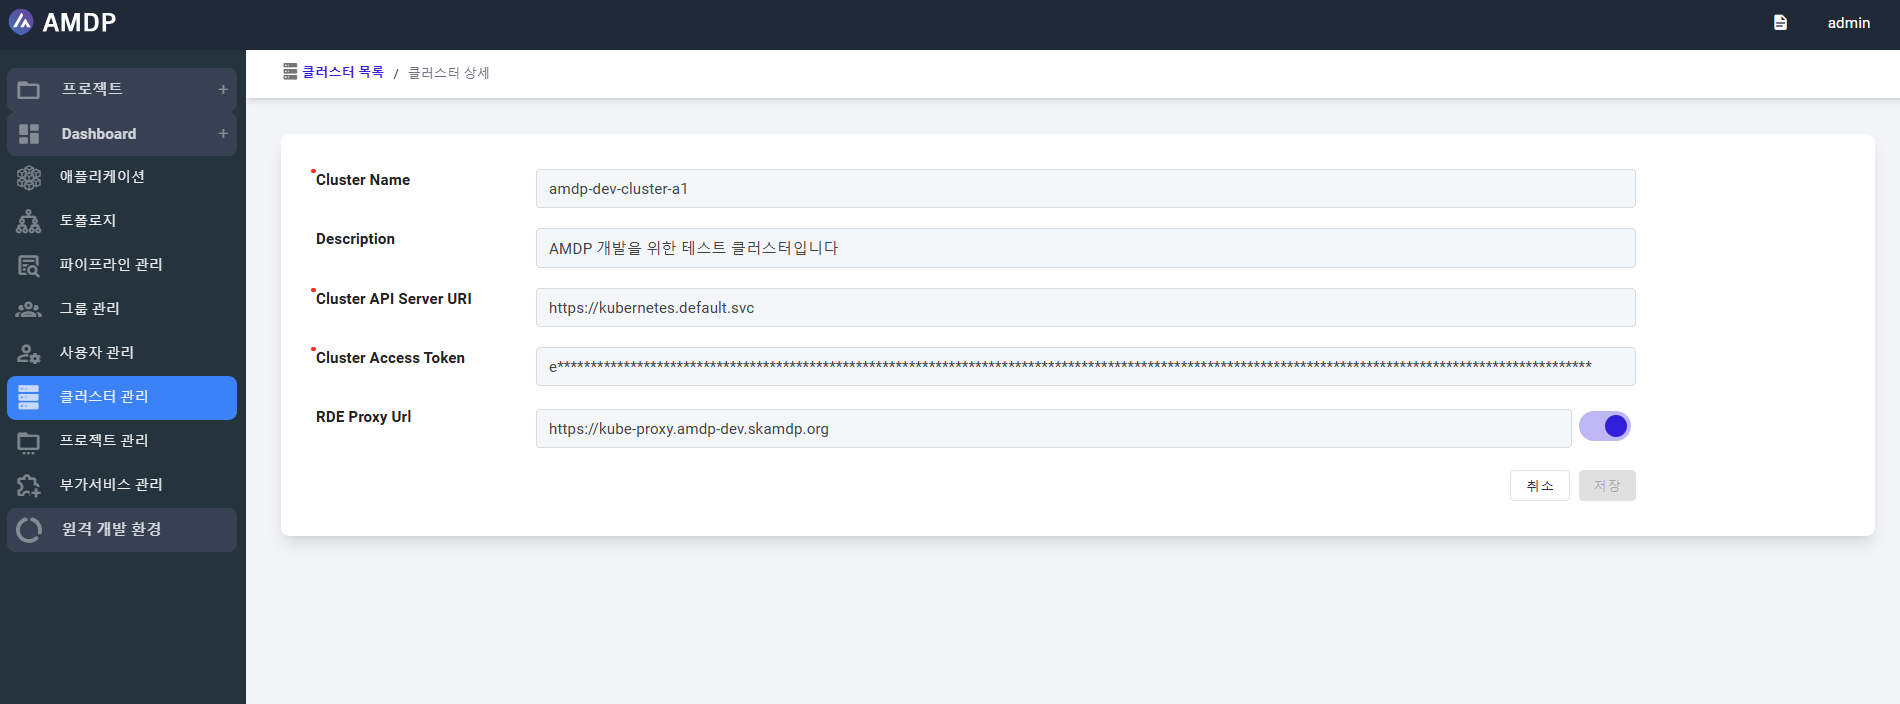
the Cluster details is shown:
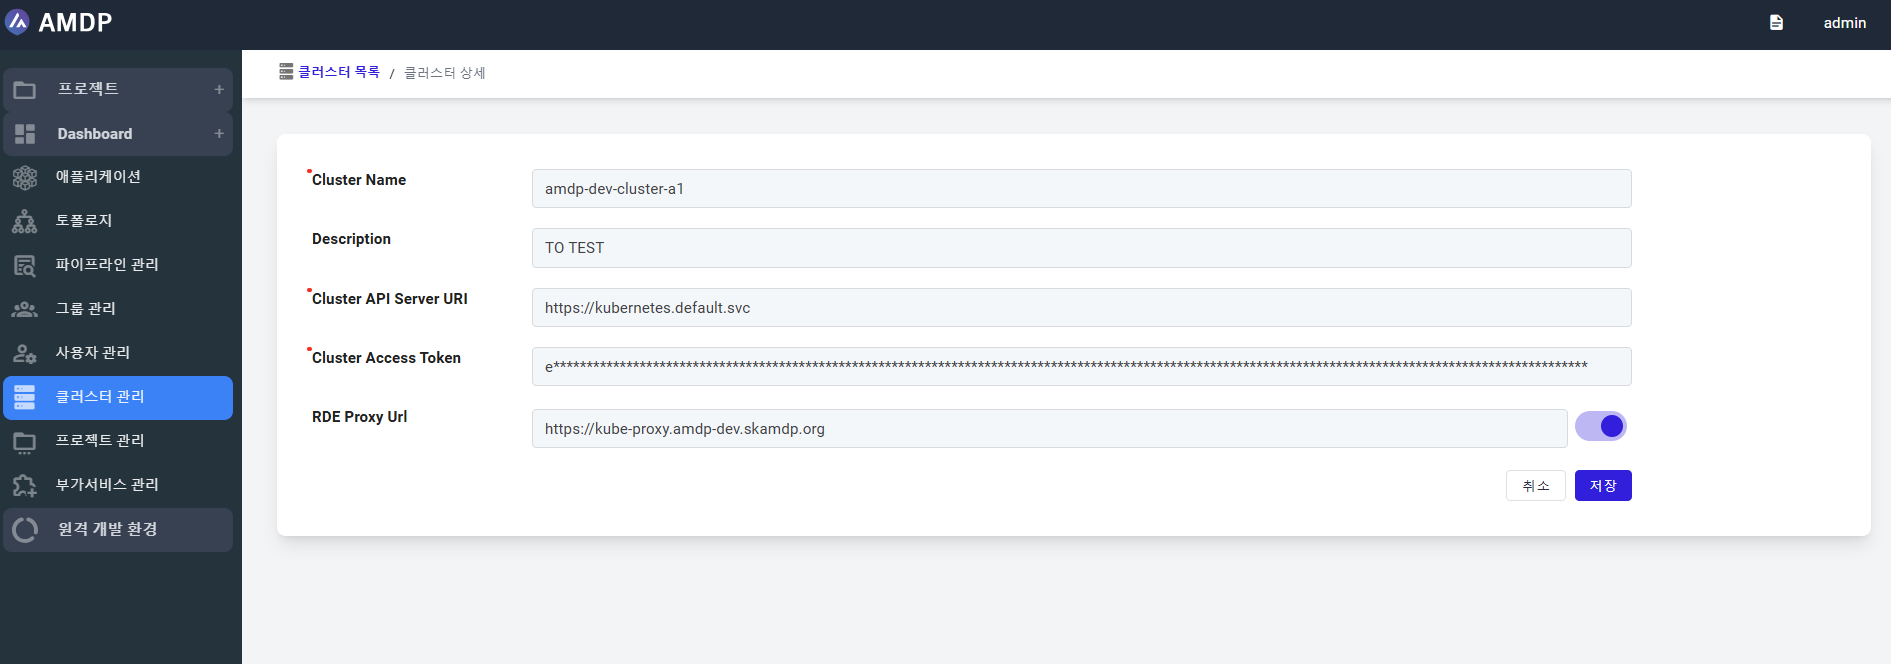
Any changes on the Cluster details will enable SAVE button:
- To go back to the previously screen, click on button CANCEL. Any changes on the Cluster details will not be saved.
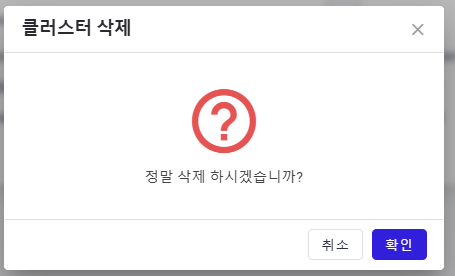
Remove a Cluster
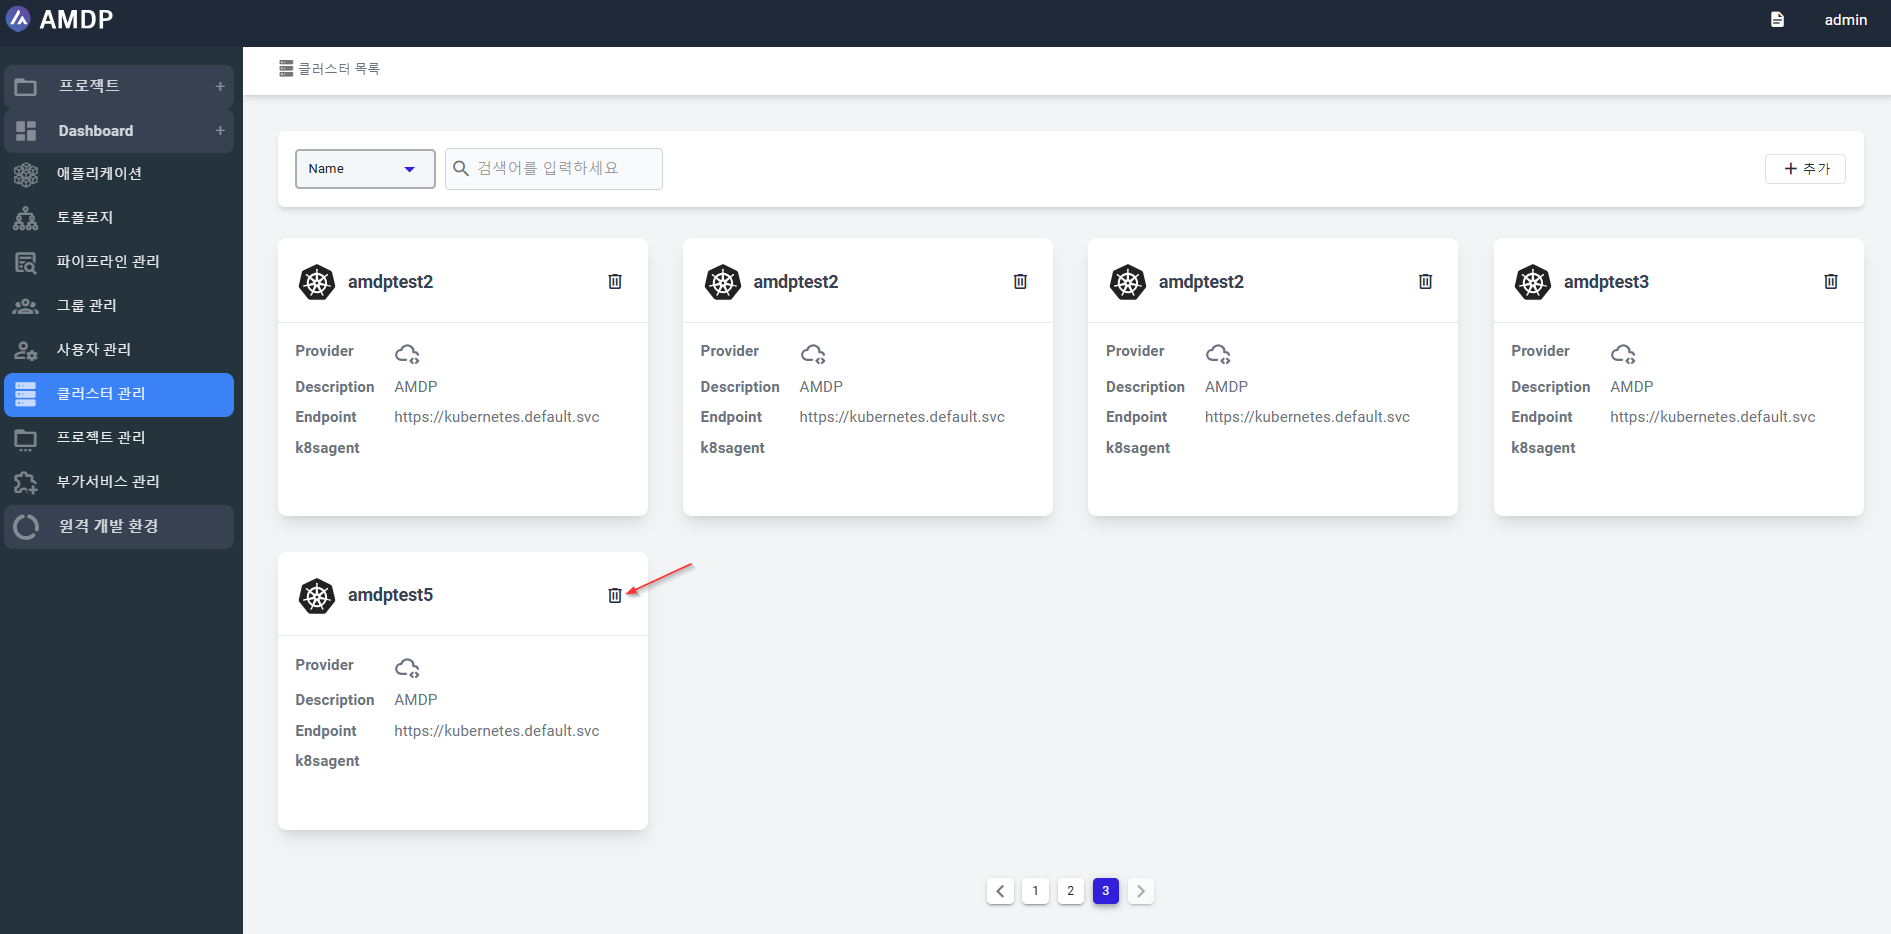
- To delete a cluster from the list, select the icon “Recycle Bin”:
A popup will be displayed to ask user to confirm of removing the selected cluster.
- Click Yes button then the cluster will be removed from the list.