Source Code Management
Cloud ZCP platform utilizes Gitea, an on-premises Git solution, as its integrated tool for source code management (SCM). Using an on-premises solution like Gitea can help mitigate security concerns associated with using public SCM solutions. Gitea provides standard Git functionalities for version control, collaboration, and integration with the platform's CI/CD features.
When registering an application within the ZCP console, you link it to its source code repository in Gitea (or another standard Git server). The platform securely manages credentials (Secrets) needed to access the source repository for build processes. Build pipelines within the platform are configured to pull code from specific branches in the linked Git repository.
Access Gitea
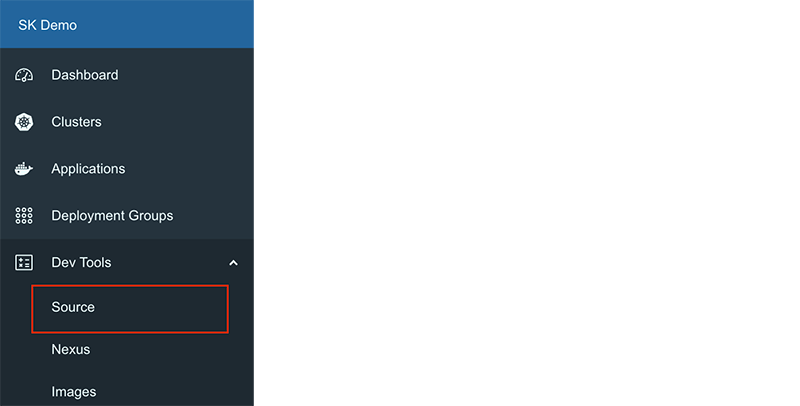
You can access the integrated Gitea instance through the menu for Project users in the ZCP console: Dev Tools > Source:
Your account in Gitea is automatically linked to the Cloud ZCP account you are currently logged in with. When you first connect, you may need to set a password specifically for Git command-line operations (like git pull and git push).
User Permissions and Roles
Permissions to use Gitea within a project context are managed by users with the administrator role in the ZCP console.
Access and permissions for project members are granted by assigning appropriate roles directly to the user or by adding the user to a group that holds the necessary roles. These permissions are linked to the roles defined within ZCP.
If a user is granted multiple roles with different permission levels simultaneously, the highest permission level is applied.
Specific roles like git-administrator or git-writer are required to create new repositories under the project's organization in Gitea.
Organizations and Repositories
- Organizations: Gitea Organizations are automatically created and managed with a one-to-one mapping to Projects in the ZCP console. The organization name follows the convention:
REALM-PROJECT. - Repositories: A Git repository stores and manages the files and folders for your application source code. You typically create one repository per application.
Create a Repository
To create a repository, follow the steps below:
-
Navigate to your Organization page in Gitea or your personal dashboard.
-
Click the New Repository button.

- Configure the repository settings:
- Owner: Select your personal account or the project's organization (requires appropriate permissions).
- Repository Name: Enter a unique name for the repository.
- Visibility: Choose whether the repository is Public or Private. Public repositories can be viewed by anonymous users.
- Description: Optionally enter a description for the repository.
- Issue Labels: Optionally specify a set of labels for issues.
- .gitignore: Select a language-specific
.gitignoretemplate if desired. - License: Choose a software license for your code.
- README: Select whether to initialize the repository with a README file.
- Initialize Repository: Check this box to automatically add the selected
.gitignore, License, and README files upon creation.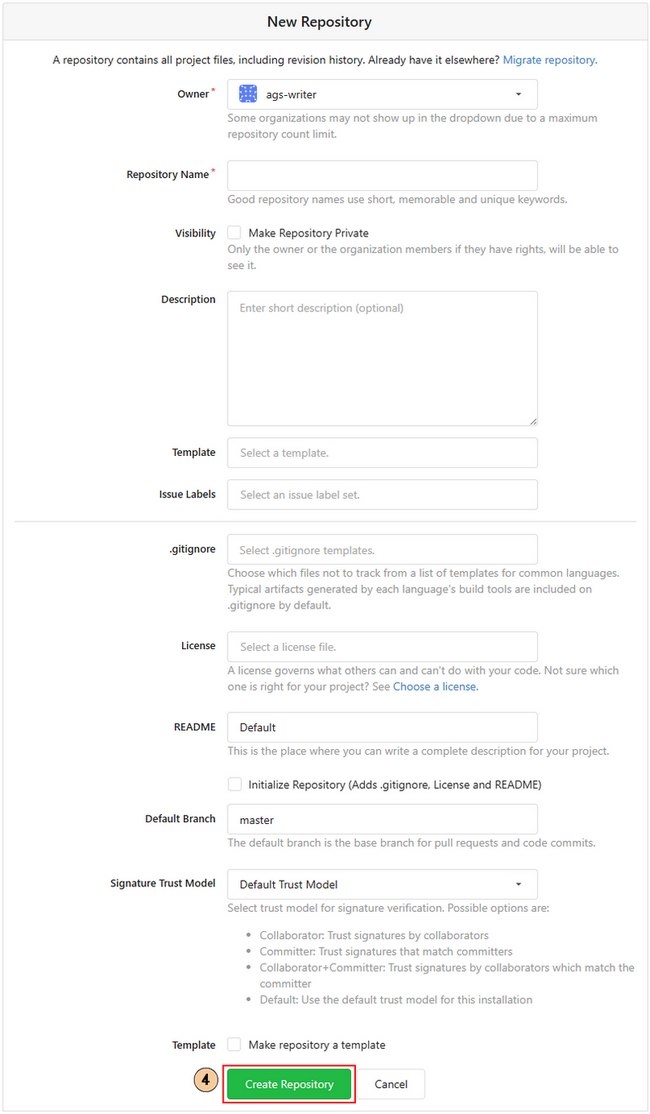
- Click Create Repository.
Basic Git Operations (using Git CLI)
You interact with your Gitea repositories using standard Git command-line interface (CLI) commands.
Configure Git User
Before committing, ensure your local Git configuration has your user information set:
$ git config --global user.email "your_email@example.com"
$ git config --global user.name "Your Name"
Clone a Repository
Find the repository URL (HTTPS or SSH) on the repository's main page in Gitea and download a repository to your local machine for the first time:
$ git clone <repository_url>
You will be prompted for your Gitea username and password (the one set for CLI operations).
Check Status
View the state of your working directory and staging area:
$ git status
This shows modified, added, or untracked files.
Stage Changes
Add changes in your working directory to the staging area (index) before committing.
$ git add <file_name_or_path>
# or stage all changes
$ git add .
Files must be staged ('tracked') to be included in a commit.
Commit Changes
Record the staged changes to your local repository history.
$ git commit -m "Your descriptive commit message"
This saves the snapshot locally; it doesn't affect the remote Gitea repository yet.
Pull Changes
Fetch changes from the remote Gitea repository and merge them into your current local branch. Do this frequently to stay up-to-date.
git pull origin <branch_name>
Push Changes
Upload your local commits to the remote Gitea repository:
git push origin <branch_name>
origin typically refers to the remote Gitea server. branch_name is the branch you want to push (e.g., master, main, develop). You will be prompted for credentials if not cached.
Integrate with Build Pipelines
Source code stored in Gitea is central to the CI/CD process on ZCP.
- When creating an application in the
Applicationssection, you must provide the Git Repository URL pointing to your Gitea repository. - Secure access to the repository during builds is handled via Secrets configured within the Application settings.
- Each build pipeline is configured to check out source code from a specific branch within the linked Gitea repository. This allows building different versions or environments (e.g.,
develop,staging,master) from the same codebase.