2. Creating and Configuring a Project
Before starting the hands-on practice, ensure you have the necessary permissions.
In the Roles menu of the console, you can view the built-in roles and create custom roles for permission management.
For this practice, we can create a custom role called demo-administrator, which includes viewer access for the System Menu, Project management permissions, and Project Member Admin permissions for the Project Menu.
Creating a Demo Project
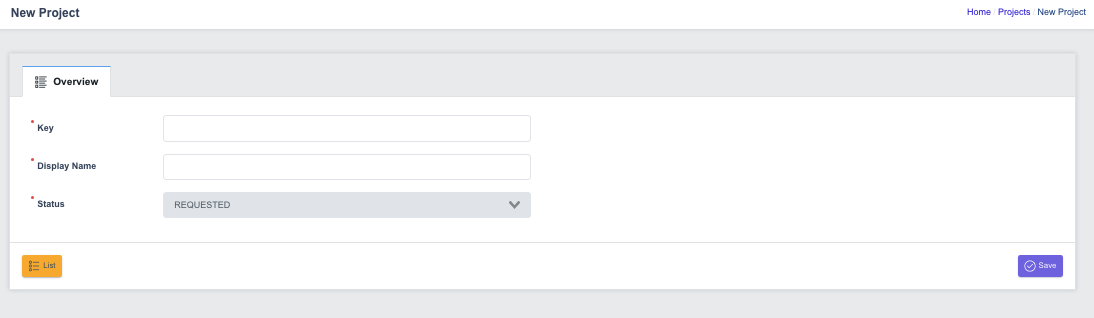
- Click the New Project button at the top of the project list on the left side of the screen:

- Enter the following information in the form:
- Key: The unique name of the project.
- Display Name: The name displayed in the UI.
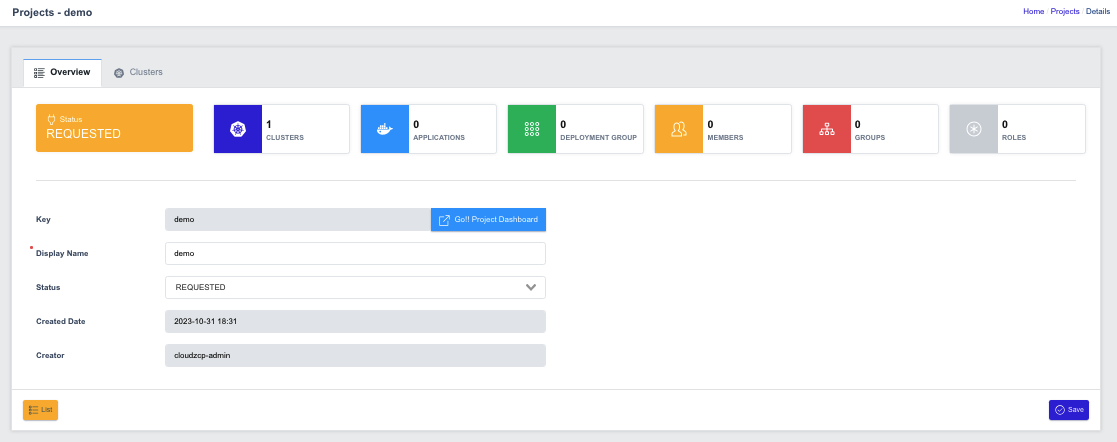
- Click Save to create the project.
After creation, the project will be in the REQUESTED state.
Assigning a Cluster to the Demo Project
Now, assign a registered cluster to the project.
Steps to Attach a Cluster:
-
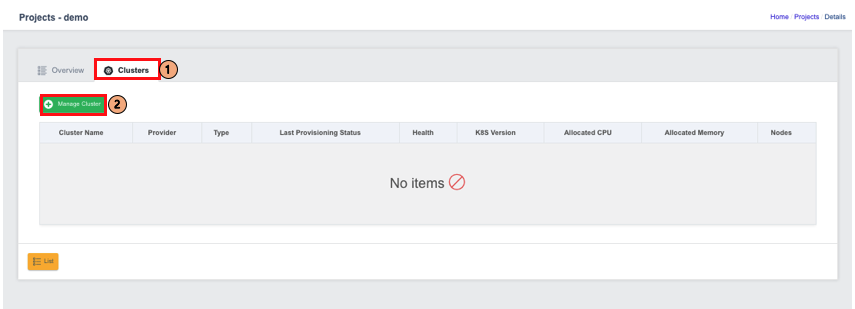
In the Overview tab of the project, click on the Clusters tab.
-
Click the Manage Cluster button at the top left to display the list of available clusters for registration.
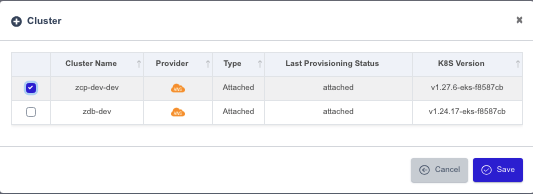
-
Select the checkbox for the cluster you want to register and click Save.
Once saved, you can check the registered clusters in the Clusters list:
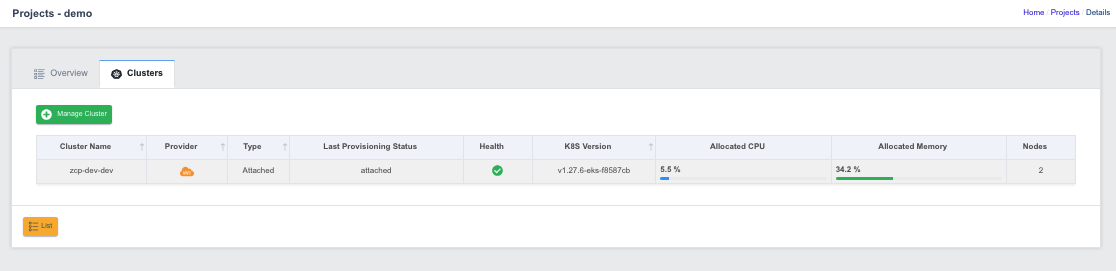
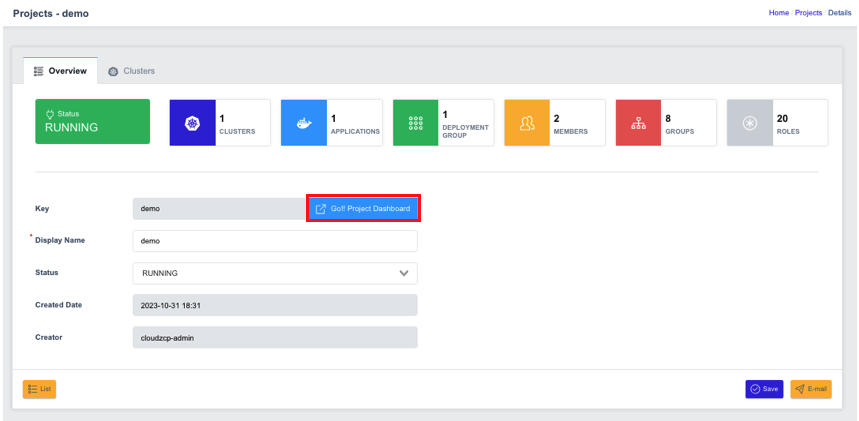
Once the cluster is assigned, you can change the project’s status to RUNNING.
On the selected project page, navigate to the Overview tab:

After selecting the RUNNING status, click the Save button to apply the changes.
Setting Up the Demo Project
Project Members
Click Go Project Dashboard to enter the dashboard for the project.
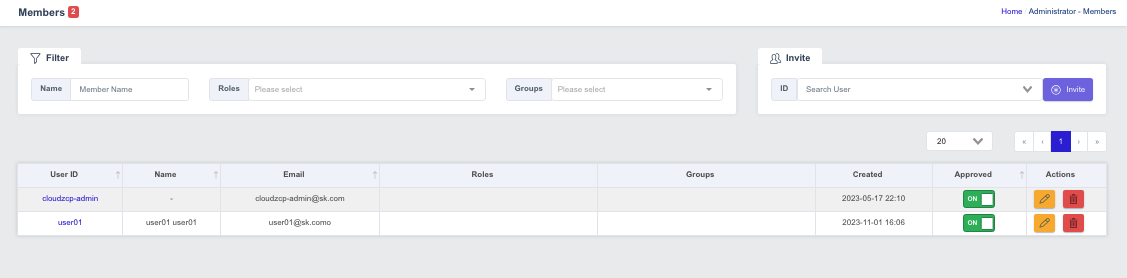
Under Administrator, select Members menu at the left navigation panel of the Project Dashboard, configure the members who will have project permissions.

On the Members page, in the upper right corner, you can enter an existing User ID and click Invite to add an existing user as a member of the project:

The selected user has been successfully invited to the project. By default, the Approved status is ON when inviting a user this way.
For this hands-on practice, click on your account in the Members list and assign the Project Admin role (project-administrator).
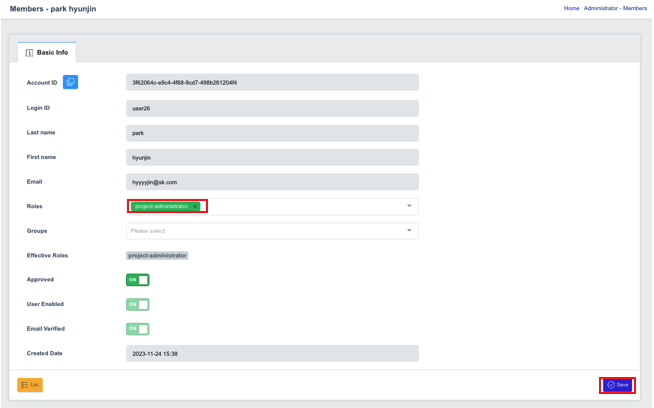
After assigning the role, re-login for the changes to take effect.
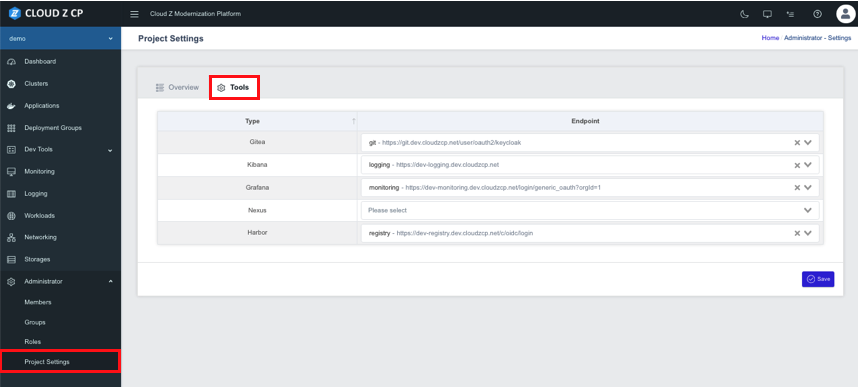
Project Settings
Once the project members are configured, navigate to the Project Settings menu to configure the required tools.
Each tool type can have a designated endpoint.
For this hands-on practice, configure the settings for Gitea, OpenSearch Dashboards, Grafana, and Harbor tools.
After refreshing, you should see the newly configured tools listed in the Project Dashboard menu on the left side.