Import Models into Model Registry
ZMP Model Management provides two ways to register models into the Model Registry.
Getting Started
- Select a Project: First, choose the project you want to work on.
- Access the Model Registry Page: Click on "Model Registry" from the left menu or the homepage.
The Model Registry is managed on a per-project basis, allowing you to view all registered models at a glance.
Access New Model Screen
You can access the New Model screen from different entry points in the system:
Entry Point A: Start from Model List Screen
- From the System Admin Control Panel, click Model in the main navigation. Then, in the left-side navigation, select Model List.
- On the Model List screen, when the user clicks the Import from Hugging Face button or Create model repo button at the top-right corner, the system automatically navigates to the New Model screen.
Entry Point B: Start from Upload a model Screen
From the System Admin Control Panel, click Model in the main navigation. Then, in the left-side navigation, select Upload a model.
Importing a Model from Hugging Face
Hugging Face is a representative model hub where various open-source AI models are shared. You can directly select and register models that are publicly available on Hugging Face into the Model Registry without a separate download process. It allows for quick adoption and testing of external models, or efficient management when integrated with internal projects.
Step 1: Start Importing a Model
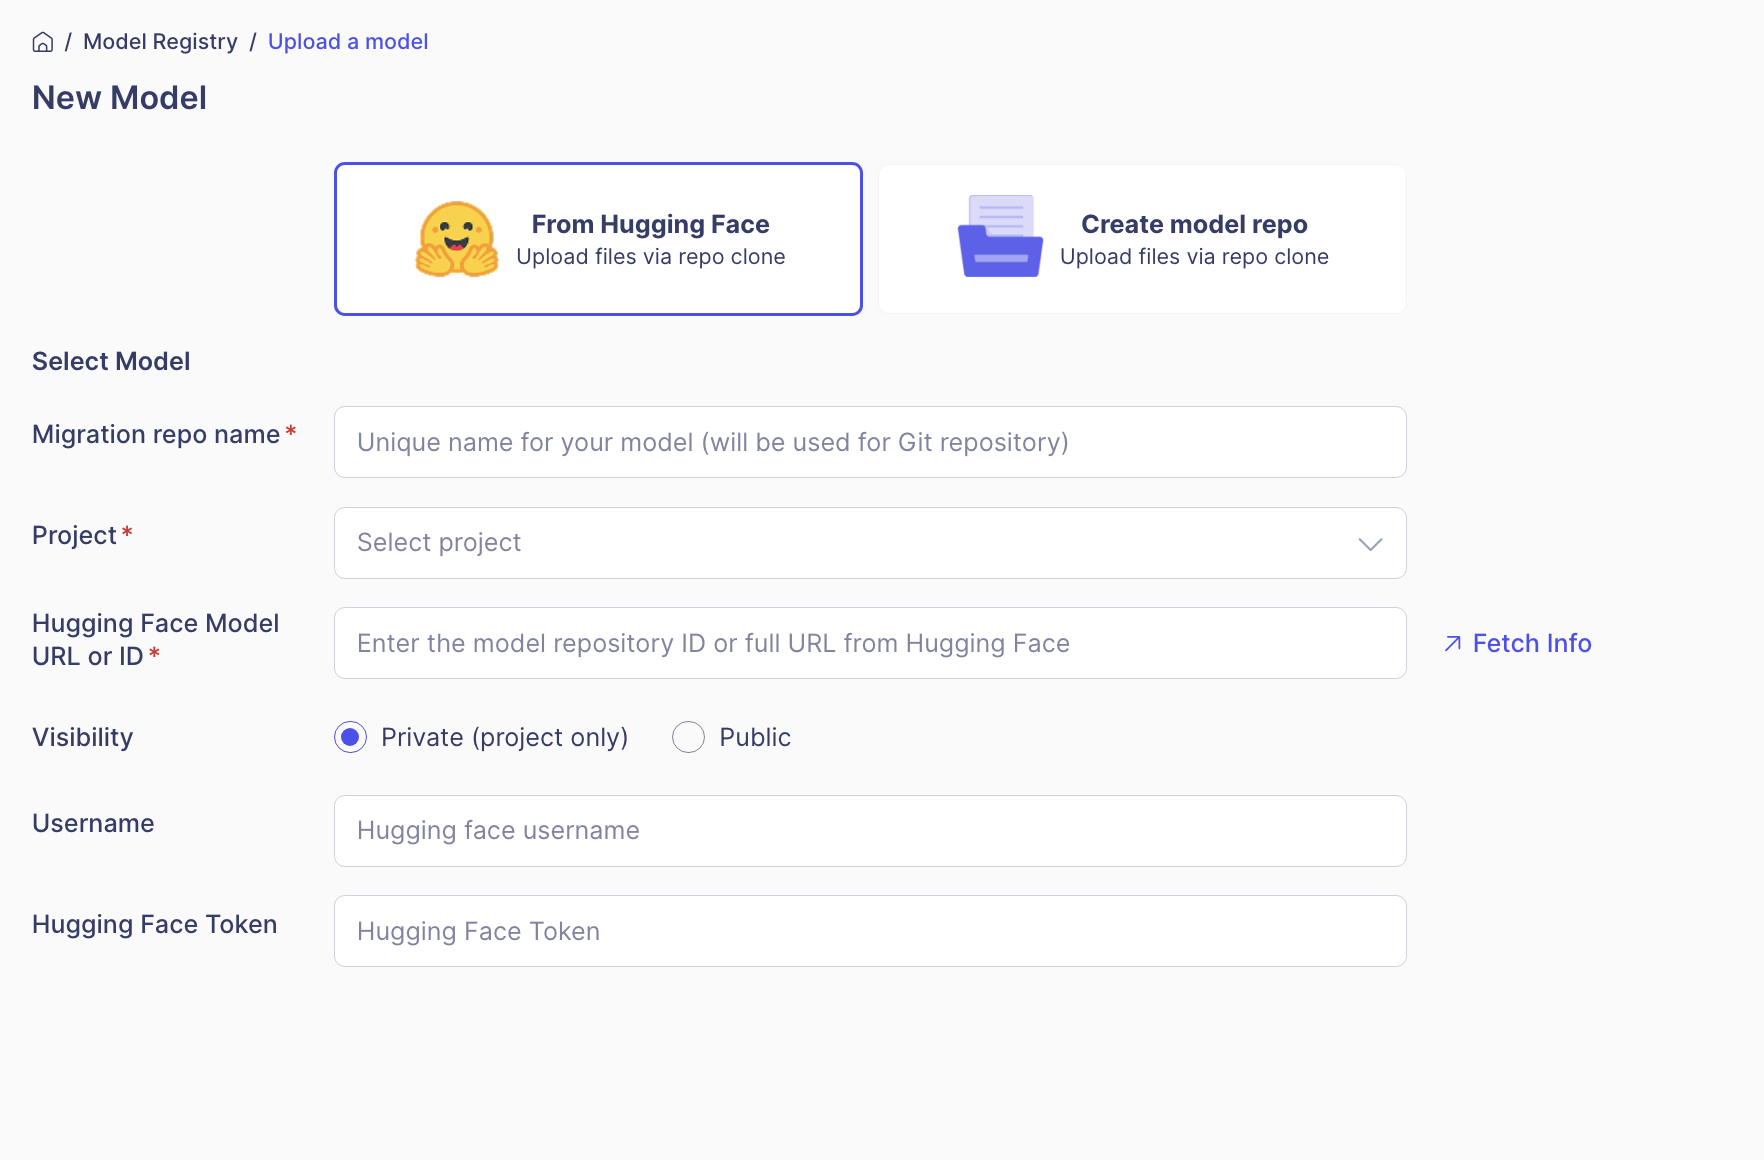
On the model creation type selection screen, select the "From Hugging Face" card.
The card displays the Hugging Face logo along with the description "Upload files via repo clone":
Step 2: Enter Basic Information
- Migration Repo Name (Required)
- Enter a unique name for your model.
- This name will be used as the Git repository name.
- Example:
my-bert-model,gpt2-finetuned
- Project (Displayed only if no project context exists)
- Choose the project to register the model under.
Step 3: Input Hugging Face Model Information
- Hugging Face Model ID (Required)
- Enter the Hugging Face model ID.
- Example:
- Model ID:
google-bert/bert-base-uncased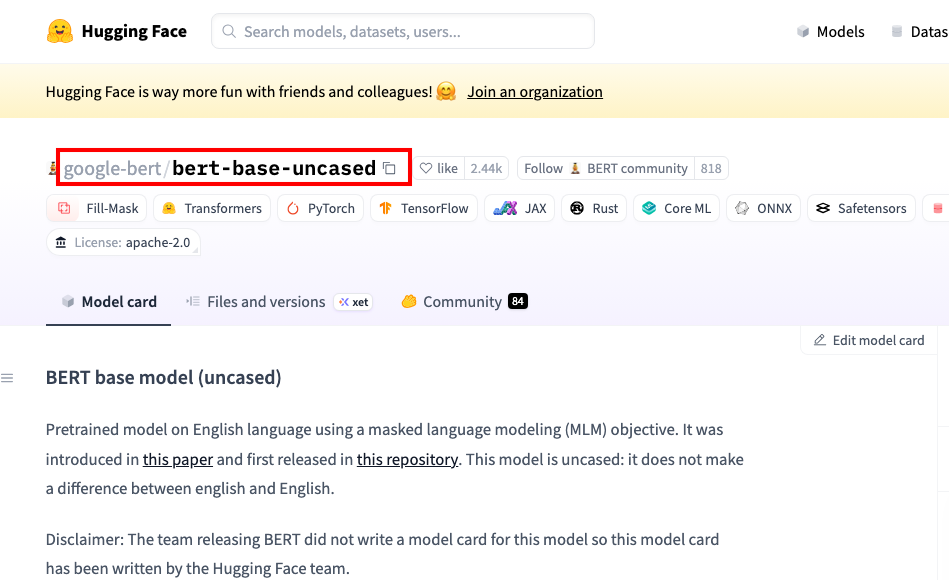
- Model ID:
- Click “Fetch Info” button
- Click on the Fetch Info button to retrieve and preview the model information you entered.
- If you lack model access permissions, an error message will be displayed.
Step 4: Enter Authentication Details (Optional)
- Username
- Enter your Hugging Face username.
- Needed for accessing private models.
- Hugging Face Token
- Enter your Hugging Face Access Token.
- Required for private models or models that require authentication.
Step 5: Set Visibility
Default is private, you can choose one of the two options below:
- Private (project only): Accessible only within the selected project.
- Public: Accessible to all users.
Step 6: Complete Model Import
- Once all information has been entered, click the "Save" button at the top right.
- A success message will appear, and you will be automatically redirected to the Model List page.
- Check that the imported model appears in the list.
- Verify the model status to ensure the import was successful.
- Model Statuses:
READY: Migration completed successfully; model is ready for deployment.MIGRATING: Model migration is currently in progress.FAILED: Migration failed; click "detail" to view the cause of failure.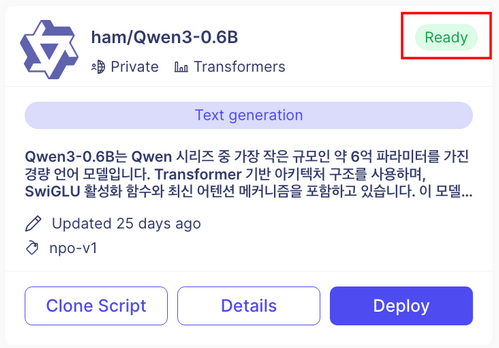
- Keep your Hugging Face Token secure.
- For private models, ensure you have the necessary access permissions.
- Importing large models may take some time.
Create Custom Model
Creating a private Model Repository enables you to register, store, and manage internally developed, customized, or self-created models. You can upload trained models and manage versions, centralizing model assets for easier collaboration and reuse.
Step 1: Start Creating a Model Repository
- On the model creation type selection screen, choose the Create model repo card.
- The card displays the Folder/File logo along with the description: "Upload files via repo clone":
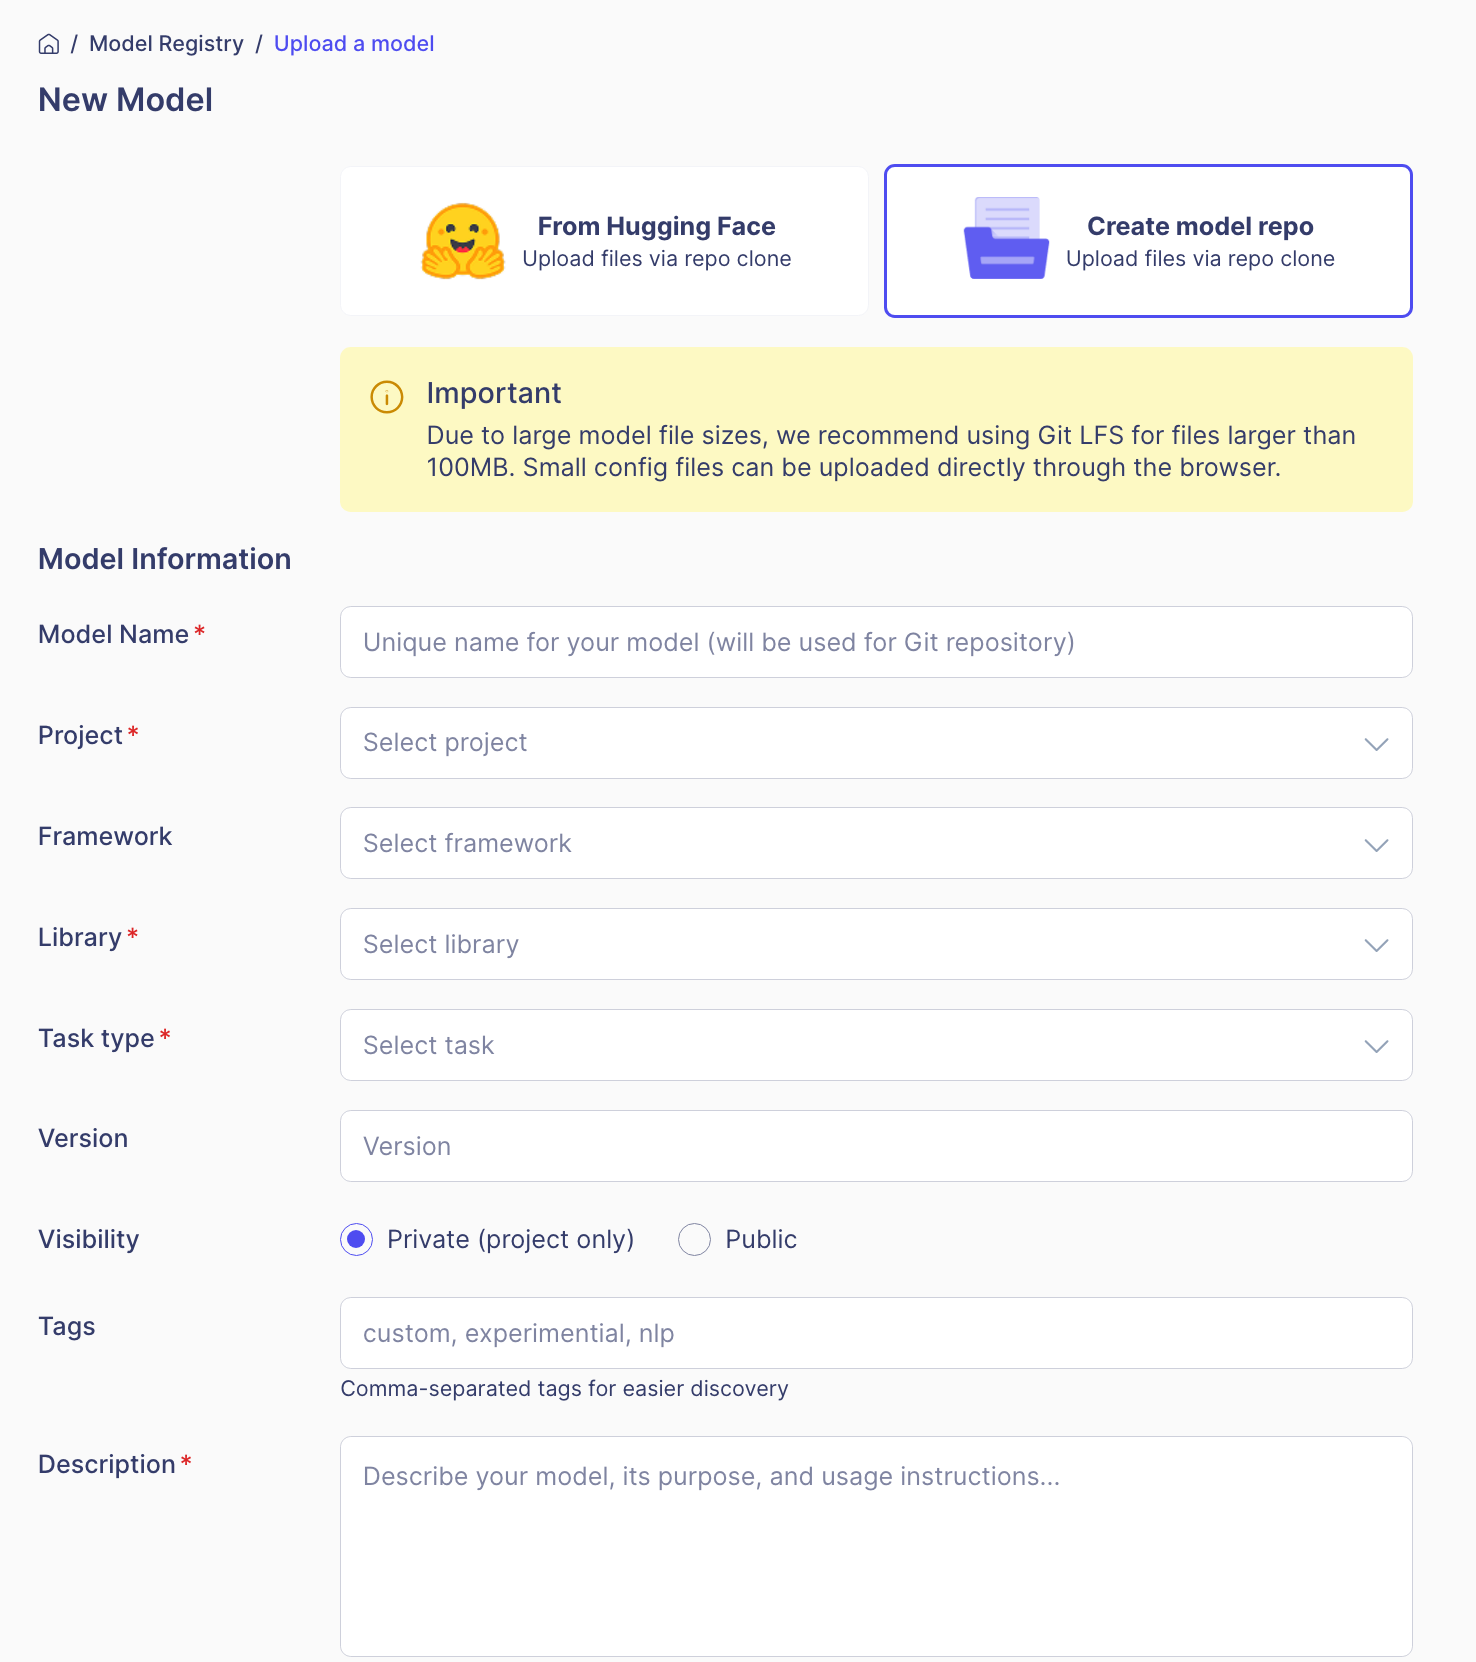
- For large model files (over 100MB), it is recommended to use Git LFS.
- Small configuration files can be uploaded directly via the browser.
Step 2: Enter Model Basic Information
- Model Name (Required)
- Provide a unique name for your model.
- This name will be used as the Git repository name.
- Example:
resnet50-custom,my-transformer-model
- Project (Displayed only if no project context exists)
- Choose the project to register the model under.
- Framework (Optional)
- Select the framework your model uses.
- Example: TensorFlow, PyTorch, ONNX, etc.
- Library (Required)
- Select the library your model uses.
- Example: transformers, diffusers, timm, etc.
- Task Type (Required)
- Select the task type for your model.
- Available options:
- Text Classification
- Token Classification
- Question Answering
- Translation
- Summarization
- Image Classification
- Object Detection
- Speech Recognition
- Text to Speech
- Version (Optional)
- Enter the version of your model.
- Example: “1.0.0”, ”v2.1-beta”
Step 3: Set Permissions and Metadata
- Visibility
- Private (project only): Accessible only within the selected project (default)
- Public: Accessible to all users
- Tags (Optional)
- Enter tags for easier model search, separated by commas.
- Example: ”custom”, “experimental”, “nlp”
- Description (Required)
- Provide a detailed description of your model.
- Suggested content:
- Model purpose
- Usage instructions
- Training data
- Performance metrics
- Limitations
- Model Icon (Optional)
- Upload an icon to represent your model.
- Supported formats: .png, .svg
- Maximum file size: 5MB
Step 4: Complete Repository Creation
- After entering all required information, click the Save button at the top right.
- Upon success, you will be automatically redirected to the detailed page of the newly created model.
Step 5: Upload Model Files
Once the model repository is created, you can upload model files using the following methods:
-
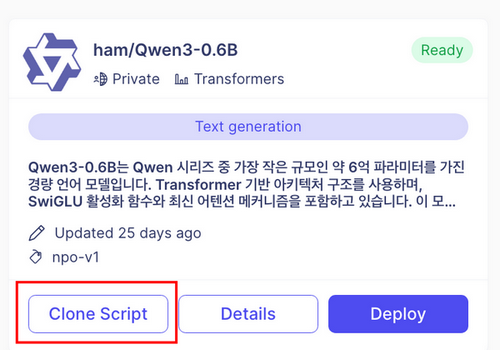
In the Model Card, use the Clone Script to set up the repository in your local directory.
-
Upload large files using Git LFS (recommended for large files)
# Git LFS 초기화
git lfs install

# 대용량 파일 추적 설정
git lfs track "*.bin"
git lfs track "*.safetensors"
git lfs track "*.h5"

# 모델 파일 추가 및 커밋
git add .
git commit -m "Add model files"
git push
Example Model Repository Structure
A typical model repository might look like:
my-model/
├── config.json              # Model configuration
├── pytorch_model.bin        # Model weights (PyTorch)
├── tokenizer_config.json    # Tokenizer configuration
├── vocab.txt                # Vocabulary file
├── README.md                # Model documentation
└── .gitattributes           # Git LFS configuration