Create and Update Deep Agent Profile
The NPO Studio allows you to create Deep Agent Profiles so that you can design, configure, and manage intelligent digital assistants tailored to specific tasks or use cases. Creating a Deep Agent Profile is the first step in building an AI agent that can operate independently or within a workspace, supporting activities such as customer support, data analysis, information retrieval, and more.
Initiate a New Agent Profile
Following the steps below to start creating a new agent profile:

-
Navigate to the AI Agent > Agent Profiles page from the main navigation menu.
-
In the top right corner, you’ll find the Create Agent button. Click the button then select Deep Agent to initiate the creation process.
-
Once you click the Create Agent button, the Agent Profile Settings form will appear. Enter the required information for you new agent:
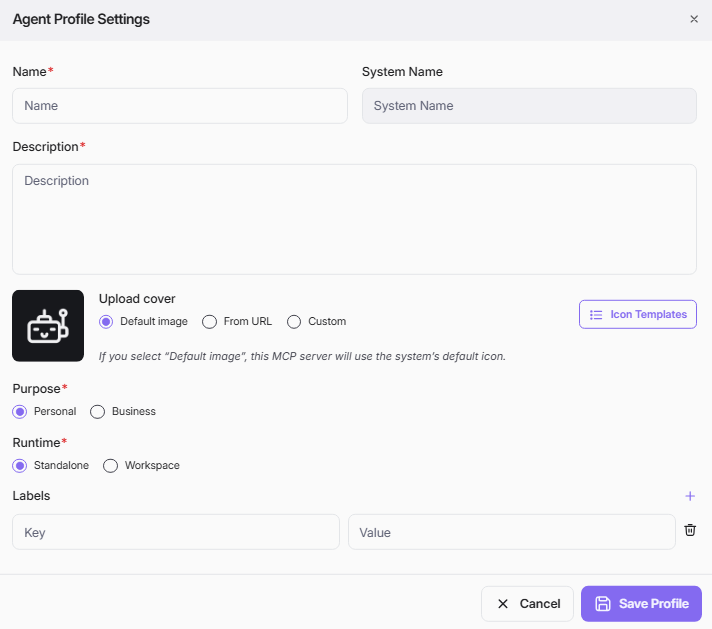
- Name: Enter a clear, descriptive name for your agent profile. This name will appear in the agent list and is used to identify your agent.
- System Name: The system name is auto-generated from the profile name and must be unique. This field cannot be edited directly. If the system name already exists, update the profile name so the system name will automatically change.
- Description: Write a detailed description explaining your agent’s functionality, target users, and key features. This helps others understand the agent’s purpose and scope.
- Upload Cover: Select a visual cover to represent your agent.
- You can upload a custom image file or provide an image URL.
- You may also browse Icon Templates for preset designs.
- If you do not select an image, a default cover will be automatically applied.
- Purpose: Indicate the intended use for the agent
- Personal: For individual or small team use.
- Business: For organizational or enterprise-level applications.
- Runtime: Choose where your agent will operate
- Standalone: Functions independently.
- Workspace: Integrated with collaborative environments.
- Labels: Add relevant labels to categorize and clarify the purpose of your agent. Use the ‘Add’ button (the + icon) to add more labels and the trash icon to remove any unnecessary ones.
Once you have entered all required information, click Save Profile to proceed to the Agent Profile Editor, where you can further customize your agent’s configuration.
Update Agent Profile
On screen Edit Deep Agent, you can follow these steps to configure your Main Agent as below:
-
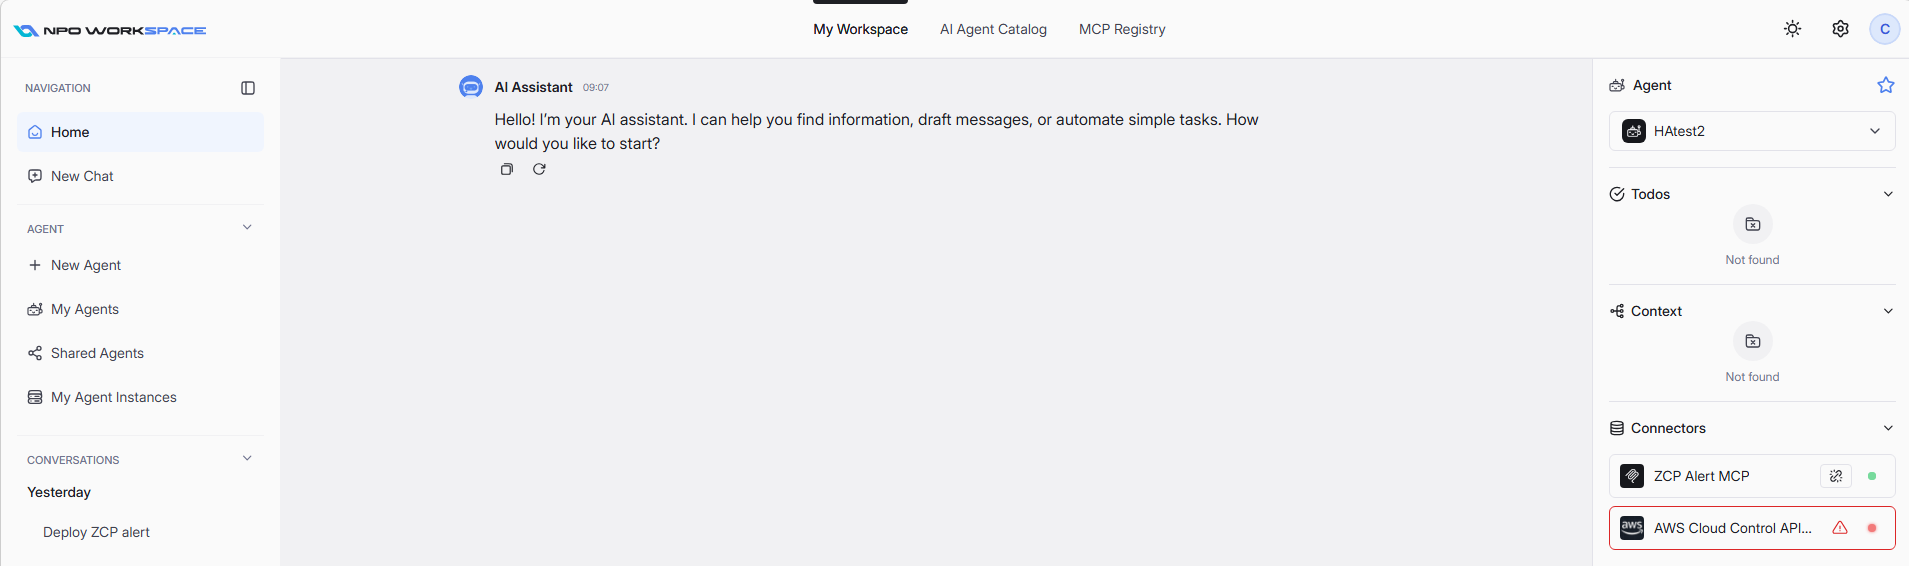
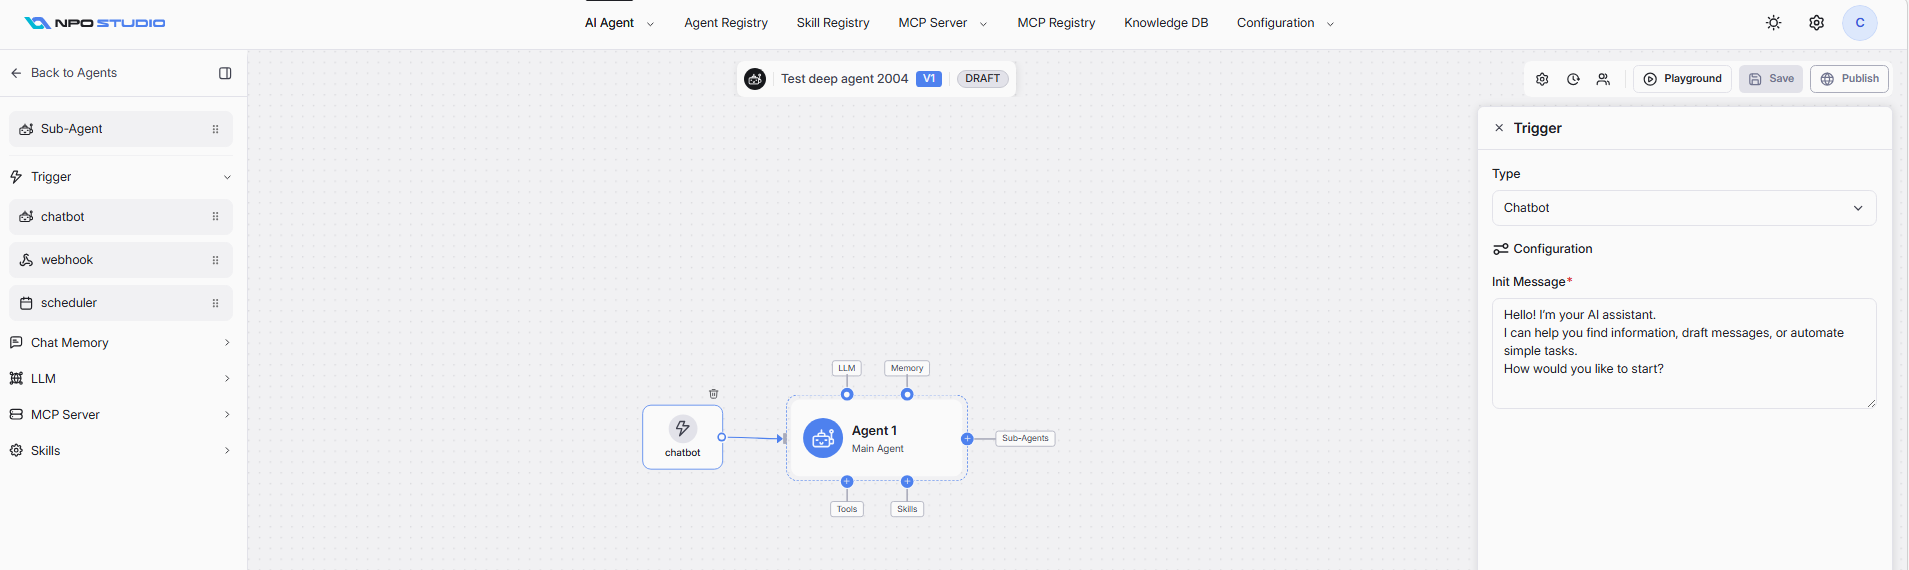
Drag and drop a trigger for your main agent (Chatbot, webhook or scheduler) to the design canvas. On the right hand side, input Init Message. (Init Message shall appear on screen Workspace when you first open workspace and select this agent to use).
-
Drag and drop Chat Memory. System currently supports PostgreSQL.
-
Drag and Drop a LLM. Available options are OpenAI or Anthropic or Google Gemini. Fill in setting for LLM on the right hand side
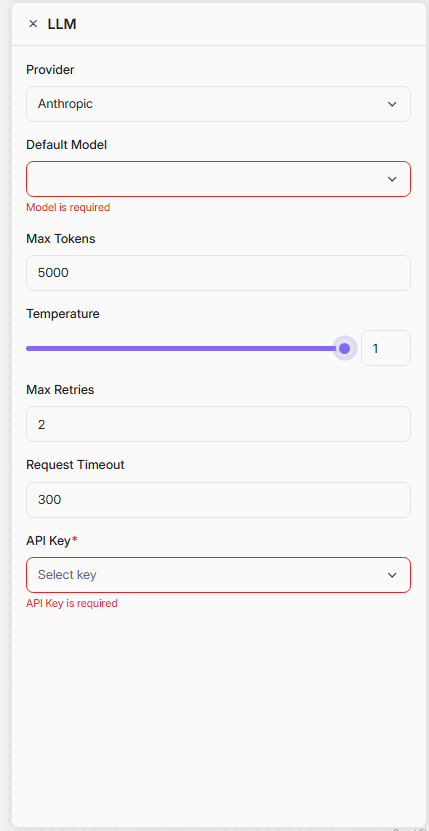
Click on an LLM node in the design canvas to open its configuration panel. The LLM panel defines how the agent communicates with the language model.
Provider
- The LLM provider to use for this agent.
- Select from the dropdown (e.g., Anthropic, OpenAI, Google Gemini).
- Determines the available models and API format
Default Model (Required)
- The specific model from the selected provider.
- Select from the dropdown list of models available under the chosen provider.
- Validation error:Â "Model is required"Â appears if no model is selected.
- Examples: Claude Sonnet 4, GPT 4o, Gemini 2.5 Pro.
Max Tokens
- Maximum number of tokens the model can generate in a single response.
- Default:Â 5000.
- Impact:
- Higher values allow longer responses but increase cost and latency.
- Lower values produce shorter, faster responses.
- Set based on your use case (e.g., short Q&A vs. long-form content generation).
Temperature
- Controls the randomness/creativity of the model's output.
- Adjustable via slider (range: 0 to 1).
- Values:
- 0: Deterministic — always picks the most likely token. Best for factual, consistent answers.
- 0.5: Balanced — moderate creativity with reasonable consistency.
- 1: Maximum creativity — more diverse and varied responses. Best for brainstorming or creative tasks.
- Default:Â 1.
Max Retries
- Number of retry attempts if an API call to the LLM fails.
- Default:Â 2.
- Impact:
- Higher values improve resilience against transient errors (e.g., rate limits, network issues).
- Too high may cause delays if the provider is experiencing persistent issues.
- Recommended: Keep at 2–3 for most production scenarios.
Request Timeout
- Maximum time (in seconds) to wait for a response from the LLM provider.
- Default:Â 300Â (5 minutes).
- Impact:
- Too low may cause timeouts on complex queries or large outputs.
- Too high may leave users waiting if the provider is unresponsive.
- Recommended: 120–300 for standard use; increase for long-running generation tasks.
API Key (Required)
- The authentication key used to access the LLM provider's API.
- Select from the dropdown of pre-configured API keys in your system.
- Validation error:Â "API Key is required"Â appears if no key is selected.
- API keys are managed in the Configuration section (Theme, Color and API Key settings).
Recommended LLM Settings
| Use Case | Temperature | Max Tokens | Max Retries | Timeout |
|---|---|---|---|---|
| Customer support bot | 0.2–0.4 | 2000 | 3 | 120 |
| Creative writing assistant | 0.7–1.0 | 5000 | 2 | 300 |
| Data extraction / structured output | 0 | 3000 | 3 | 180 |
| General-purpose agent | 0.5 | 4000 | 2 | 300 |
-
Drag and Drop one or multiple MCP Servers as tools for the agent. All MCP Servers from screen MCP Instances are available for usage.
-
Drag and Drop one or multiple skills file to use. Skill list is loaded from Skill Registry.
-
After tools and skills are added, navigate to the right hand side, tab Configuration to input Name and System Prompt.
-
Middleware settings: to intercept, modify, or control the execution flow of AI agent, go to tab Middleware to configure built-in Langchain middlewares. Refer to Middleware Configurations | Notion for more details.
-
After finishing settings middleware for the main agent, drag and drop sub-agent to the design canvas to continue setup. All components of Sub-Agent shall follow the same process as for Main Agent.
-
Playground. Refer to Playground Agent | Notion for detail steps.
-
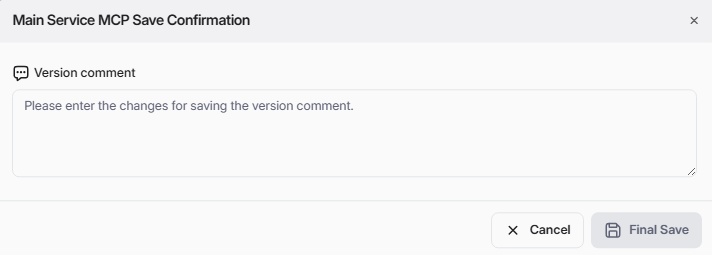
After verifying that agent run smoothly, click Save.
-
Provision the agent as a deployment step. Refer to (9+) Provisioning Agent | Notion for detailed steps.
-
Publish the agent for later use on workspace.