Clusters
View List of Clusters
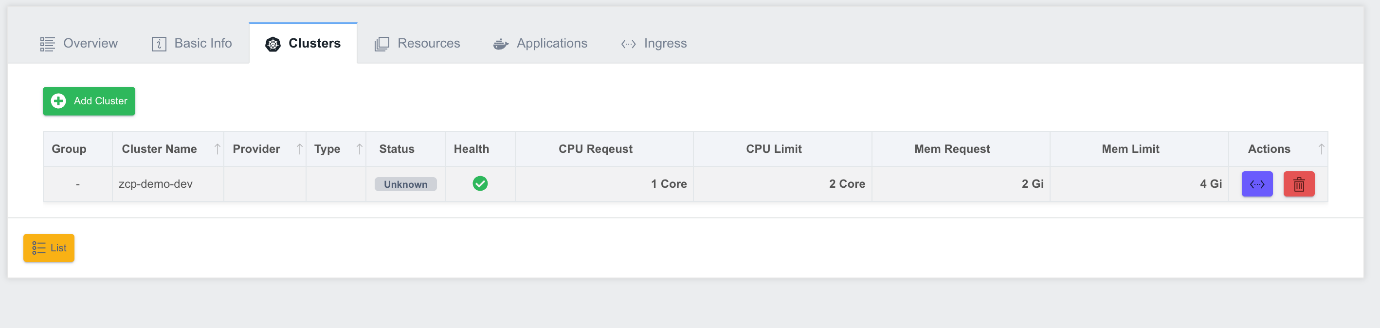
You can view a list of clusters that have been registered and set up to deploy in a deployment group.
-
Cluster Name: The name of the cluster.
-
Provider: Cloud platform provider.
-
Type: The type of the cluster.
-
Status: The uptime status of the cluster, displayed as a value of Ready/Stop/Unknown.
-
Health: The health status of the cluster, displayed in green/yellow/red colors.
-
CPU Request: The CPU Request usage percentage value for the Deployment Group in the cluster.
-
CPU Limit: The CPU Limit usage percentage value for the Deployment Group in the cluster.
-
Mem Request: The value of the percentage of Mem Request usage for the Deployment Group in the cluster.
-
Actions: A collection of function buttons, responsible for the following functions (from left to right):

- Configuration: Cluster Configuration settings
- Delete: Delete a cluster
Adding a Cluster
You can add a cluster by clicking the Add Cluster button in the upper left corner of the list view screen of the Deployment Group Cluster Tab. The Add Cluster pop-up screen opens and displays a list of clusters that can be added.
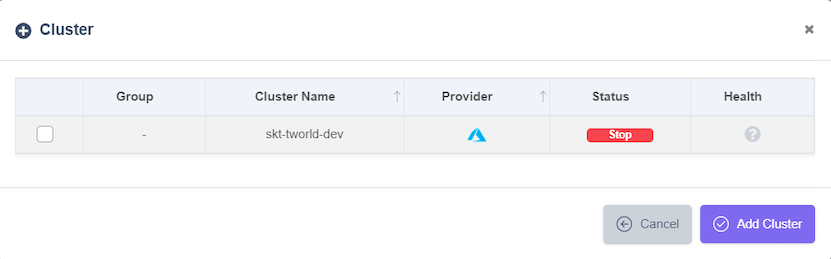
Select the check box of the cluster you want to add and click the Add Cluster button. The Add Cluster pop-up screen closes and the cluster you added to the list is displayed. When a cluster is added, the namespace set when creating a Deployment Group is automatically created for the cluster.
Setting Cluster Properties
You can configure a registered cluster. Click the Configuration button in the cluster's Actions section.
The Cluster Configuration pop-up screen opens:
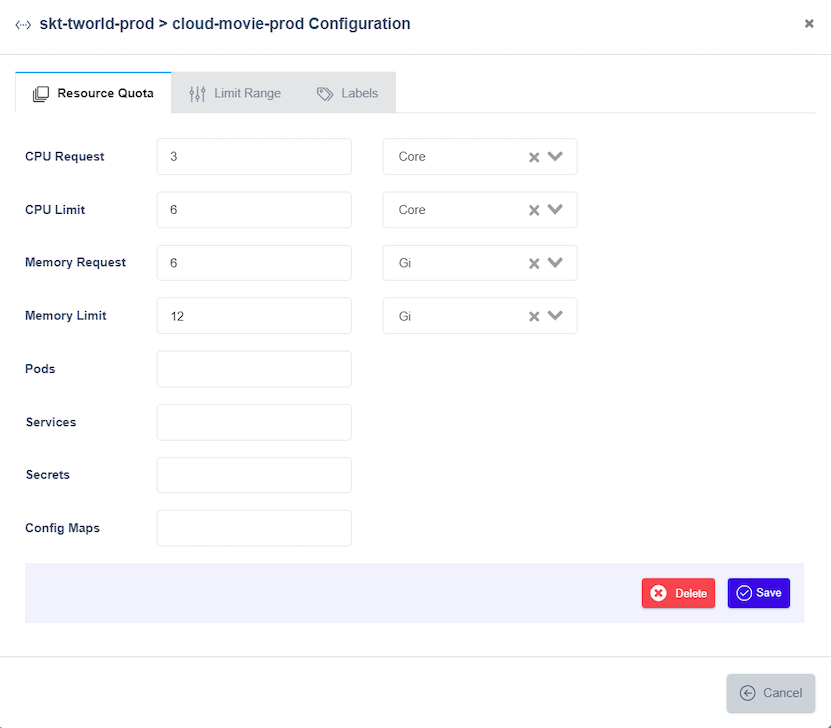
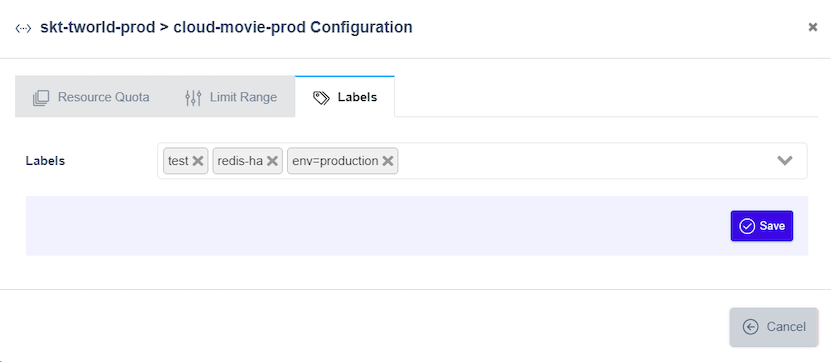
The Configuration screen consists of the Resource Quota, Limit Range, and Labels tabs. If there is a previously saved configuration, the pop-up screen opens with the search completed. Limit the size and number of resources in the set namespace.
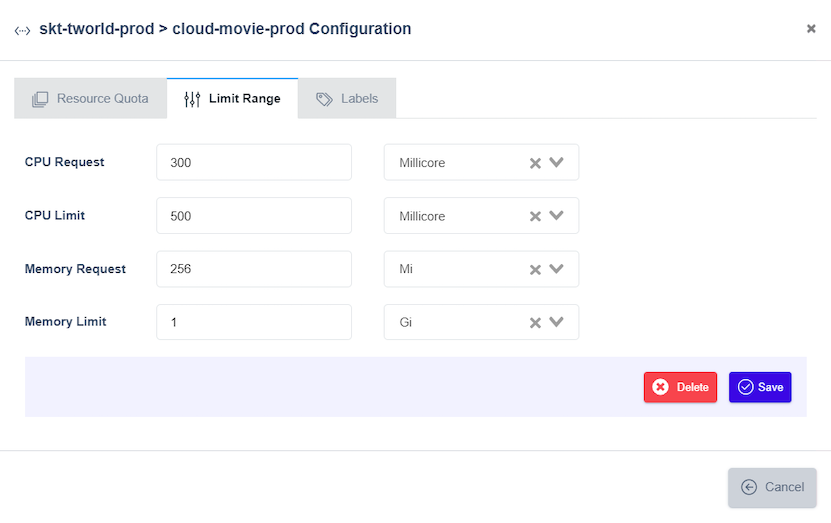
In the Limit Range tab. Limit the CPU, memory of the workload in the Namespace:
In the Labels tab, you can define labels for the cluster:
Delete a Cluster
Delete a registered cluster. On the list view screen of the Deployment Group Cluster Tab, click the Delete Action to delete the cluster. Click the Delete button within the Actions item for the cluster you want to remove from the Deployment Group. This does not delete the actual cluster but removes it as a member of the Deployment Group.
Please note that the Namespace created when adding to the Deployment Group will be deleted and all resources deployed in it will be deleted.
Set Up Common Resources
You can manage the Kubernetes resources (Persistent Volume Claims, ConfigMaps, Secrets) that will be deployed to the cluster. Click the Resources tab at the top of the screen. The Resources screen is organized as follows:
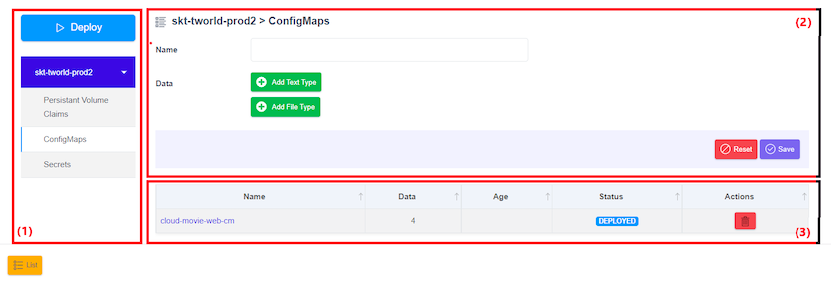
➀ Deploy button and cluster-specific resource menu: The cluster names registered on the Clusters tab are displayed as a menu. Each cluster name has submenus for Persistent Volume Claims, ConfigMaps, and Secrets.
➁ Edit resources: Create or edit resources in the cluster.
➂ Resource List: Gets a list of resources registered in the cluster.
Set Up Persistent Volume Claims
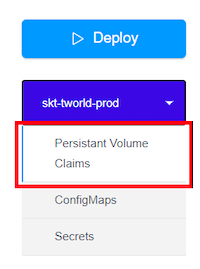
On the Resources screen, select cluster from the left menu and select the Persistent Volume Claims menu from the cluster's submenu.
You will see a screen where you can create a Persistent Volume Claim (PVC) and a list of PVCs registered in the cluster.
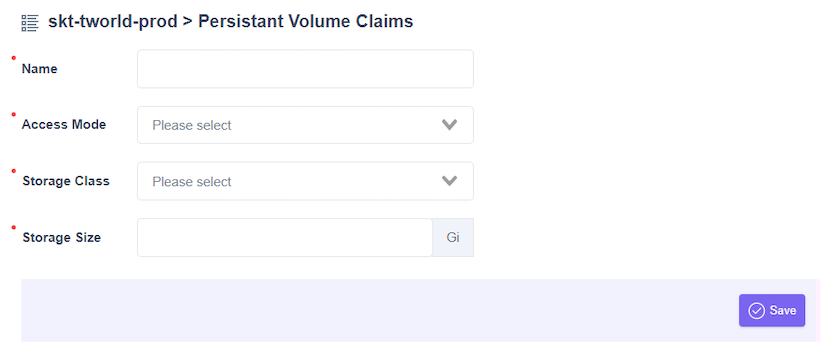
After entering the correct values for each item, the Save button becomes active. After clicking the Save button, the PVC is created and automatically added to the list at the bottom of the screen.
You can delete a PVC from the cluster by clicking the Delete button in the Actions section of the PVC list. Added or deleted PVCs are not immediately reflected in the cluster but are reflected through the Deploy feature.

- Name: The name of the PVC.
- Bound: The Status value of the PVC in Kubernetes.
- Volume: The VolumeName value of the PVC in Kubernetes.
- Capacity: Storage Size.
- Access Mode: Access Mode.
- Storage Class: The name of the storage class.
- Age: The Age value of the PVC in Kubernetes.
- Status: Displayed as one of the following values: CREATED/DEPLOYED/UPDATED/UNKNOWN.
- Actions: A collection of function buttons, including the Delete button, which functions as a delete.
Set Up ConfigMaps
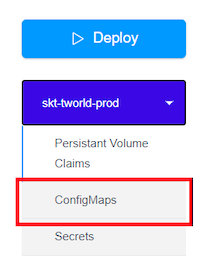
On the Resources screen, select cluster from the left menu and select the ConfigMaps menu from the cluster's submenu.
You will see a screen where you can create a ConfigMap and a list of ConfigMaps registered in the cluster.
This is the ConfigMaps creation screen. After you enter the correct values for each item, the Save button becomes active.
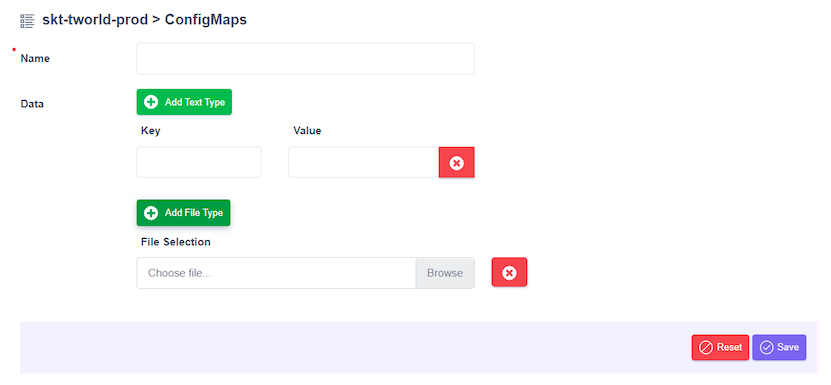
When you click the Save button, the ConfigMap is created and automatically added to the list at the bottom of the screen:

- Name: The name of the ConfigMap.
- Data: The number of Data in the ConfigMap.
- Age: The Age value of the ConfigMap in kubernetes.
- Status: Displayed as one of the following values: CREATED/DEPLOYED/UPDATED/UNKNOWN.
- Actions: A collection of function buttons, including the Delete button, which functions as a delete.
You can delete a ConfigMap from the cluster by clicking the Delete button in the Actions section of the ConfigMap list. Added or deleted ConfigMaps are not immediately reflected in the cluster, but through the Deploy feature.
Set Up Secrets
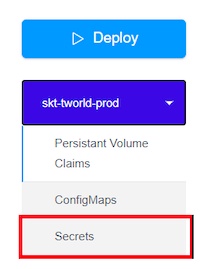
On the Resources screen, select a cluster from the left menu and select the Secrets menu from the cluster's submenu
You will see a screen displaying both the option to create a new Secret and a list of Secrets already registered in the cluster.
The following is the Secret creation screen:
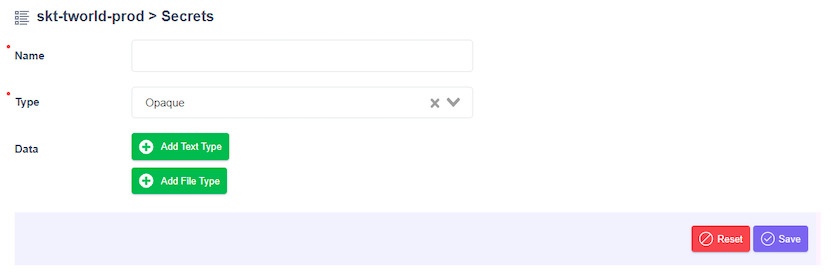
After entering the correct values for each item, the Save button becomes active. Click the Save button to create the Secret and it will be automatically added to the list at the bottom of the screen.

- Name: The name of the Secret.
- Type: The type of Secret.
- Data: The number of data entries contained in the Secret.
- Age: The age of the Secret in Kubernetes.
- Status: Displays one of the following statuses: CREATED, DEPLOYED, UPDATED, or UNKNOWN.
- Actions: A set of action buttons, including a Delete button for removing the Secret.
Click the Name item in the Secret list to view its contents on the input screen, and click the Save button to save any edits. To delete a Secret from the cluster, click the Delete button in the Actions section of the Secret list. Added or deleted Secrets are not immediately reflected in the cluster; changes are applied through the Deploy function.