User Management
ZCP 콘솔은 완벽한 사용자 관리 기능을 제공합니다.
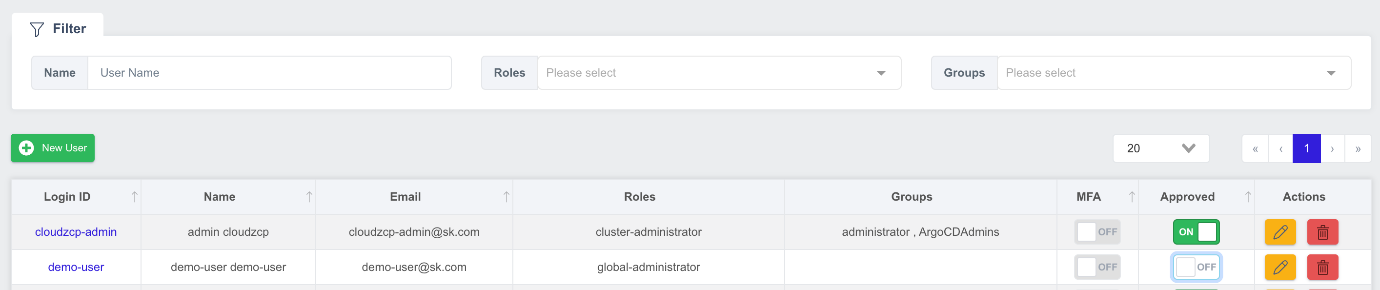
사용자 조회 및 검색
등록된 모든 사용자를 보고 화면 상단의 필터 기능을 사용하여 이름, 역할 및 그룹으로 사용자를 검색할 수 있습니다. 사용자가 많을 경우 페이지 기능을 제공합니다.
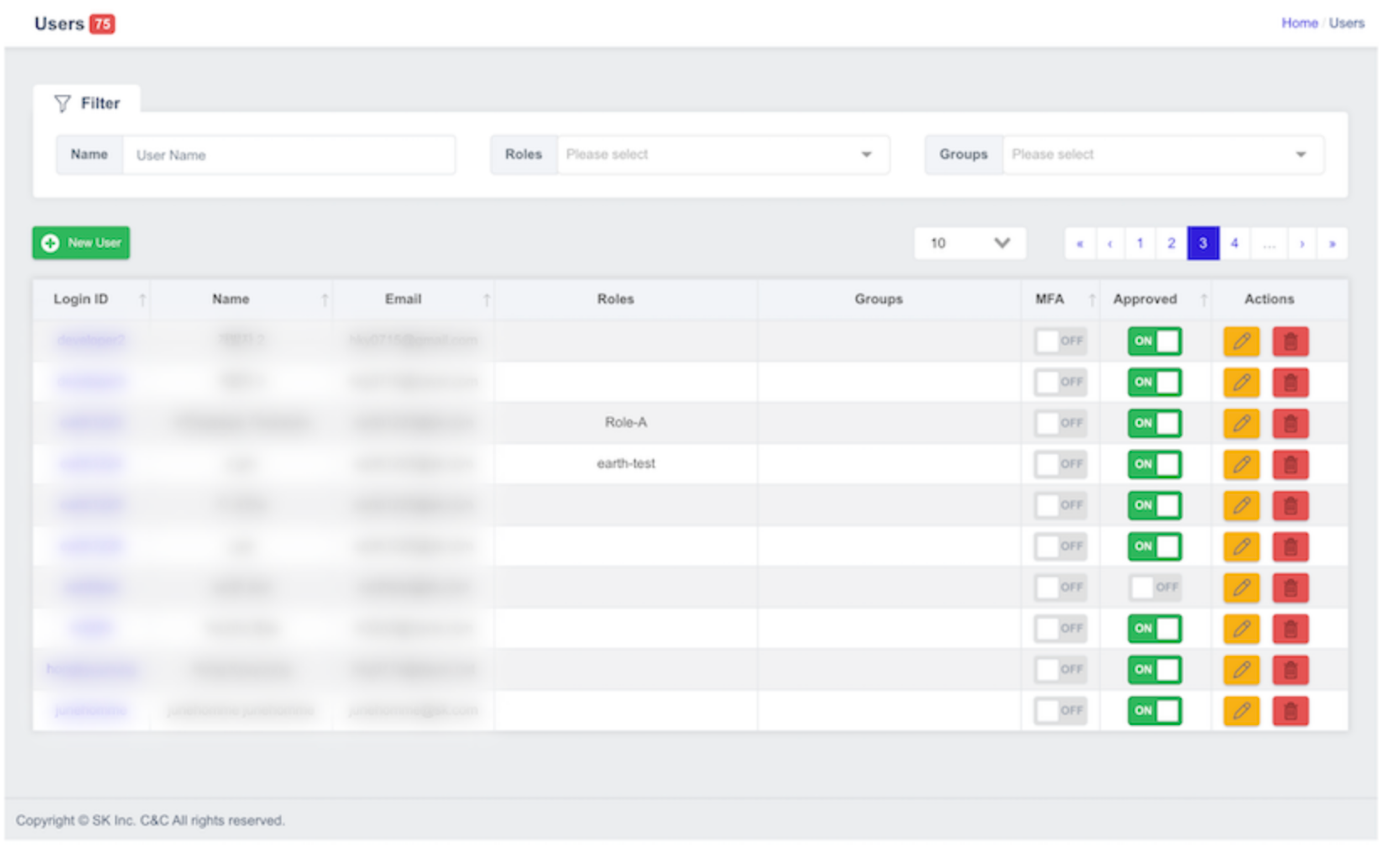
- Login ID: 사용자의 로그인 ID가 표시됩니다. 클릭하면 사용자 세부정보 페이지로 이동합니다.
- Name: 사용자 이름이 표시됩니다.
- Email: 사용자의 이메일이 표시됩니다.
- Roles: 사용자에게 할당된 역할이 표시됩니다.
- Groups: 사용자가 속한 그룹이 표시됩니다.
- MFA: 사용자 계정에 다중 인증(MFA)이 활성화되어 있는지 여부입니다.
- Approved: 사용자 가입 애플리케이션은 상태 조회를 승인하는 버튼을 표시합니다.
- Actions: 사용자에 대한 편집 작업을 수행하는 버튼이 표시됩니다.
사용자 가입 승인
사용자 가입 페이지를 통해 가입을 신청한 사용자를 승인하여 ZCP을 사용할 수 있도록 할 수 있습니다.
- 사용자 목록 화면에서 승인 상태가 꺼진 사용자를 조회합니다.
- 상태를 켜기로 변경하려면 온/오프 토글 버튼을 클릭합니다.
이제 승인된 사용자는 로그인하여 프로젝트를 생성할 수 있으며, 프로젝트 관리자는 승인된 사용자를 프로젝트 구성원으로 초대할 수 있습니다.
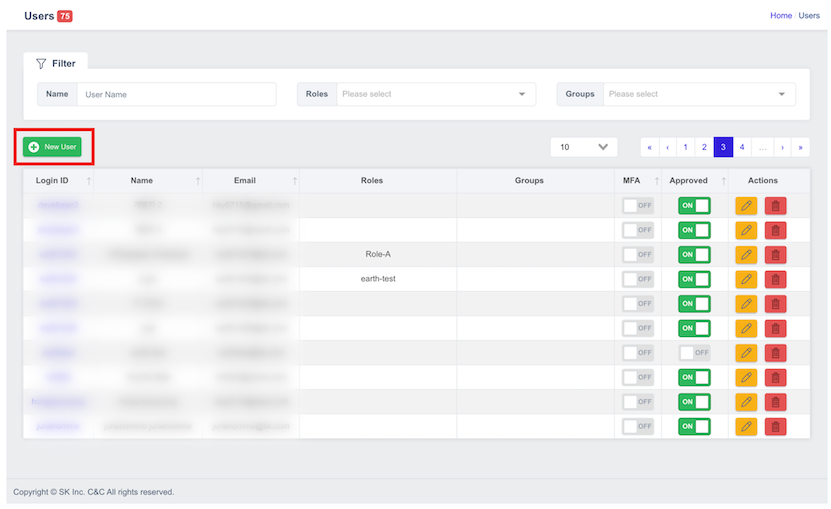
새 사용자 추가
시스템 관리자는 사용자 관리 기능을 통해 사용자를 직접 등록할 수 있습니다. 사용자 목록 화면에서 New User 버튼을 클릭합니다.
새 사용자 생성 화면에서 첫 번째 탭 Basic Info의 각 항목에 대한 사용자 정보를 입력합니다:

- User ID: 사용자 ID를 입력합니다. 사용자 이름은 문자, 숫자만 포함할 수 있으며 "-"와 "."를 입력할 수 있습니다. 최대 50자를 입력할 수 있습니다.
- Last name: 사용자의 성을 입력합니다. 최대 255자를 입력할 수 있습니다.
- First name: 사용자의 이름을 입력합니다. 최대 255자를 입력할 수 있습니다.
- Email: 이메일 형식에 맞게 사용자의 이메일을 입력합니다.
- Roles: 시스템 관리자로 등록하는 경우에만. 시스템 관리자 역할을 선택합니다.
- Groups: 시스템 관리자로 등록하는 경우에만. 시스템 관리자 그룹을 선택합니다.
- Approved: 가입할 때 애플리케이션 상태를 승인으로 설정할 수 있습니다.
- User Enabled: 사용자 계정의 상태를 활성화/비활성화로 설정할 수 있습니다.
- Email Verified: 사용자의 이메일에 대한 확인 상태를 주로 설정할 수 있습니다.
새 사용자 생성 화면에서 두 번째 탭 Credentials, 로 이동하여 비밀번호 및 다중 인증(MFA)을 설정합니다.
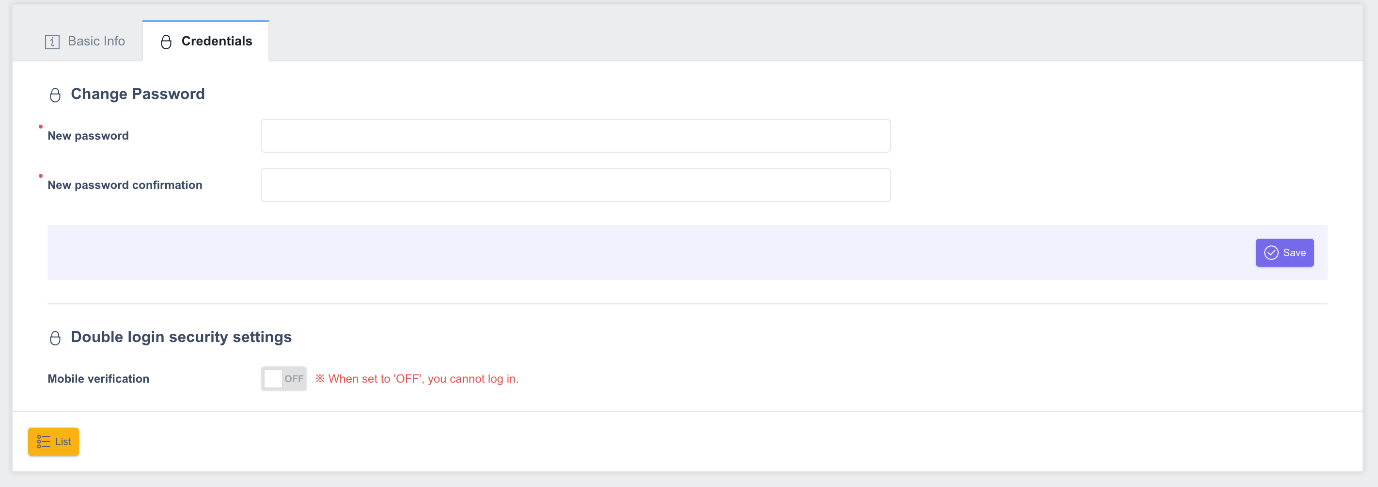
- New password: 대문자, 소문자 및 숫자를 각각 하나 이상 포함하는 8~20자의 비밀번호를 입력합니다.
- New password confirmation: 1단계에서 입력한 비밀번호와 동일한 값을 한 번 더 입력합니다.
- 모바일 인증(MFA)을 시행할지 여부를 설정할 수 있습니다.
- 사용자 등록을 완료하려면 Save 버튼을 클릭합니다.
사용자 정보 관리
등록된 사용자 정보를 변경할 수 있습니다. 사용자 목록 보기 화면에서 사용자 이름(1) 또는 연필 모양의 버튼(2)을 클릭하여 사용자 세부정보 페이지로 이동합니다.

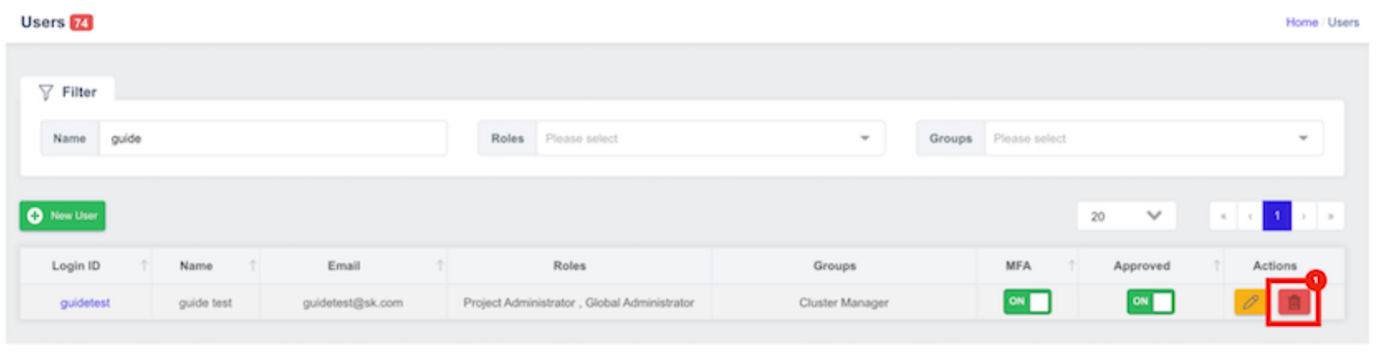
사용자 삭제
등록된 사용자를 삭제할 수 있습니다. 사용자를 삭제하려면 사용자 목록 보기 화면으로 이동합니다. 오른쪽의 작업 열에서 Delete 버튼을 클릭합니다:
사용자 삭제 확인 팝업 창이 표시됩니다. 삭제할 사용자 이름을 확인하고 OK 버튼을 클릭하여 사용자를 삭제합니다:
