Traffic Policy List
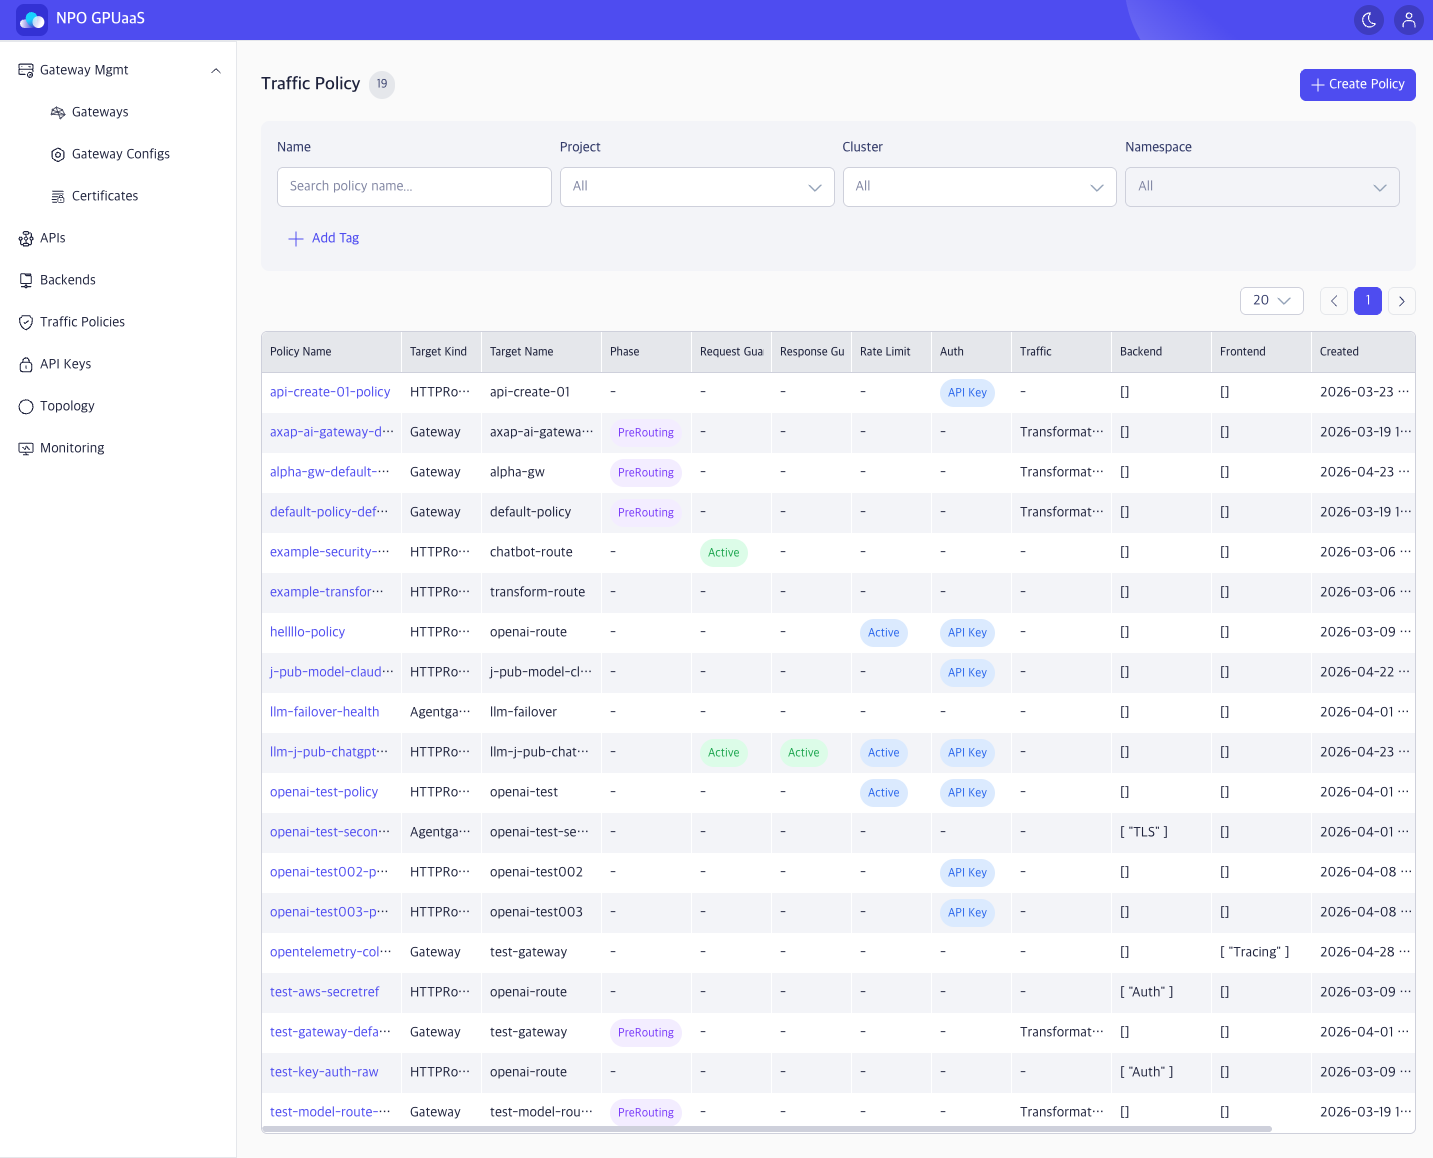
The Traffic Policy List screen allows users to view, filter, and manage all traffic policies applied to Gateways and Route such as authentication, rate limiting, header transformations, and AI prompt guards.
Access Traffic Policy List Screen
In the left-side navigation, select Traffic Policies:
Search the Traffic Policy
You can use the Search function to quickly find specific Traffic Policy:
- Name: Filter by Traffic Policy name
- Project: Filter by Project (default: All)
- Cluster: Filter by Cluster (default: All)
- Namespace: Filter by Namespace (default: All)
Search results are displayed immediately after the user enters a keyword or selects a value.
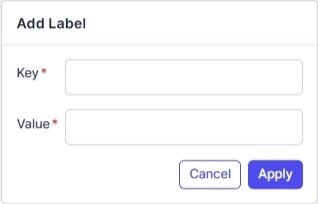
User can click Add Tag to add tag filters. Multiple tags are supported and combined using AND logic:
View Traffic Policy List
You can see a table listing all Traffic Policies matching your filters (if any). The information includes:
- Policy Name: Policy name (click to open policy detail)
- Target Kind: The type of resource the policy is attached to (e.g., HTTPRoute, Gateway, Agentgateway)
- Target Name: Name of the attached resource
- Phase: Processing phase badge (e.g., PreRouting, Active).
- Request Gua/ Response Gu: Information indicating whether request/response guardrail inspection is enabled (Active/-)
- Rate Limit: Information indicating whether rate limiting is enabled
- Auth: Authentication method (e.g., API Key)
- Traffic: Traffic transformation (may be truncated, e.g., Transformat…)
- Backend: Backend policies displayed as chips
- Frontend: Frontend policies displayed as chips (multiple values possible)
- Created: Policy created time Date time when policy was created.
- Namespace: Namespace information
Action
Create Policy
User can click Create Policy to create a new Policy. When clicked, navigates to Create Policy screen.
View Details
User can click the Policy name to open the Policy Detais page.
Delete
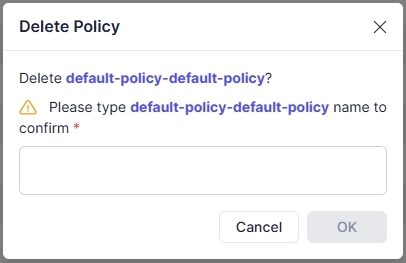
User can delete a policy by clicking the Trash icon. Upon clicking, a confirmation popup will appear, and users must enter the policy name to confirm deletion: