Build and Deploy an Application
アプリケーションを構築してデプロイするには、以下の手順を完了してください。
- ソースリポジトリを設定する
- Harborロボットアカウントを作成する
- アプリケーションを作成する
- ビルドパイプラインを作成する
- デプロイメントグループを作成する
- デプロイメントグループにクラスターを追加する
- デプロイメントグループにアプリケーションを追加する
- デプロイメント仕様を構成する
- アプリケーションをデプロイして確認する
ソースリポジトリを設定する
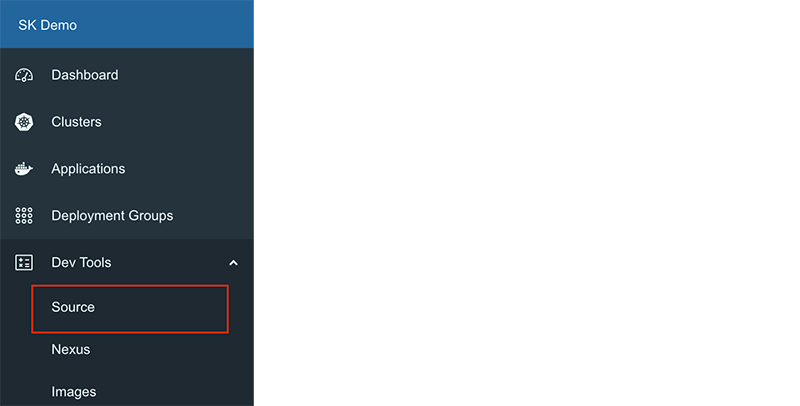
- コンソールの左側メニューで、Dev Tools > Sourceに移動してGitHubのソースリポジトリダッシュボードを開きます:
-
ここで、アプリケーションのソースコードリポジトリを作成します。
-
作成したアプリケーションのGitリポジトリURLをコピーします。
Harborロボットアカウントを作成する
コンテナイメージを構成するには、プロジェクトのコンテナイメージregistryにrobot accountを作成します。
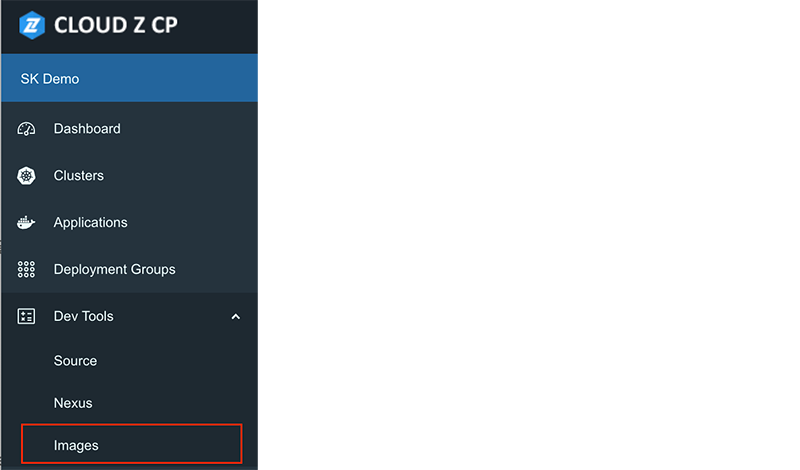
- コンソールの左側メニューで、Dev Tools > Imagesに移動してHarborレジストリを開きます:
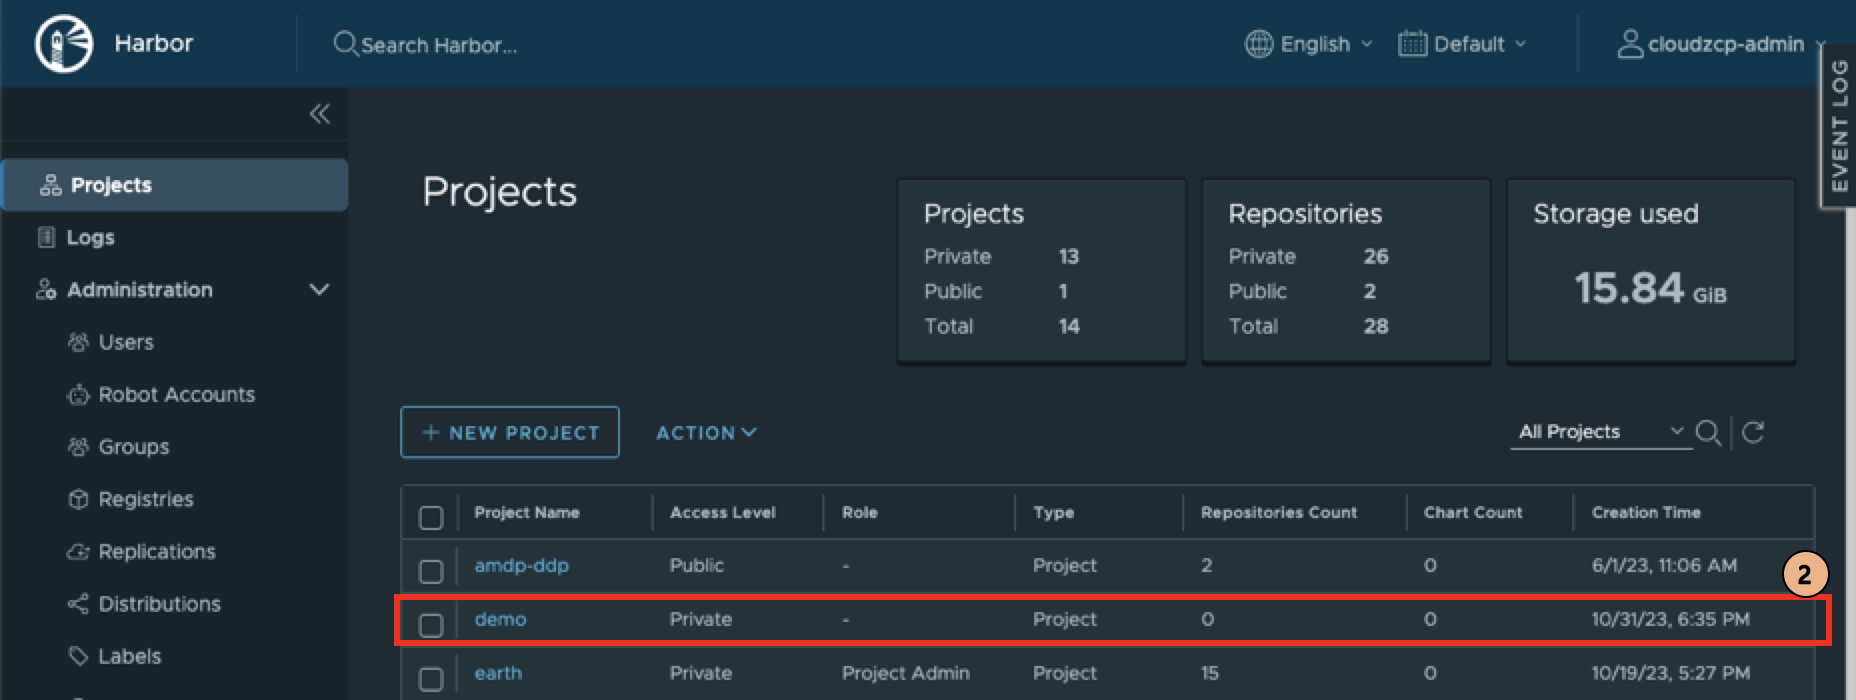
- Harborウィンドウで、プロジェクトリストから適切なプロジェクトを選択します:
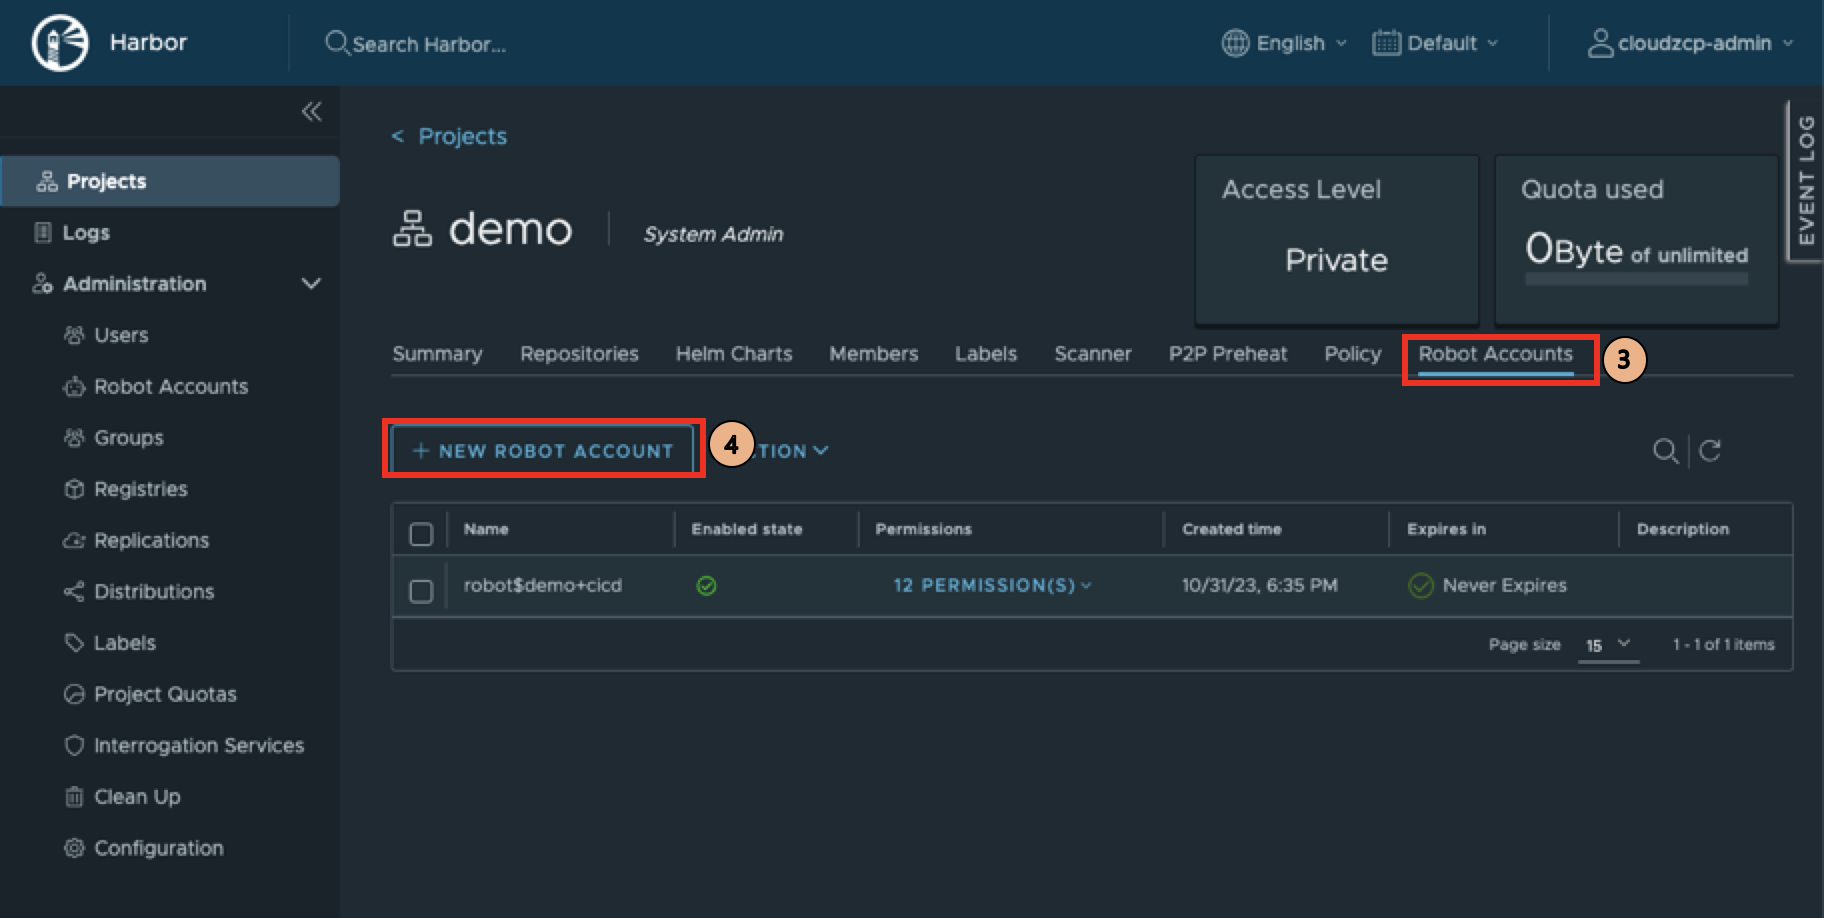
- Robot Accountsタブに移動します:

- New Robot Accountボタンをクリックします:
- 必要な詳細を入力し、Addをクリックします:

- 作成後、ロボットアカウントの名前とトークンが表示されます:
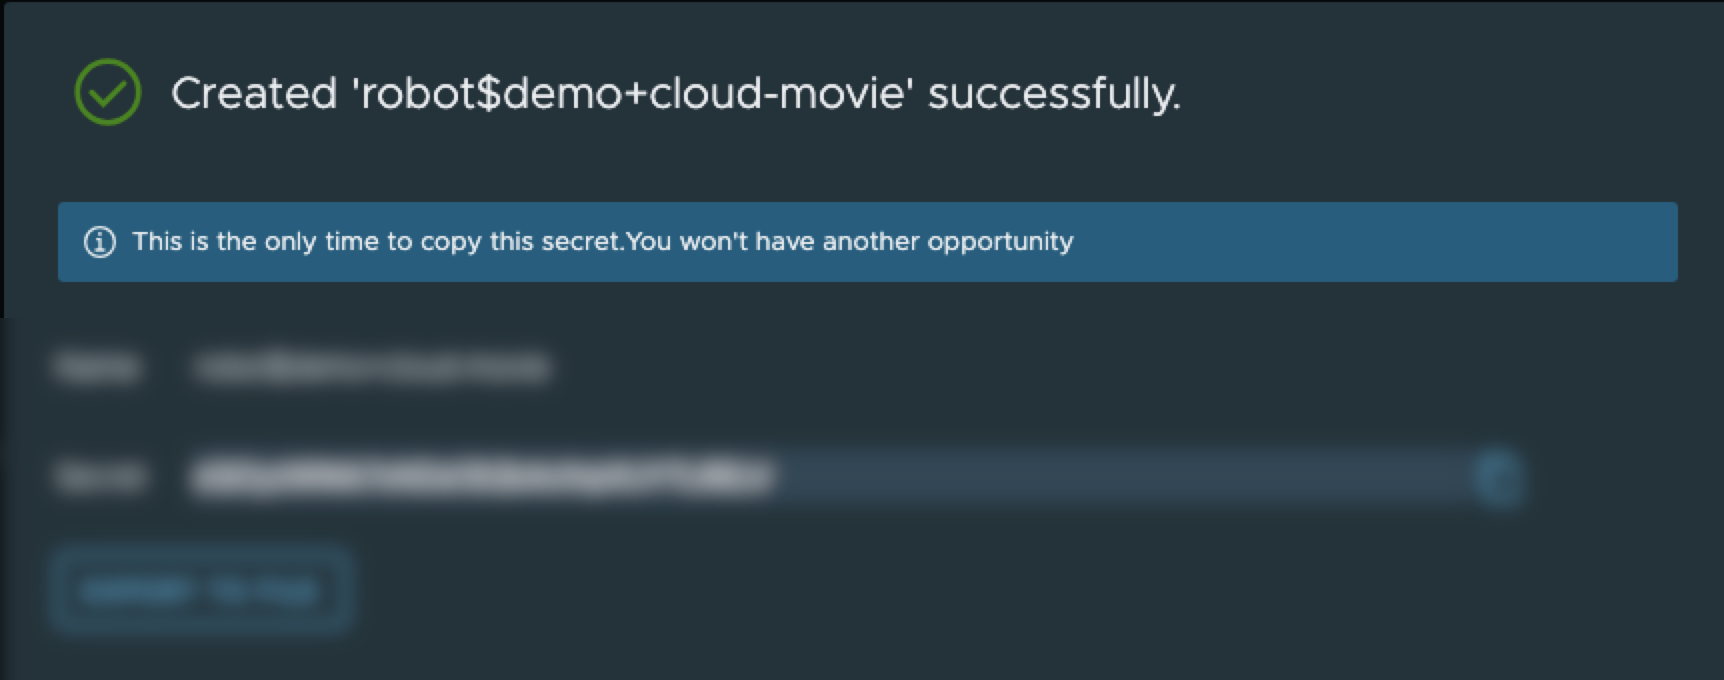
トークンは再表示されません。Export to Fileボタンをクリックして保存してください。
アプリケーションを作成する
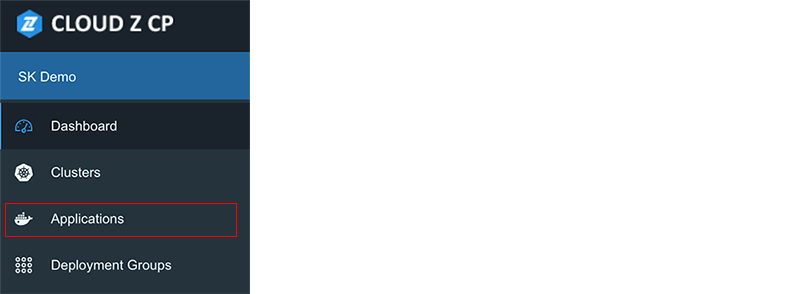
- プロジェクトコンソールで、左側メニューからApplicationsに移動します:
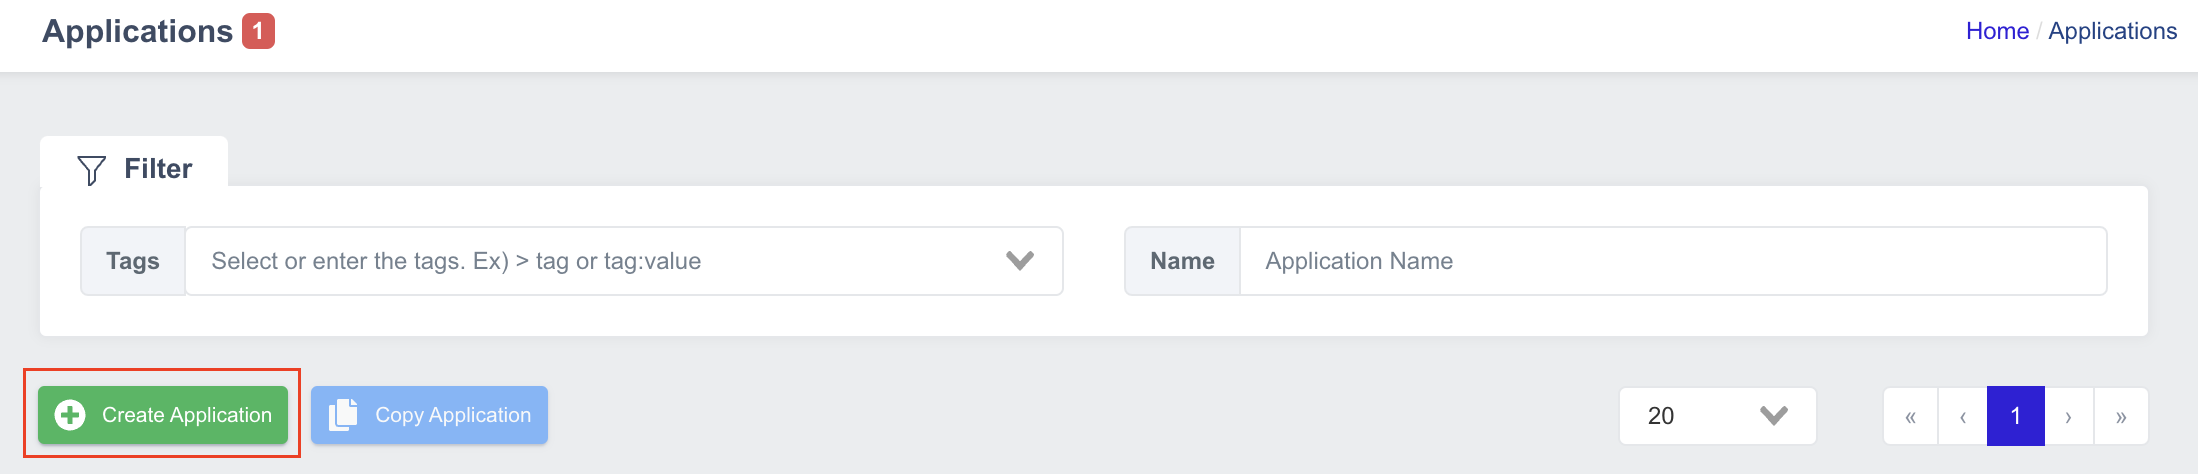
- Create Applicationボタンをクリックします:
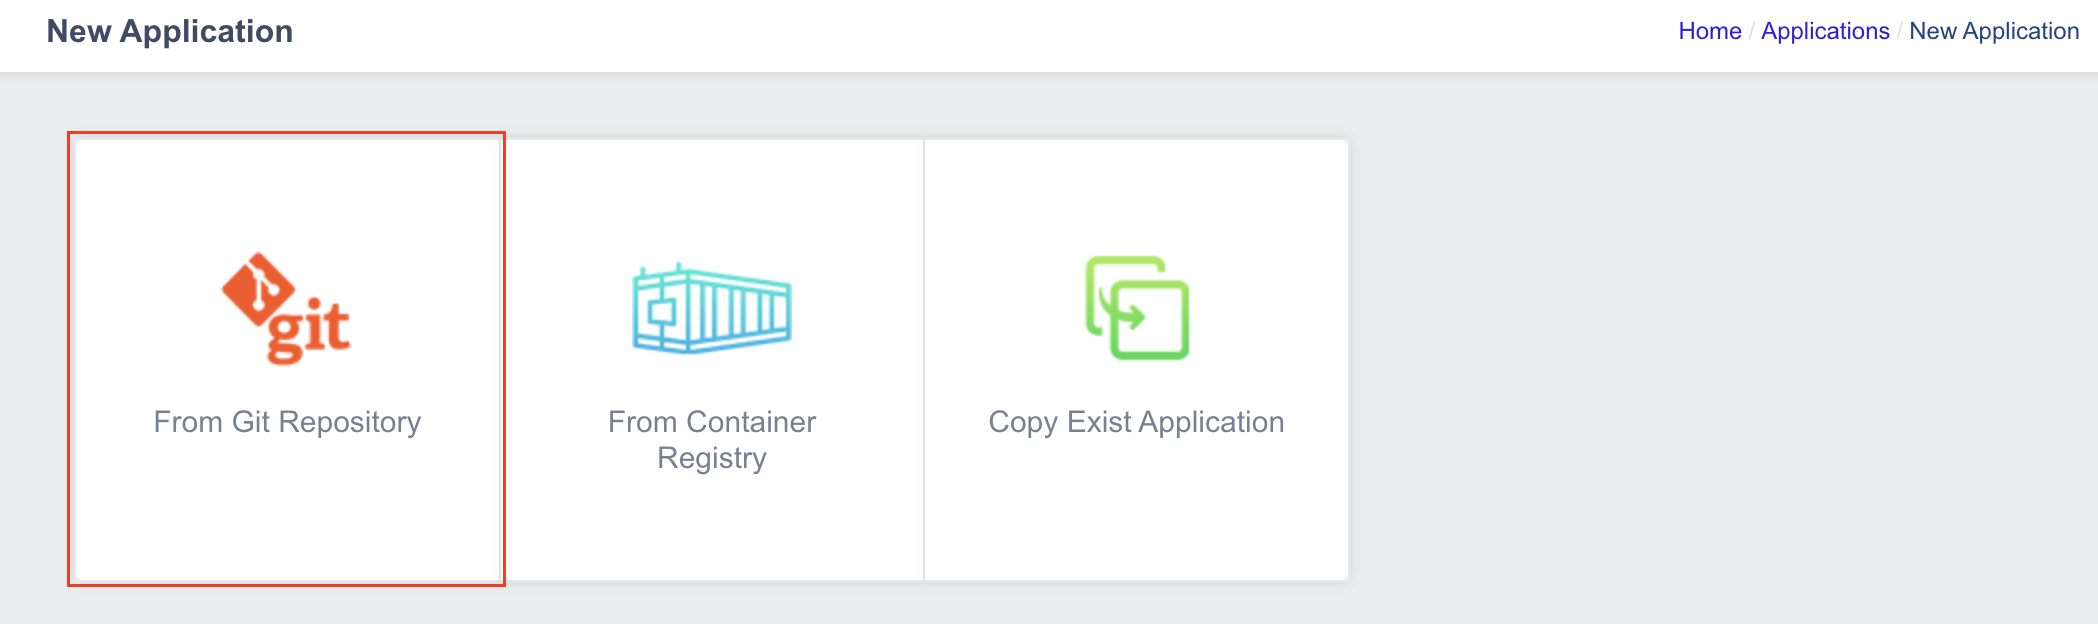
- ソースを選択します(例:From Git Repository):
- アプリケーション情報を入力します:

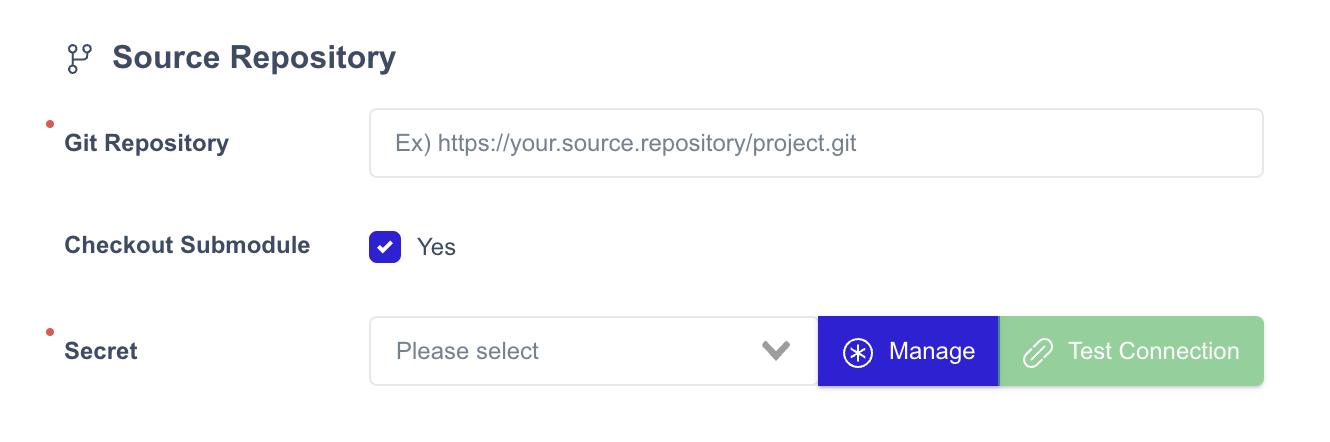
- Source Repositoryを構成します:
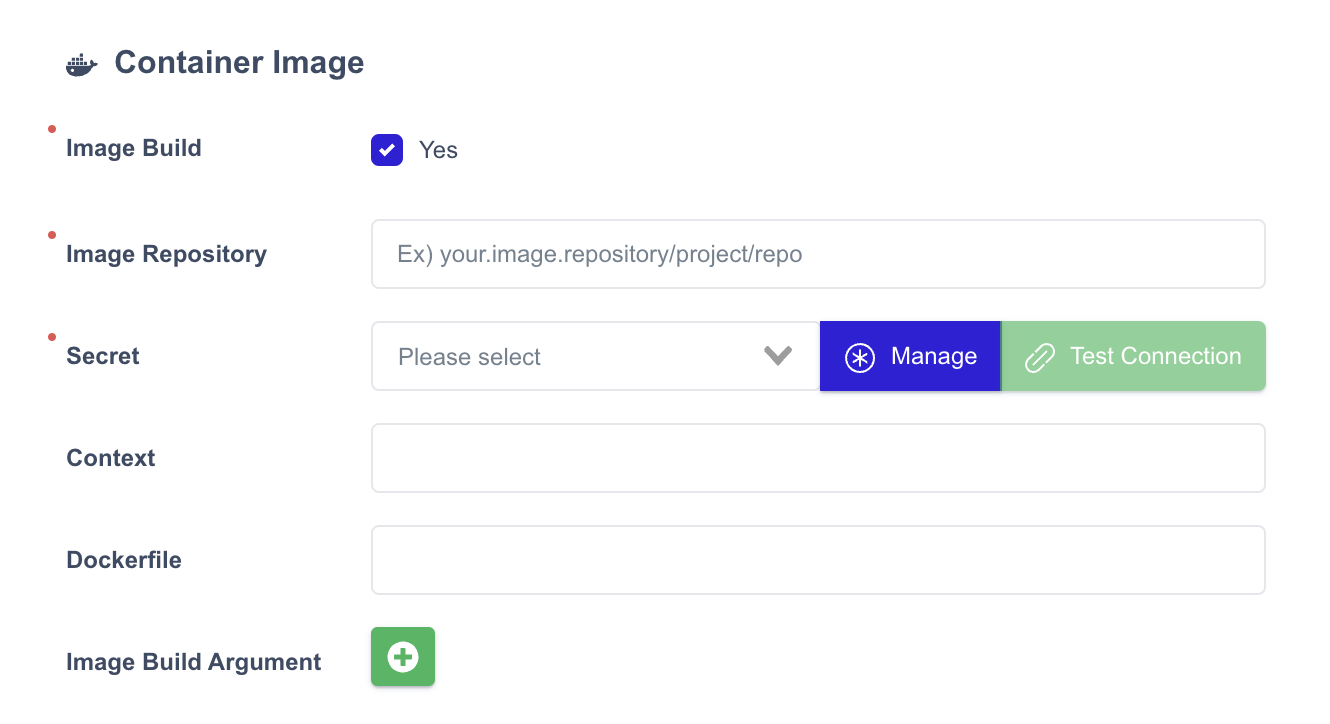
- Container Imageを構成します:
- すべての設定を確認し、Saveをクリックします。
ビルドパイプラインを作成する
-
アプリケーションリストから、アプリケーションを選択して設定を開きます。
-
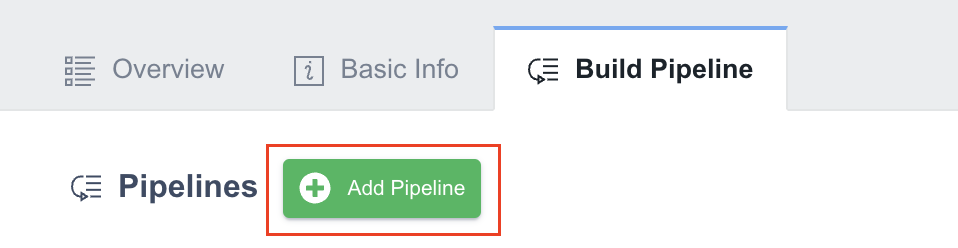
Build Pipelineタブに移動します。
-
Add Pipelineボタンをクリックします:
-
必要に応じて、さらにパイプラインを追加するためにこの手順を繰り返します。
-
すべての詳細を入力したら、Saveをクリックします。
デプロイメントグループを作成する
アプリケーションをターゲットクラスターで実行するには、デプロイメントグループが必要です。
- 左側メニューで、Deployment Groupsをクリックします:

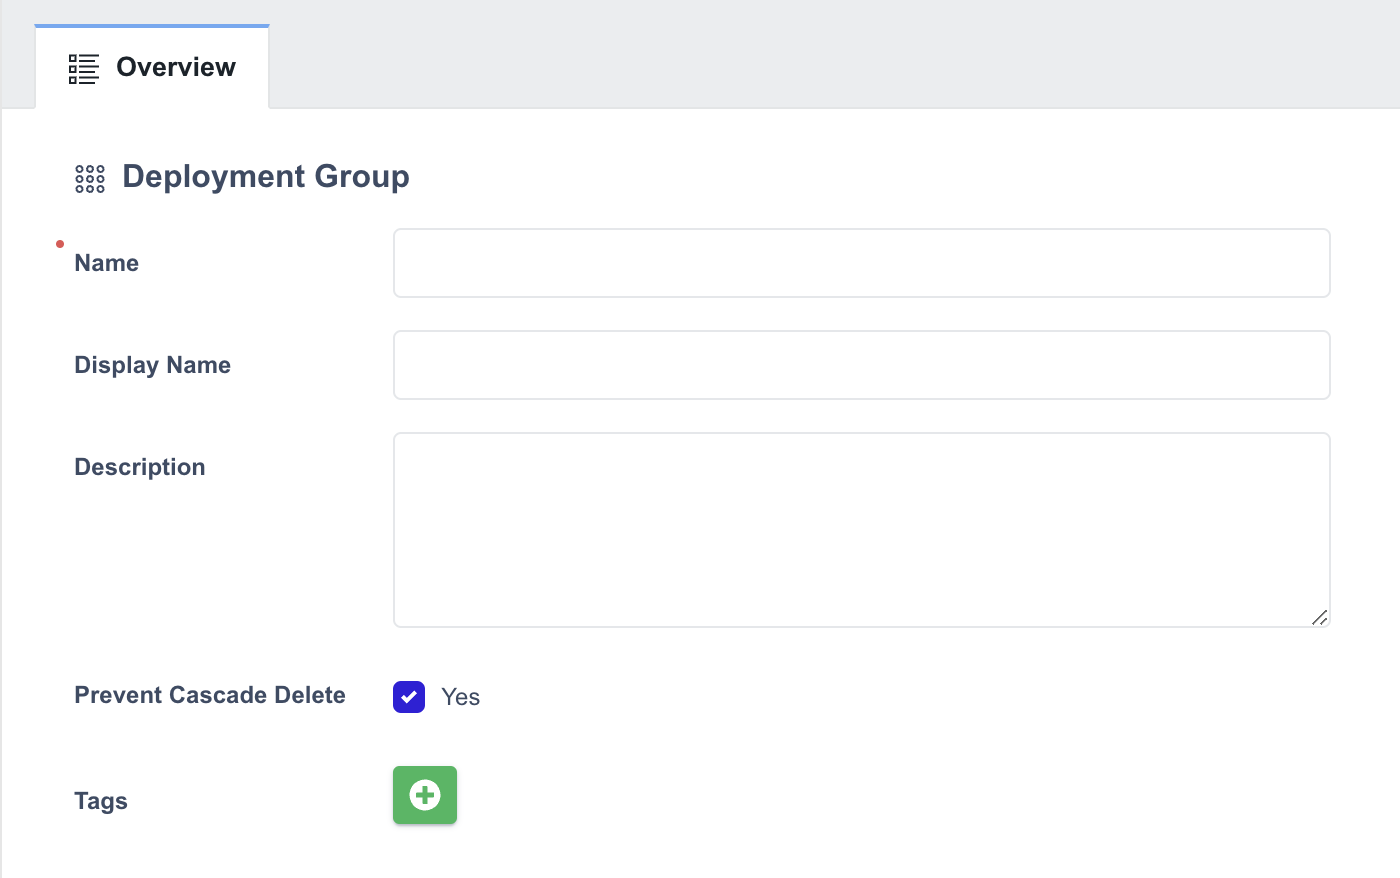
- Create Deployment Groupボタンをクリックします:

- デプロイメントグループの名前を入力します:
-
Prevent Cascade Deleteオプションを選択します:
- Enabled (Default): デプロイメントグループまたはクラスターが削除されると、リソースと名前空間は保持されます。
- Disabled: リソースと名前空間は、グループまたはクラスターと共に削除されます。
-
Namespaceを入力します:

名前空間は複数のデプロイメントグループで再利用できないため、重複する名前空間を作成することはできません。
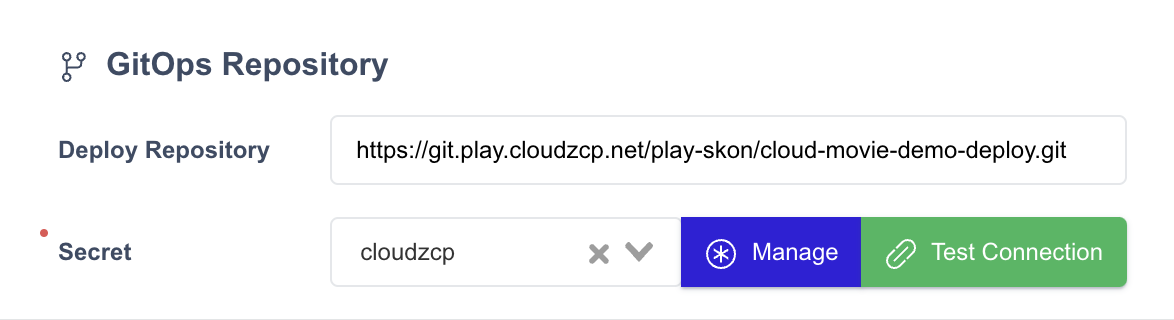
- GitOps Repositoryセクションで、デプロイメント関連のYAMLファイルが保存されるGitリポジトリURLを入力します:
- Saveをクリックします。
デプロイメントグループにクラスターを追加する
デプロイメントグループが作成されたら、クラスターを追加する必要があります。
-
Clustersタブに移動します。
-
Add Clusterボタンをクリックします:

- リストからクラスターを選択します(割り当てられたクラスターのみがリストに表示されます):
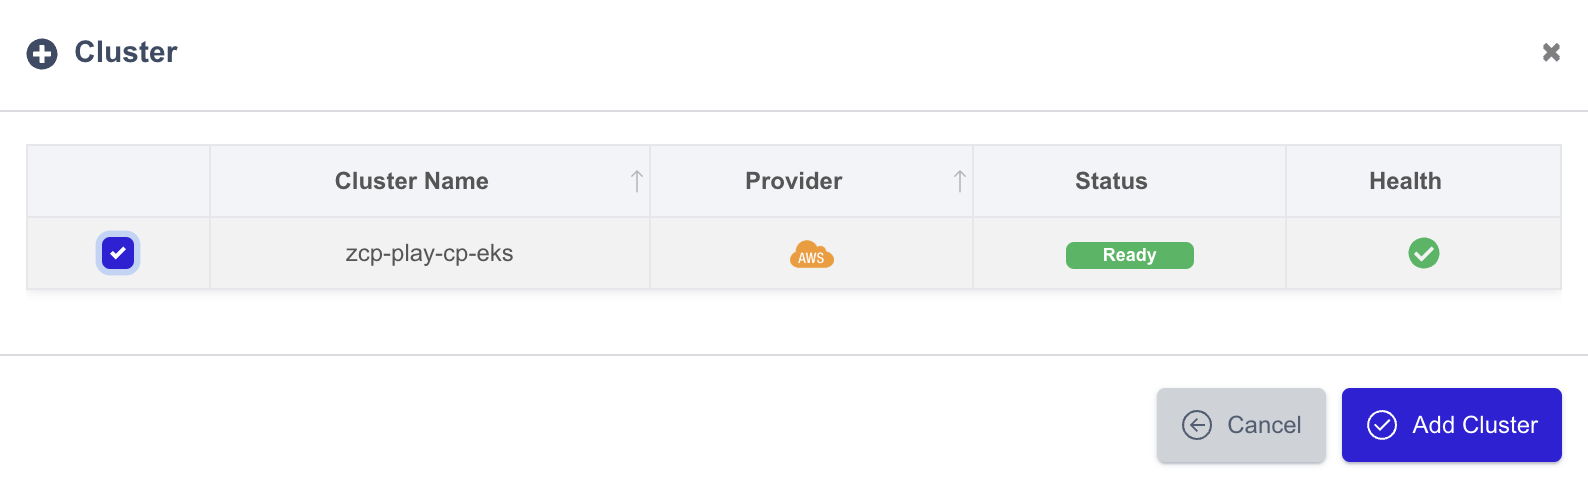
- Add Clusterをクリックして保存します。
選択したクラスターは、Clustersタブに表示されます:

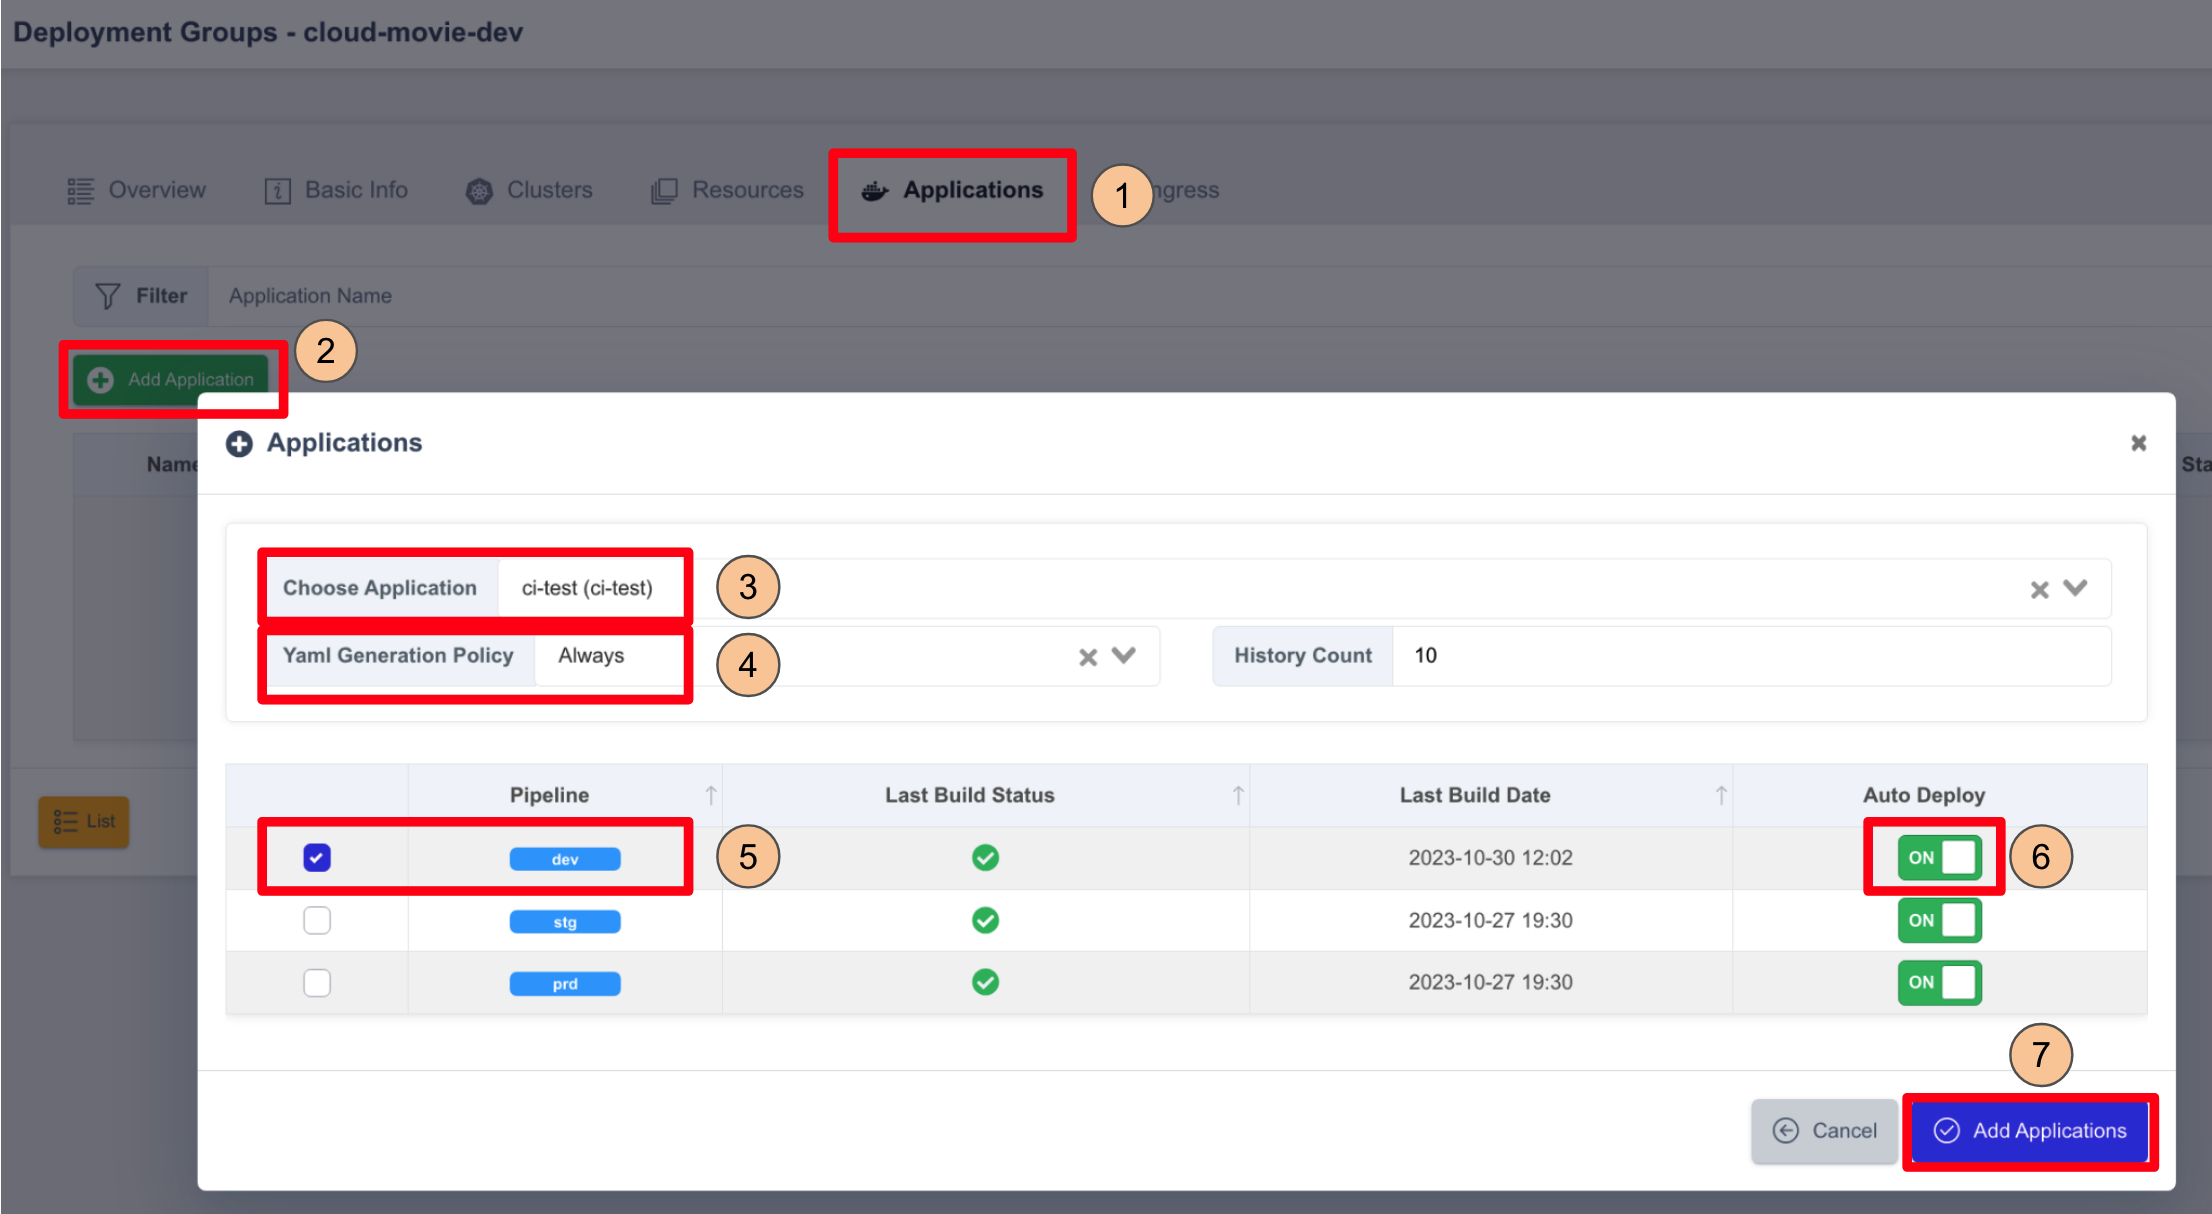
デプロイメントグループにアプリケーションを追加する
作成したアプリケーションをデプロイメントグループに追加します。
-
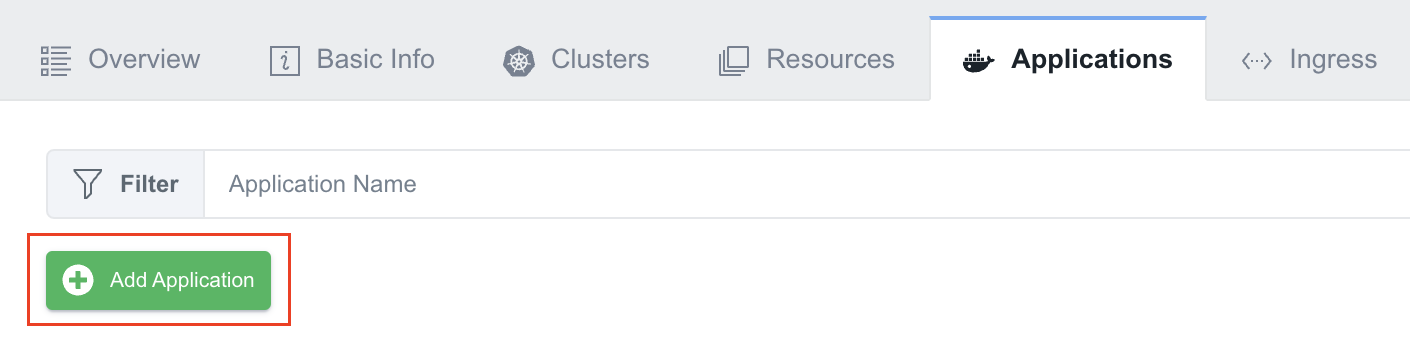
デプロイメントグループのApplicationsタブを開きます。
-
Add Applicationボタンをクリックします:
-
追加するアプリケーションを選択します。
-
YAML Generation Policyを選択します:
- Always: 変更はGitOpsリポジトリと同期されます。
- Image Only: 変更は同期されません(最初のデプロイメントのみが保存されます)。
-
デプロイするパイプラインを選択します:
-
Auto DeployをONにします。
-
Add Applicationsをクリックして設定を保存します。
アプリケーションは、アプリケーションリストに表示されます。
デプロイメント仕様を構成する
-
Actions列の構成アイコンをクリックします。
-
構成の詳細を入力し、Saveをクリックします。
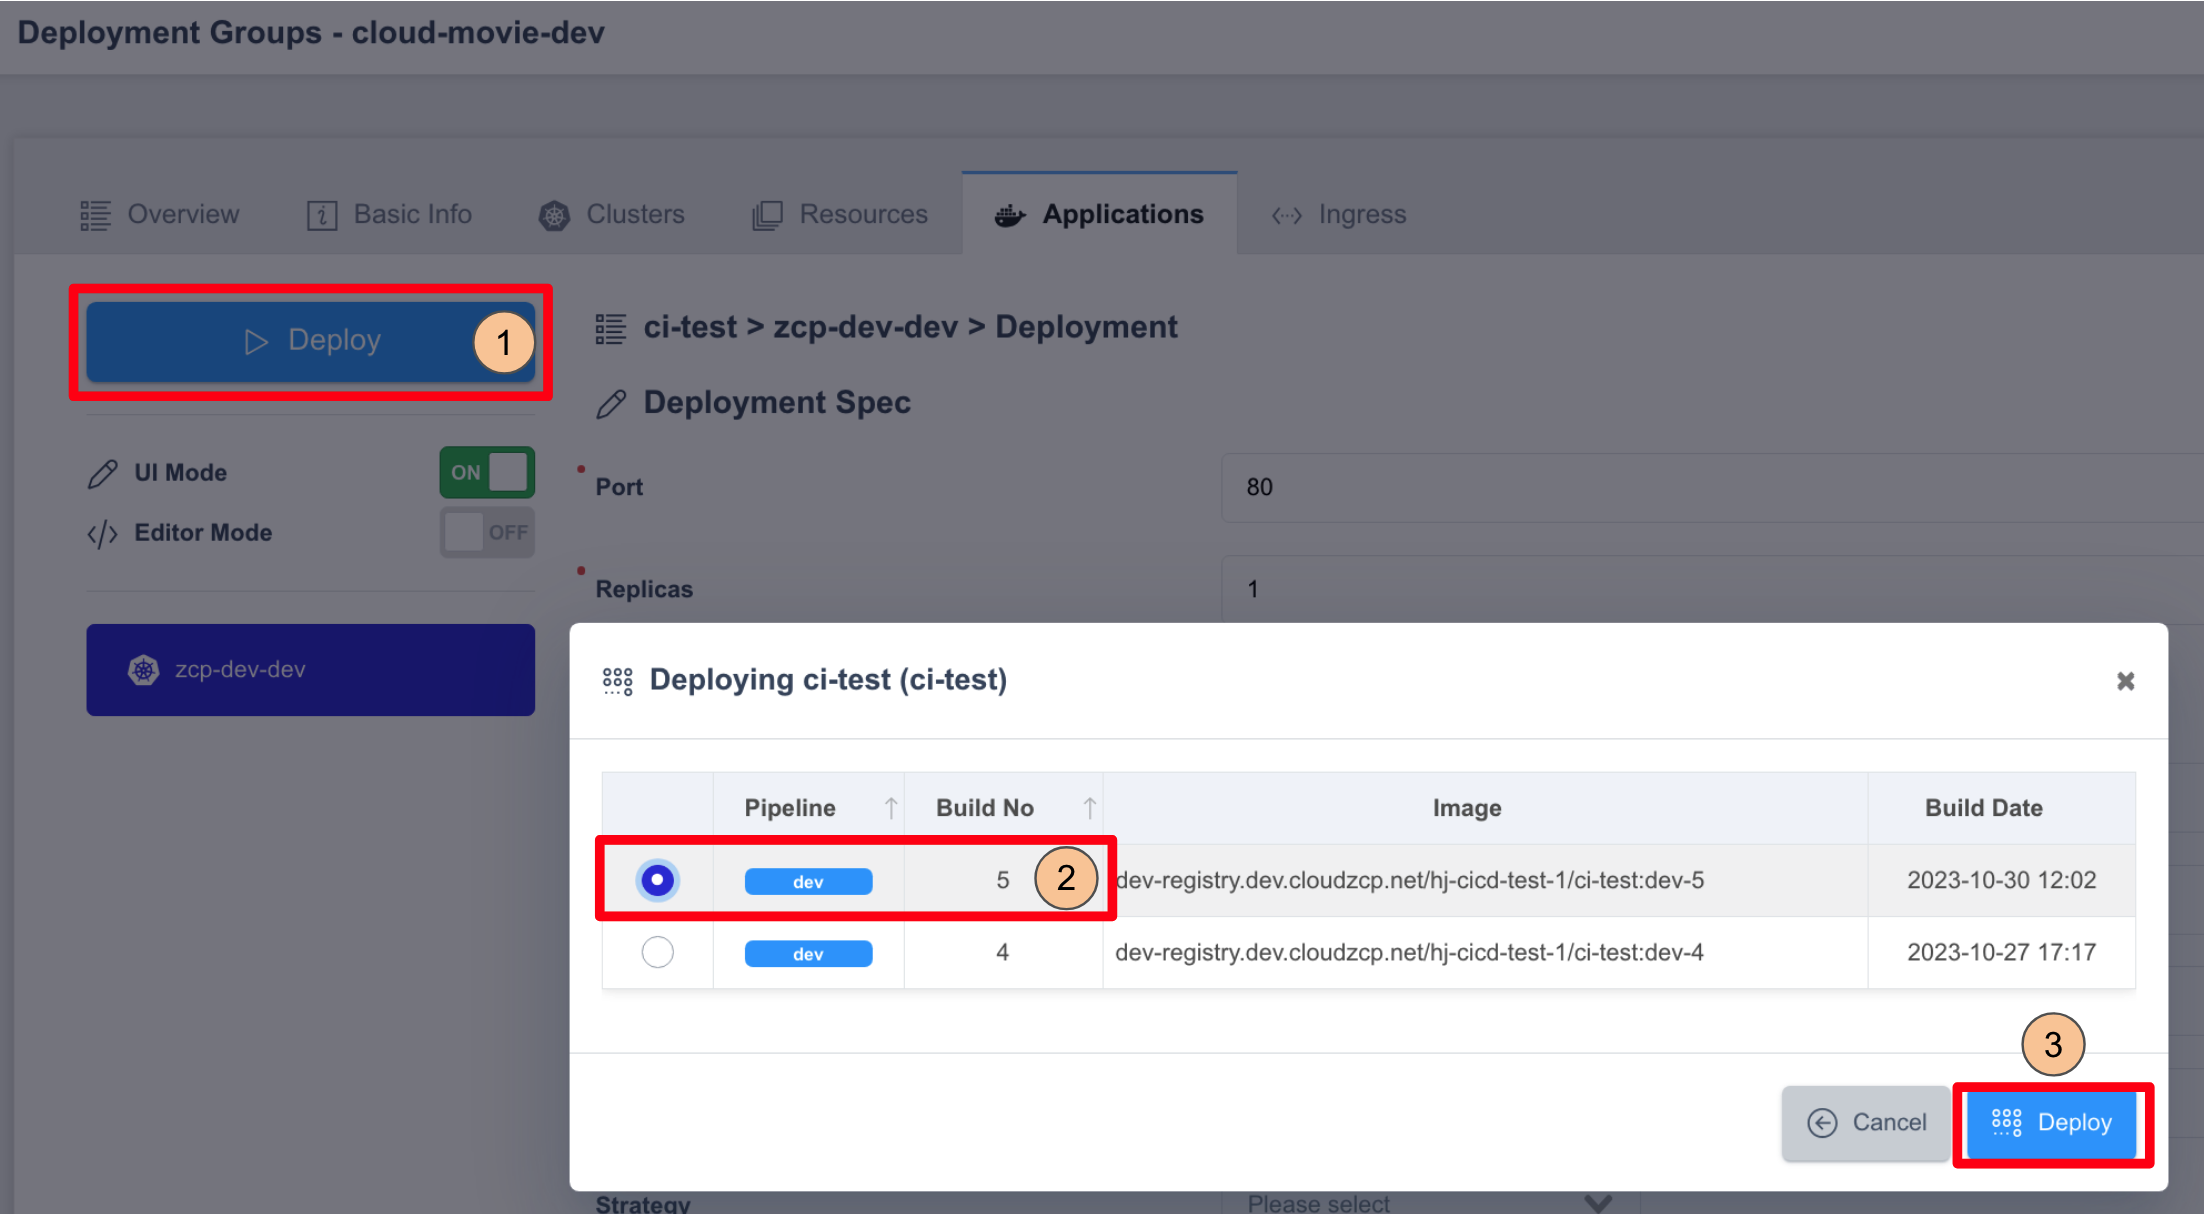
アプリケーションをデプロイする
-
Applicationsタブで、Deployをクリックします。
-
履歴からBuild Numberを選択します。
-
Deployをクリックします。
-
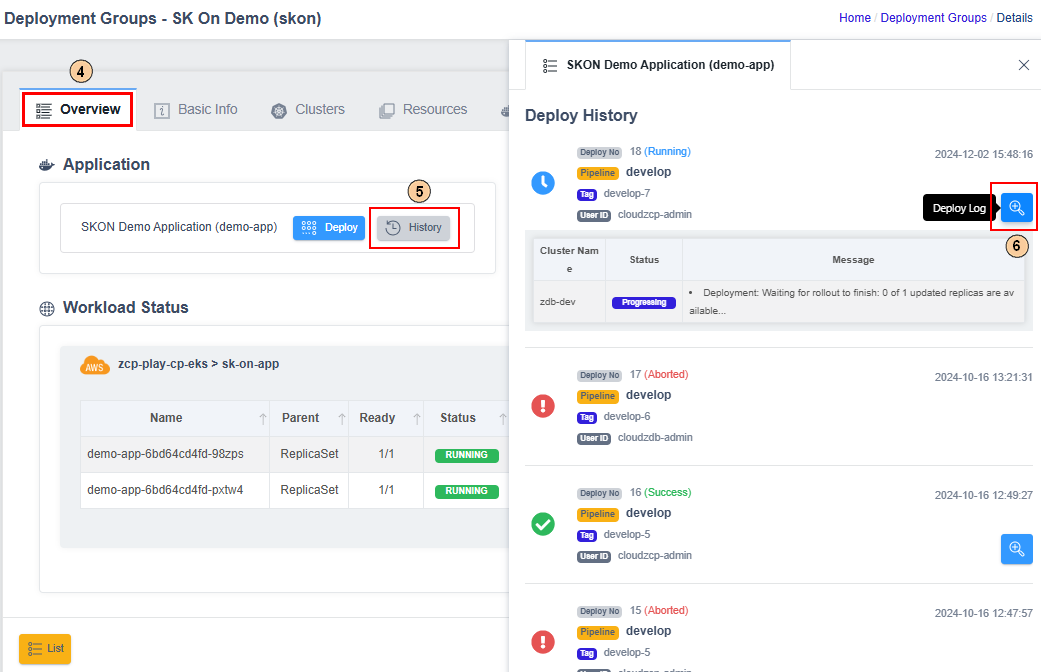
Overviewsタブに移動します。
-
Historyをクリックして過去のデプロイメントを表示します。
-
拡大鏡アイコンをクリックしてログを表示します。Runningステータスは、デプロイメントが成功したことを示します。