Setup a Project
Để tạo và quản lý các dự án, bạn phải là Quản trị viên Hệ thống (với vai trò global-administrator) hoặc có vai trò với quyền xem trong Menu Hệ thống, Menu Dự án và quyền quản trị cho Dự án.
Tạo Dự Án Mới
Để tạo một dự án mới, vui lòng chuyển sang bảng điều khiển Quản trị viên Hệ thống:
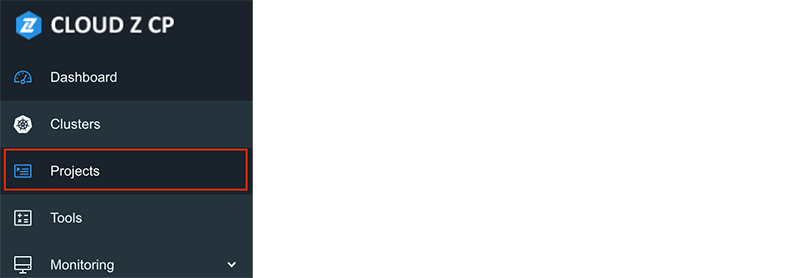
- Trên bảng điều hướng bên trái, chọn Project để mở trang danh sách dự án:
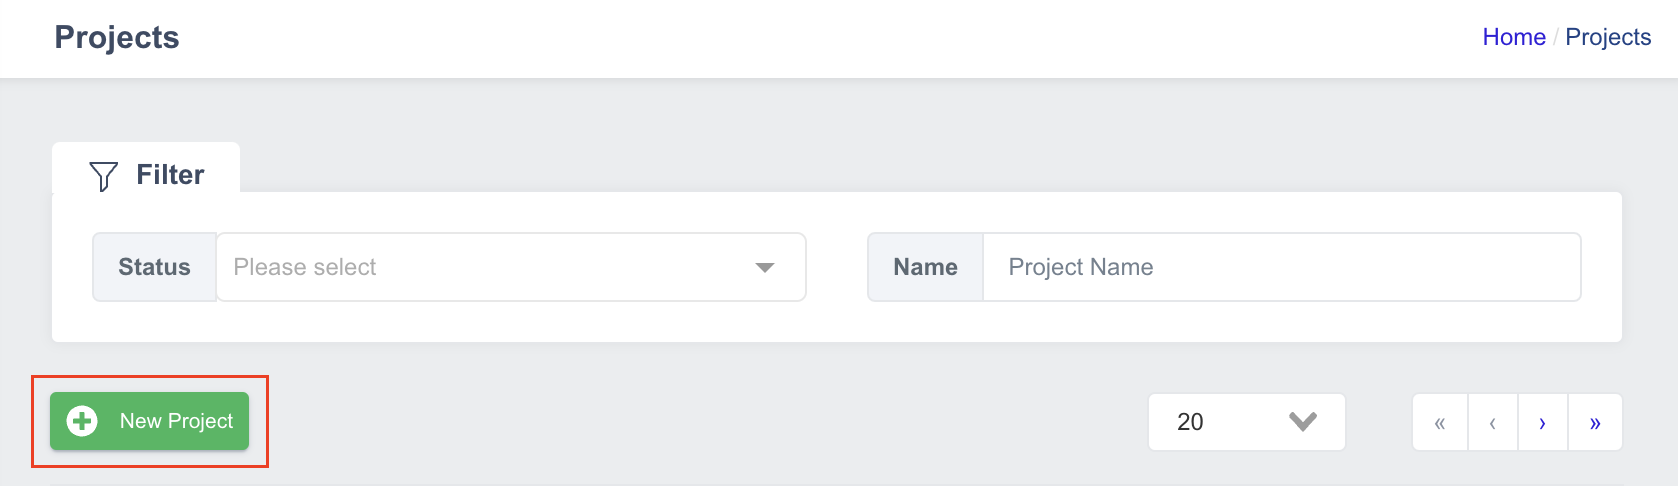
- Nhấp vào nút New Project:
- Điền vào các chi tiết dự án cần thiết:
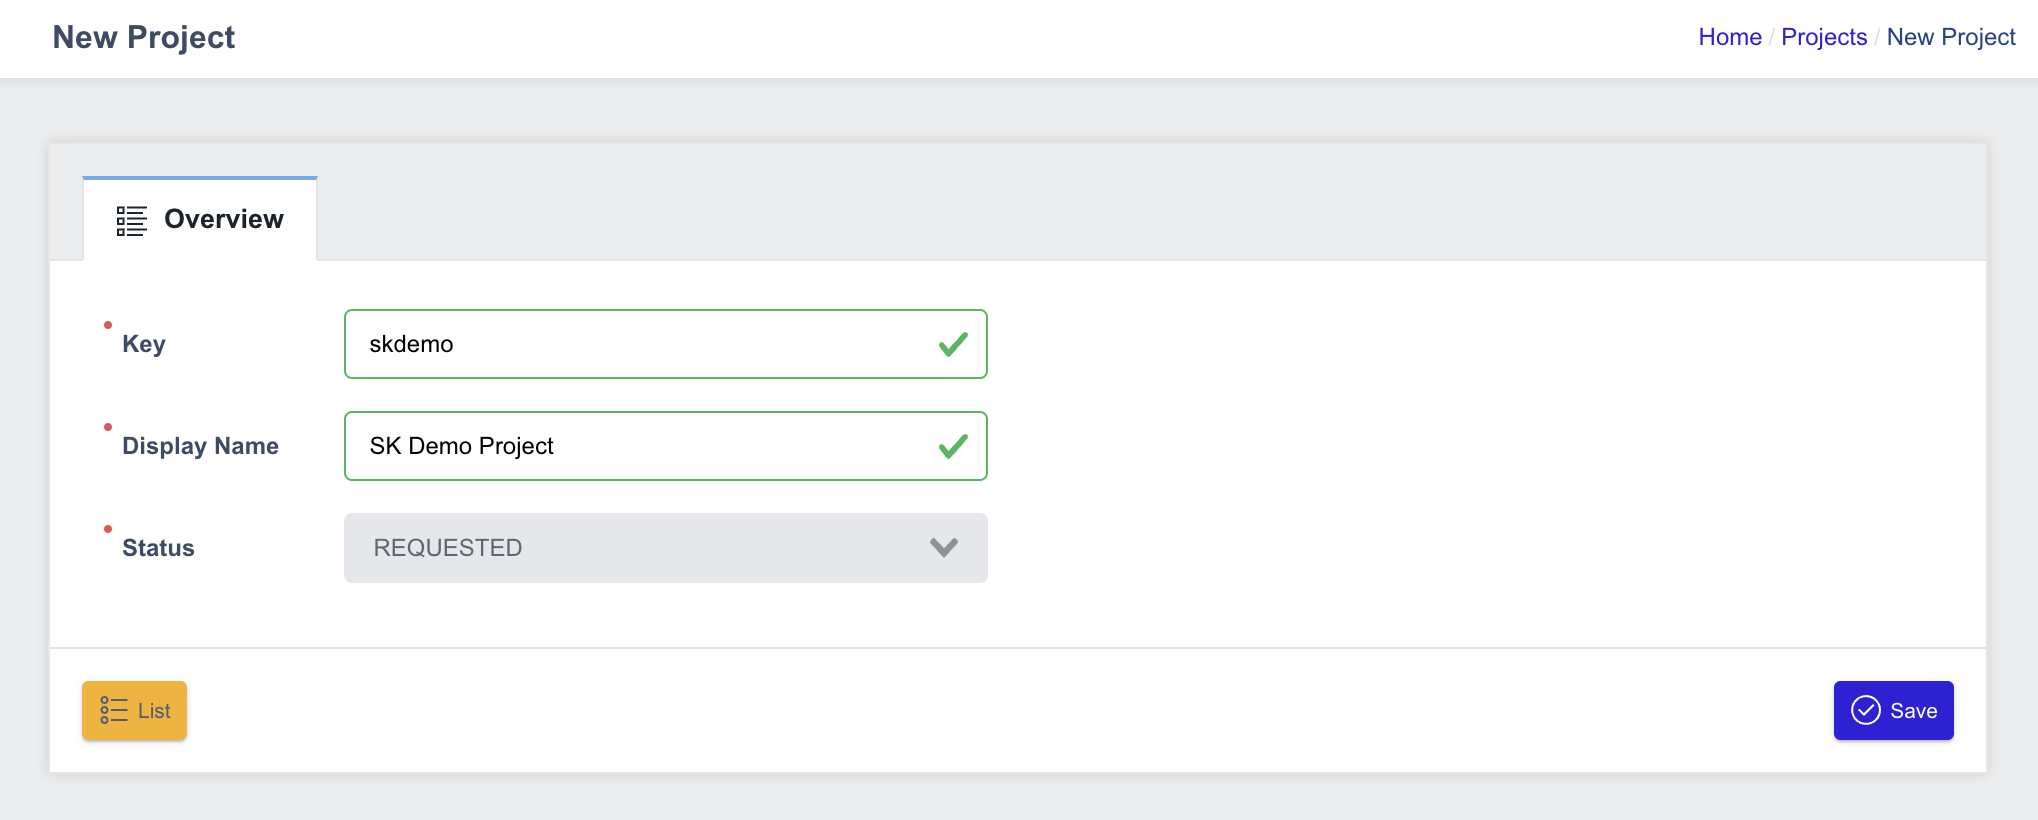
- Key: Chuỗi duy nhất để xác định dự án.
- Display Name: Tên dự án duy nhất hiển thị trong giao diện người dùng.
- Nhấp vào Save.
Sau khi dự án được tạo, nó sẽ ở trạng thái REQUESTED. Bạn phải gán ít nhất một cụm cho dự án để chuyển sang trạng thái RUNNING.
Gán Cụm cho Dự Án
Các cụm phải được gán trước khi một dự án có thể trở thành hoạt động.
Để gán một hoặc nhiều cụm:
-
Trên trang Dự án, nhấp vào tên của dự án mà bạn muốn quản lý.
-
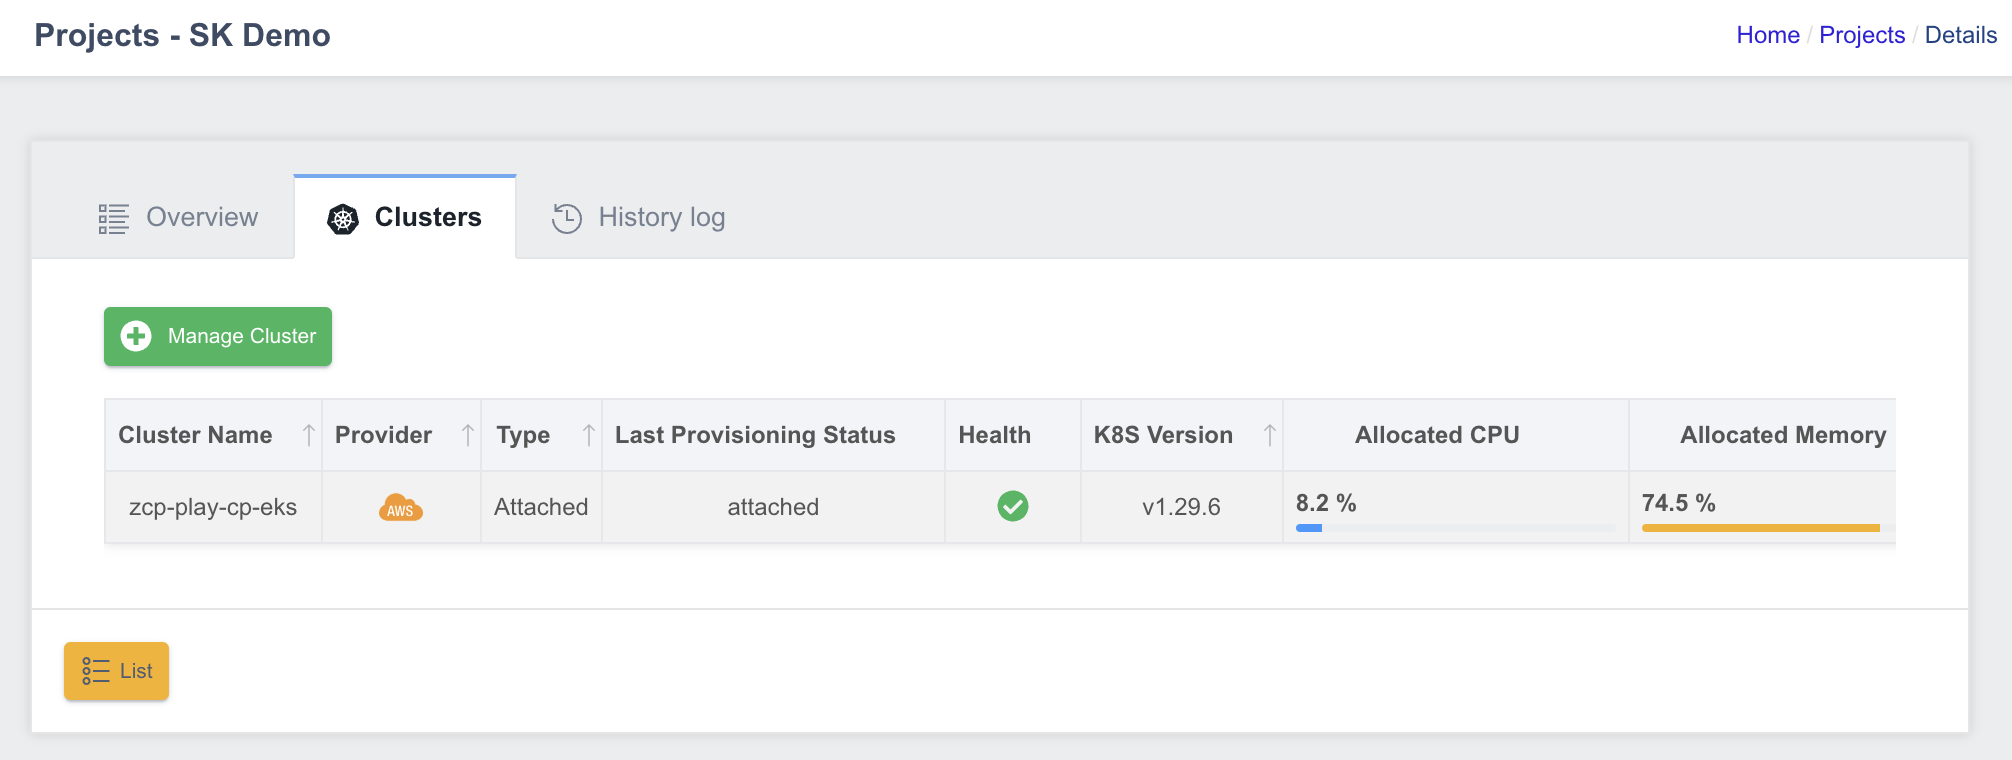
Đi đến tab Clusters.
-
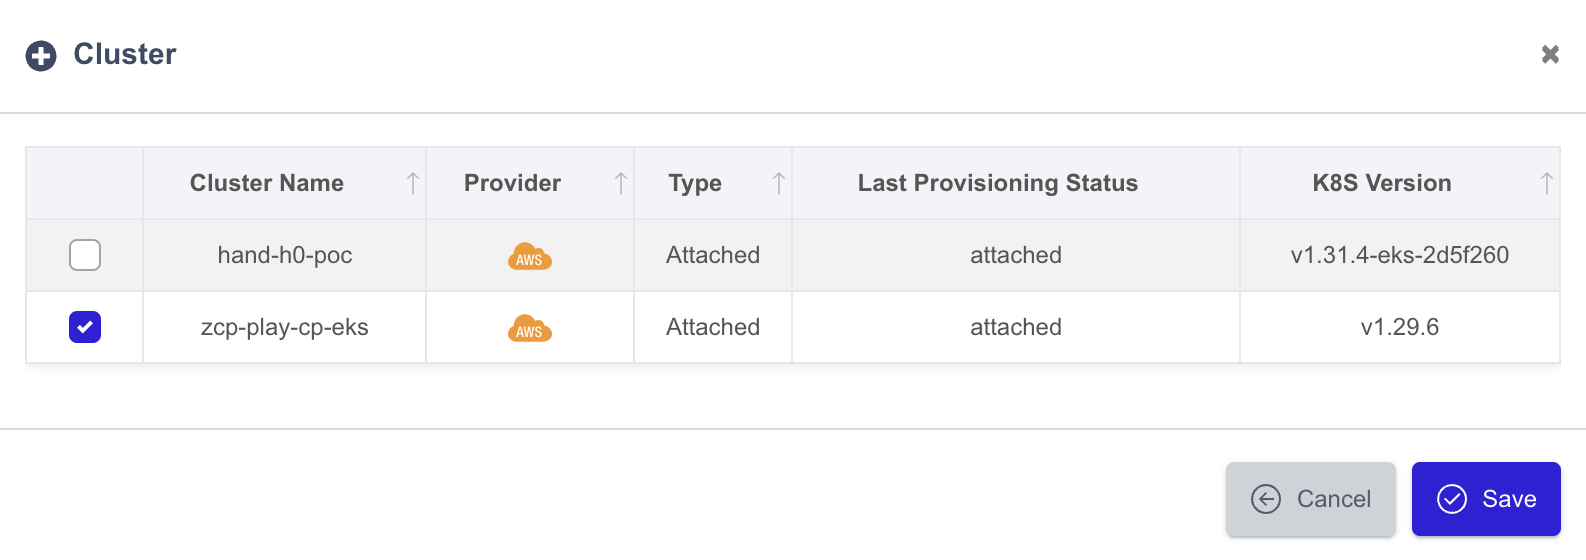
Nhấp vào nút Manage Cluster:

-
Trong cửa sổ pop-up, chọn ô kiểm của cụm mà bạn muốn gán cho dự án. Bạn có thể chọn một hoặc nhiều cụm:
-
Nhấp vào Save.
Các cụm đã gán sẽ xuất hiện trong danh sách Cụm:
Để hủy gán một cụm, bỏ chọn ô kiểm của nó trong cùng một cửa sổ (Bước 3).
Tuy nhiên, hãy cẩn thận khi loại bỏ các cụm khỏi một dự án đang hoạt động (RUNNING).
Thay Đổi Trạng Thái Dự Án thành RUNNING
Sau khi gán các cụm, bạn có thể cập nhật trạng thái dự án thành RUNNING:
-
Trên trang Dự án, chọn dự án mục tiêu.
-
Trên tab Overview, tìm trường Trạng thái và chọn
RUNNING.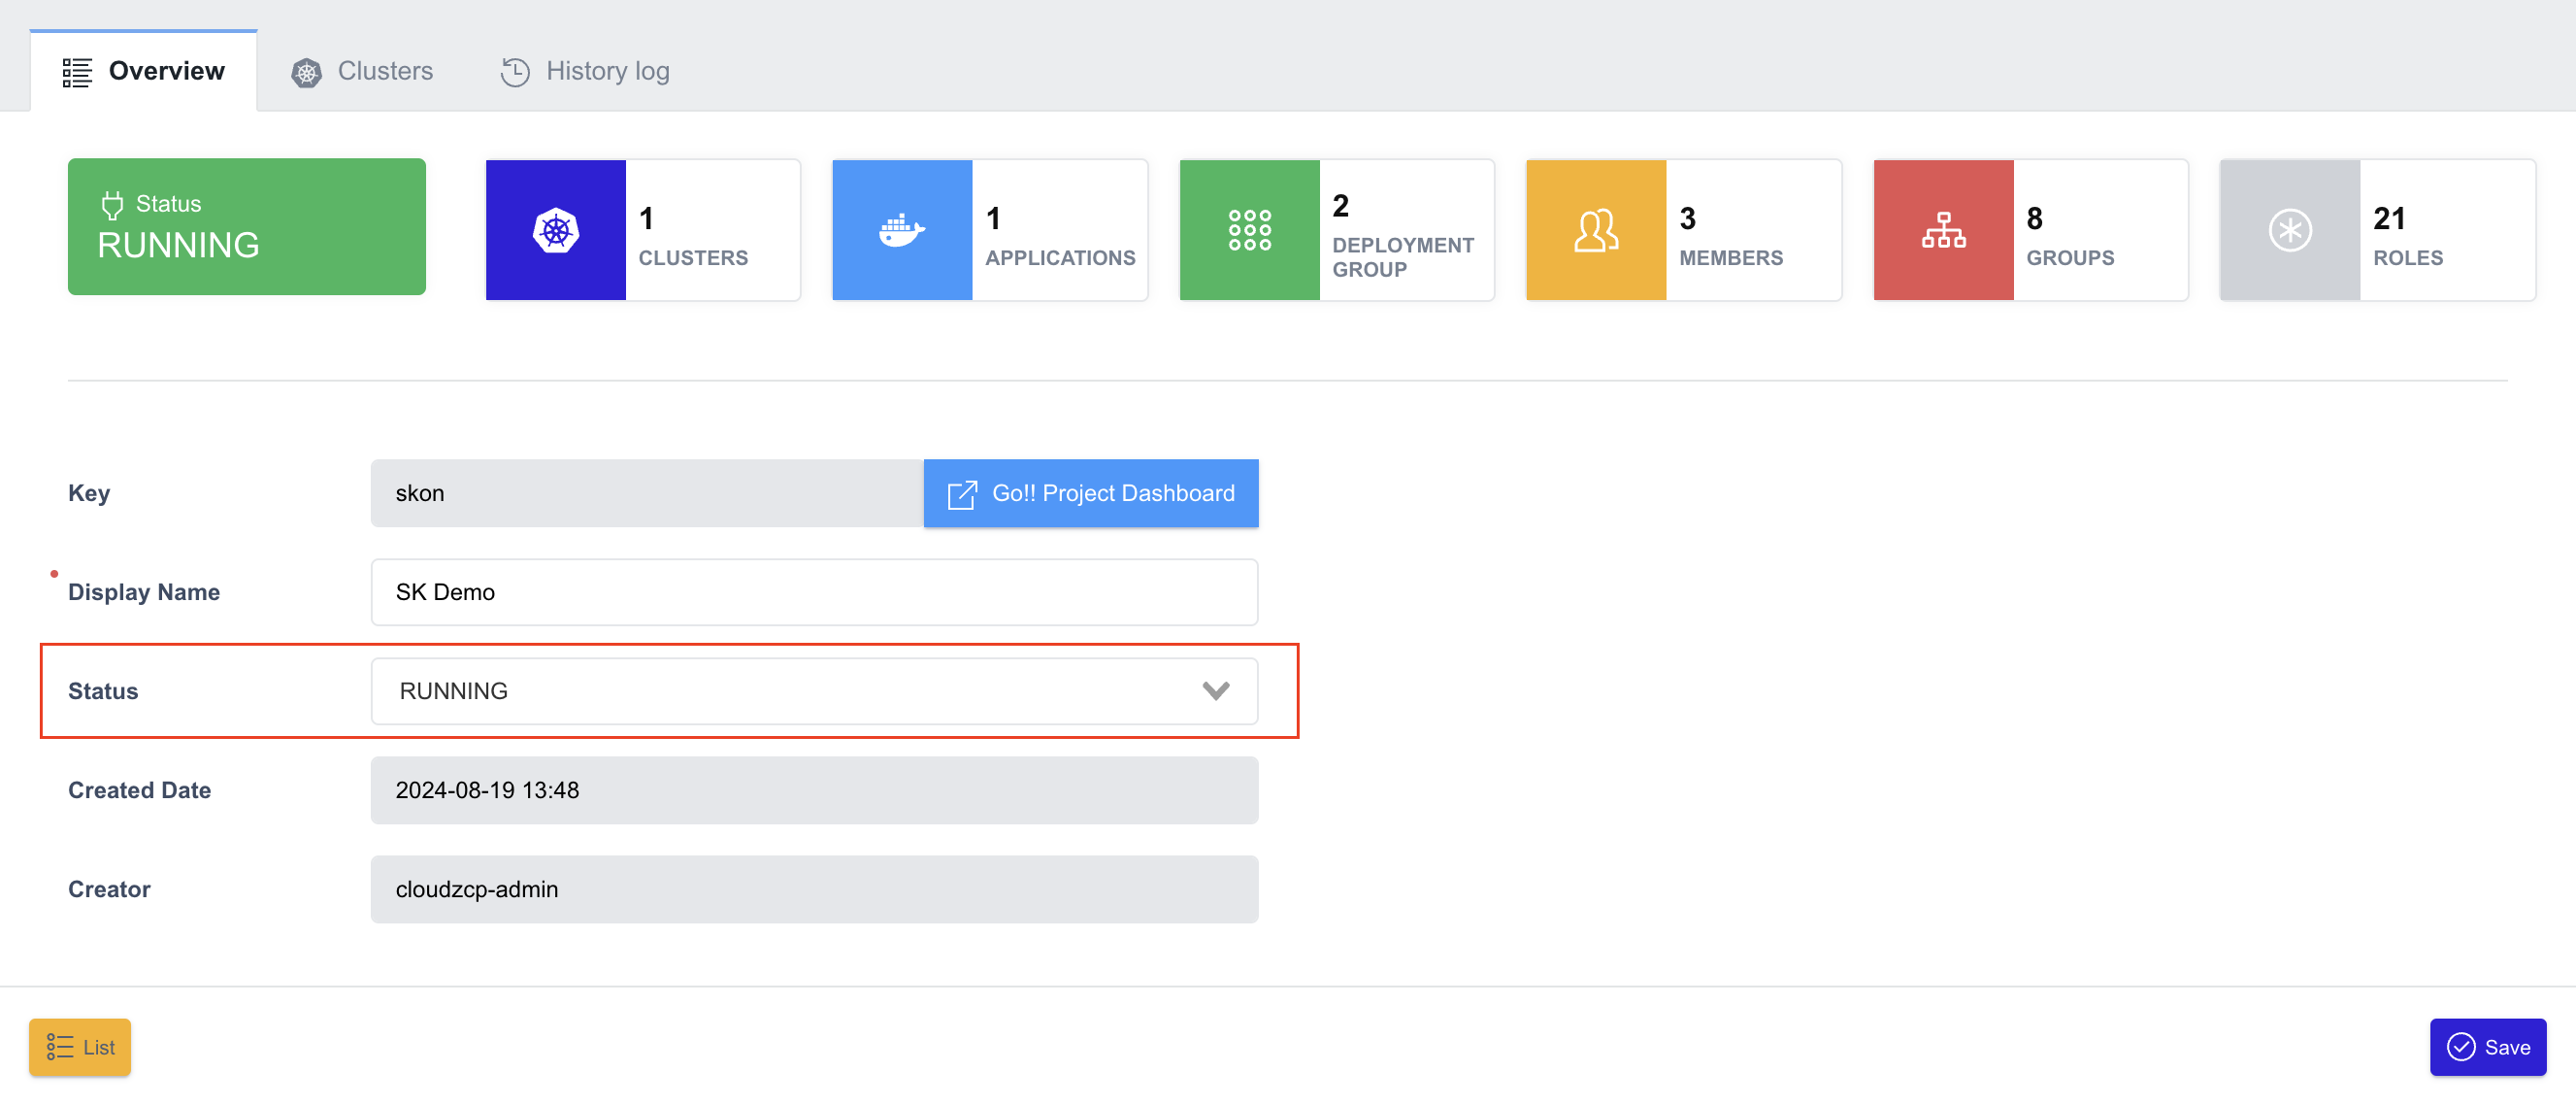
-
Nhấp vào Save.
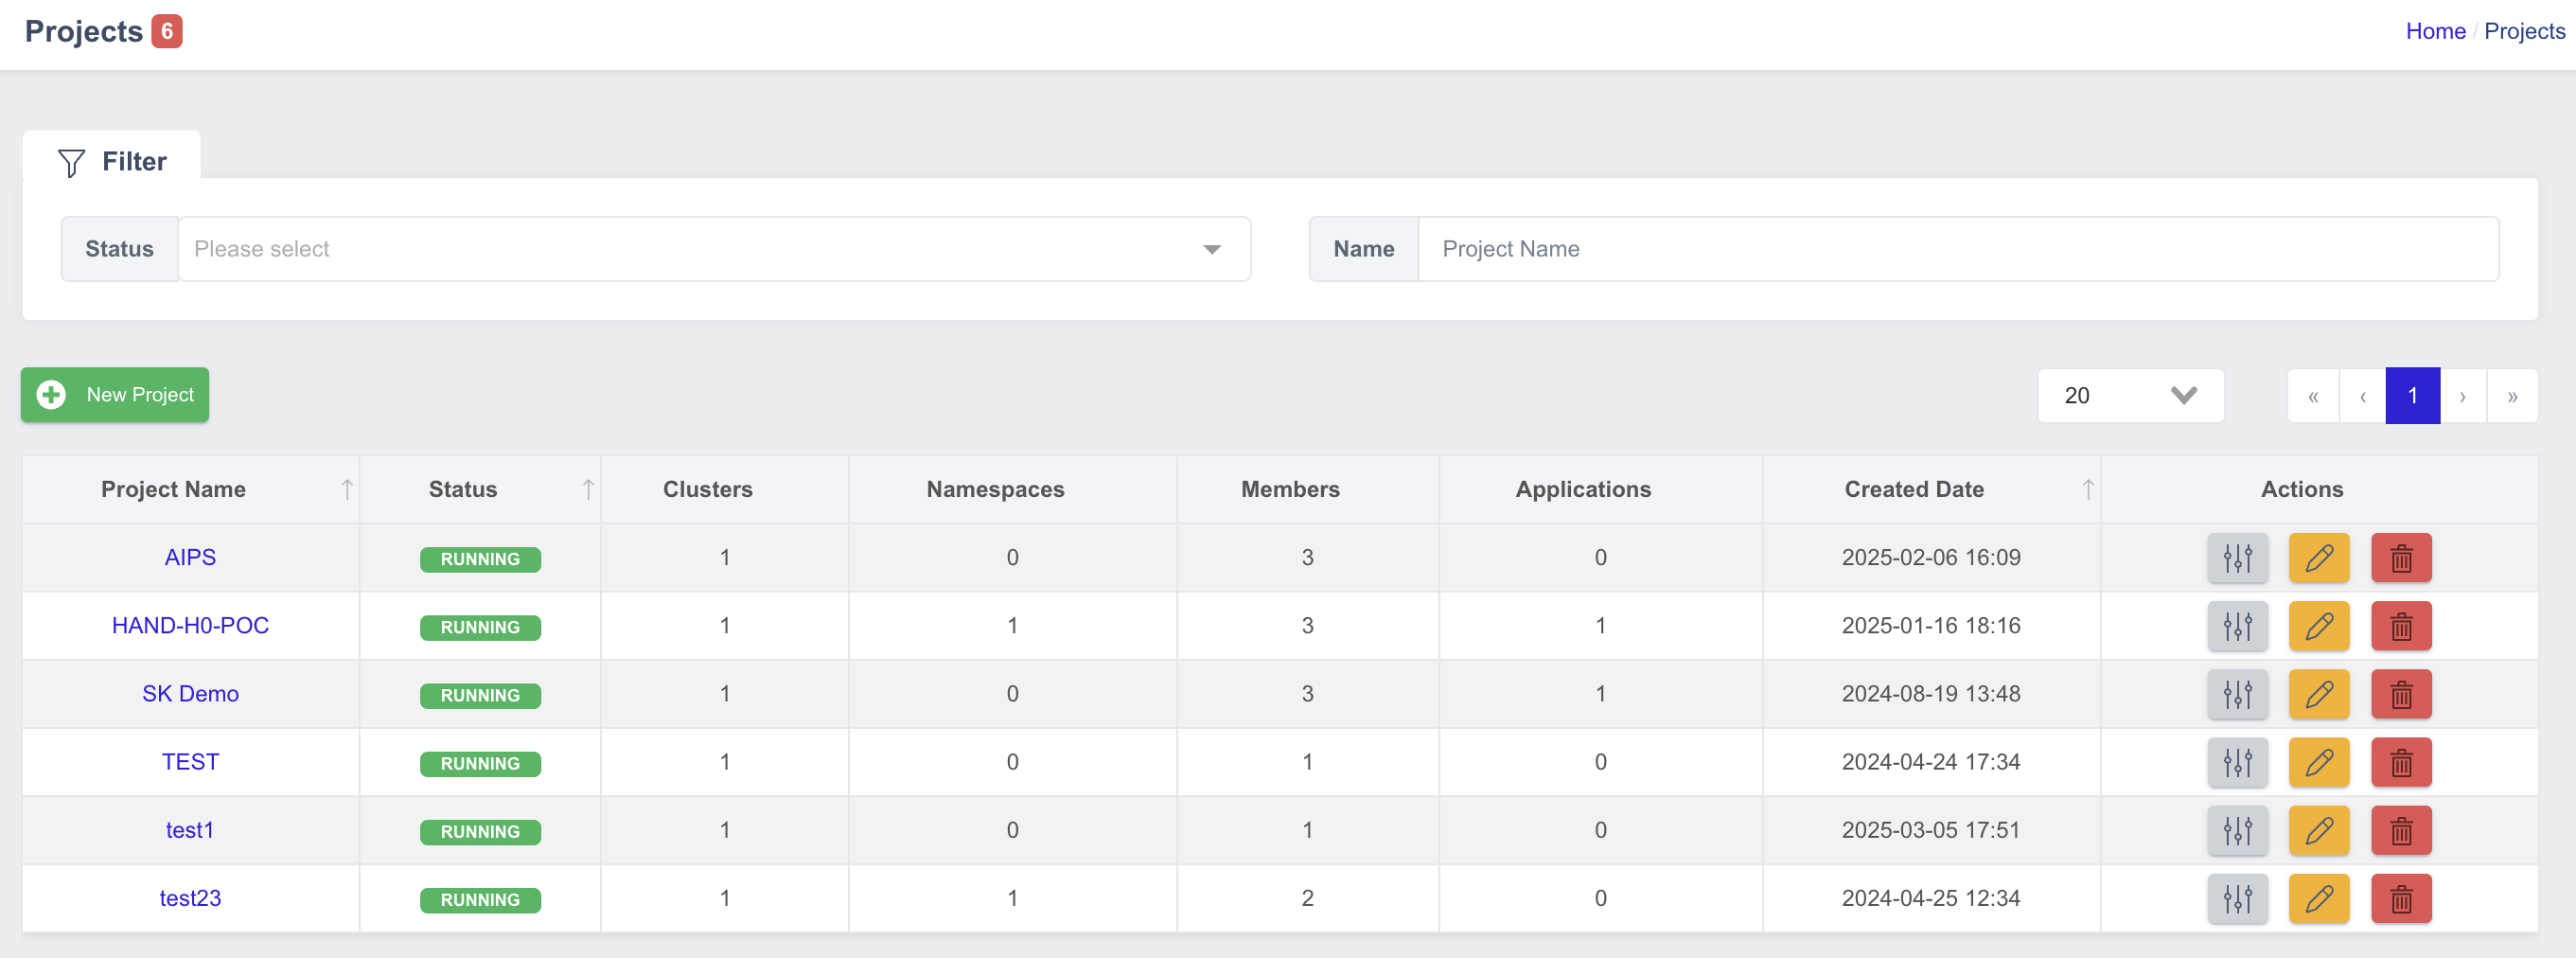
Dự án sẽ được đánh dấu là RUNNING trên trang Dự án:
Cấu Hình Dự Án
Truy Cập Bảng Điều Khiển Quản Lý Dự Án
Trước khi thiết lập một dự án, bạn cần chuyển từ bảng điều khiển Quản trị Hệ thống sang bảng điều khiển Quản lý Dự án.
Nếu bạn đang ở trên bảng điều khiển Quản trị viên Hệ thống, hãy tìm đến cuối thanh bên và nhấp vào Project Management để chuyển sang bảng điều khiển Quản lý Dự án, sau đó Bảng điều khiển Dự án của dự án mặc định của bạn sẽ xuất hiện:
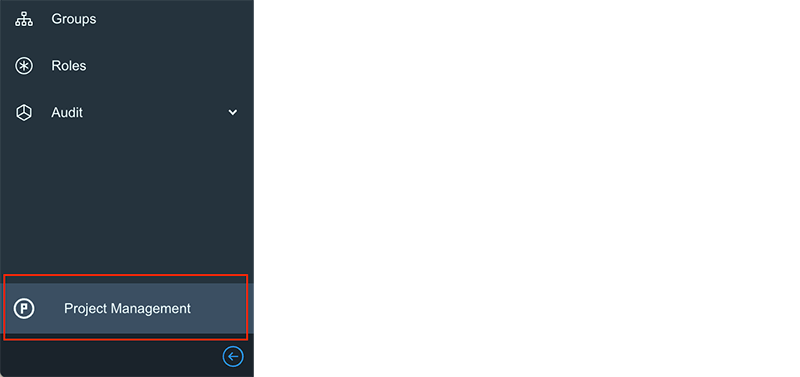
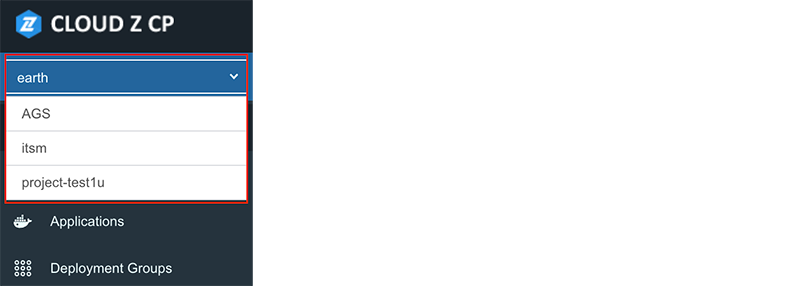
Nếu bạn được gán cho nhiều dự án, bạn sẽ được điều hướng đến dự án mặc định mỗi khi bạn đăng nhập vào Bảng điều khiển ZCP. Để quản lý dự án khác, bạn có thể chọn dự án bạn muốn ở đầu thanh bên.
Thêm Thành Viên Dự Án
Thực hiện theo các bước dưới đây để bắt đầu gán thành viên cho một dự án:
- Dưới menu Administrator trên thanh bên, chọn Members:

- Bạn có thể tìm kiếm một thành viên bằng ID (tên người dùng) và nhấp vào nút Invite để thêm một thành viên vào dự án. Theo mặc định, trạng thái
ApprovedlàONkhi mời một người dùng theo cách này.

Lặp lại bước (2) để thêm nhiều thành viên như bạn cần vào dự án.
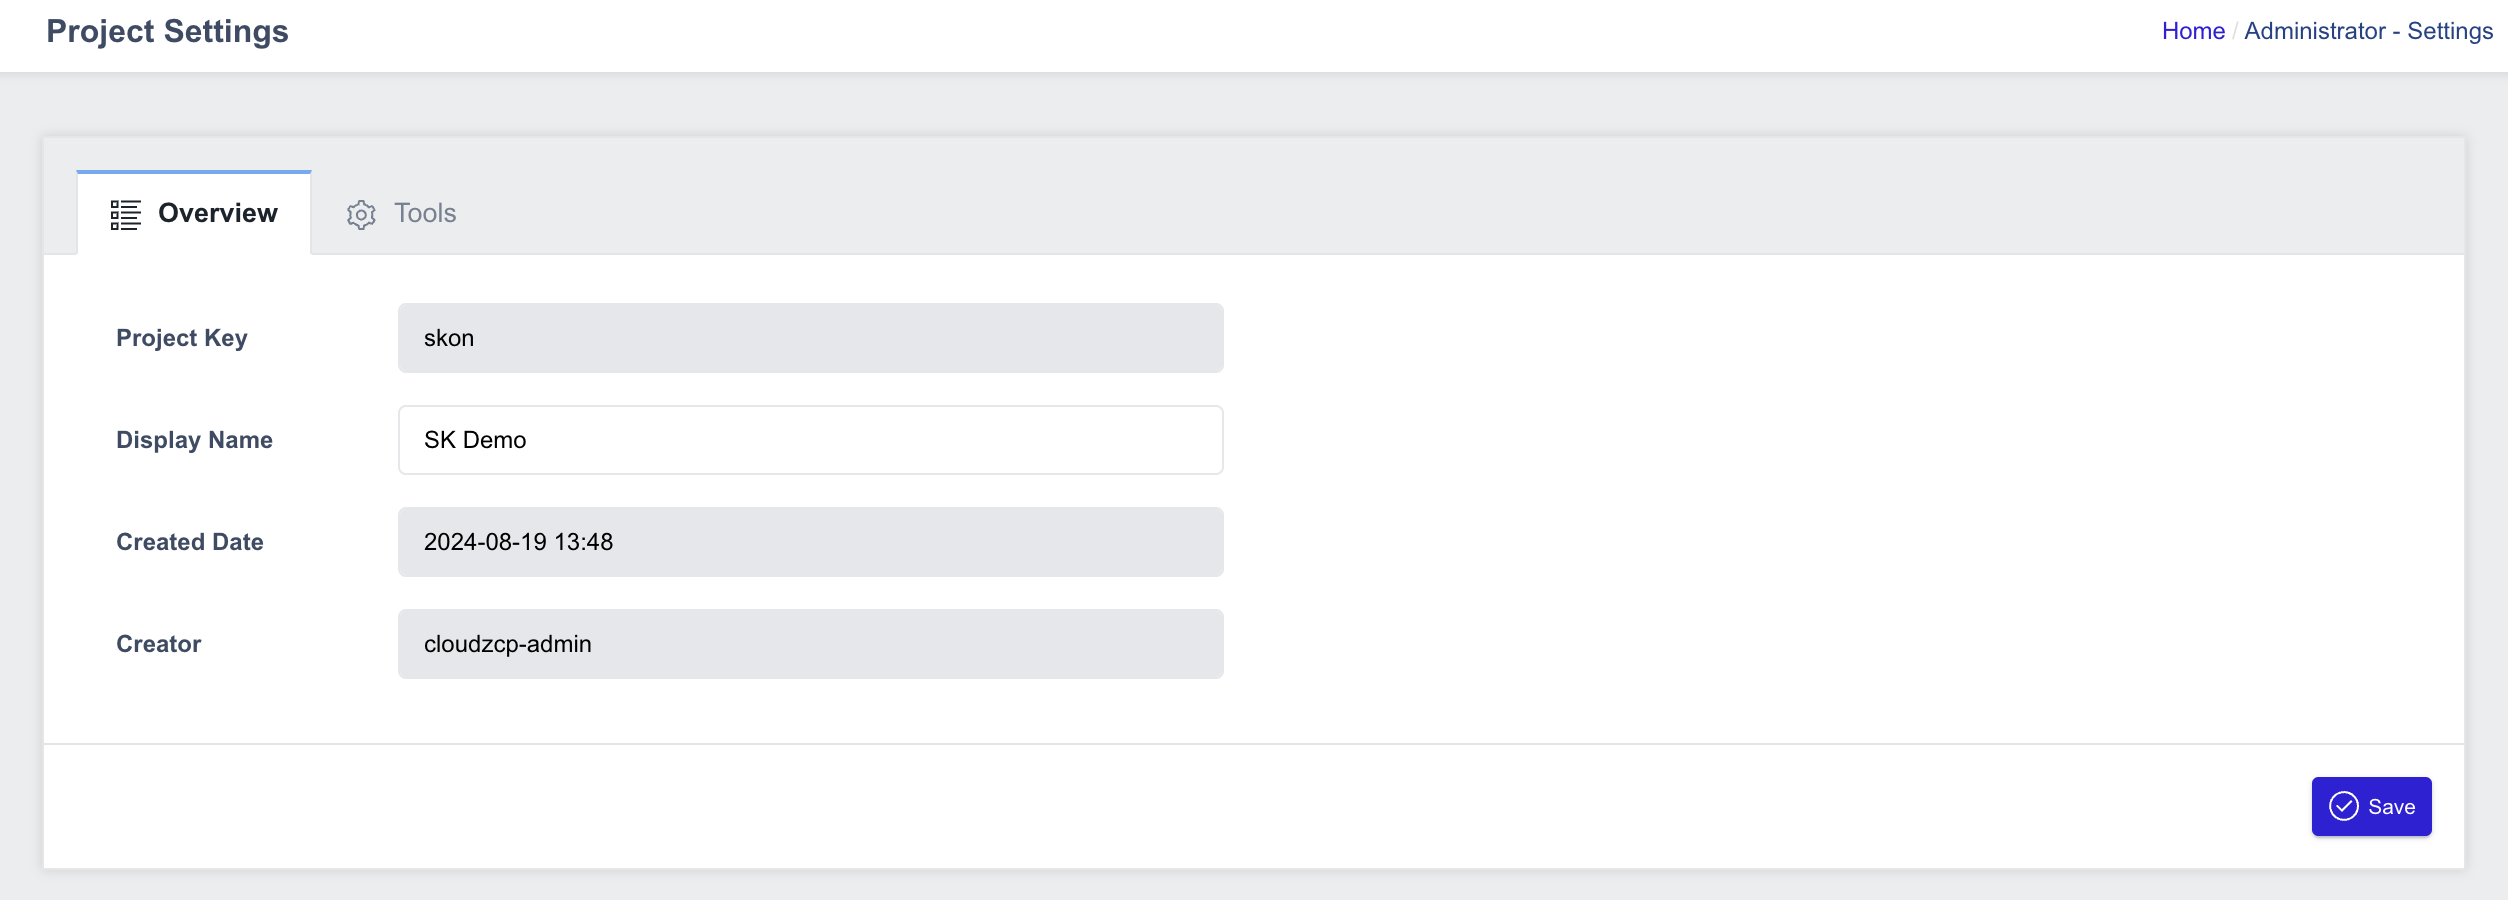
Thay Đổi Cài Đặt Dự Án
Khi các thành viên dự án đã được cấu hình, hãy điều hướng đến Cài đặt Dự án dưới menu Quản trị viên để cấu hình các công cụ cần thiết.
Bạn có thể thay đổi tên hiển thị của dự án trong tab Overview:
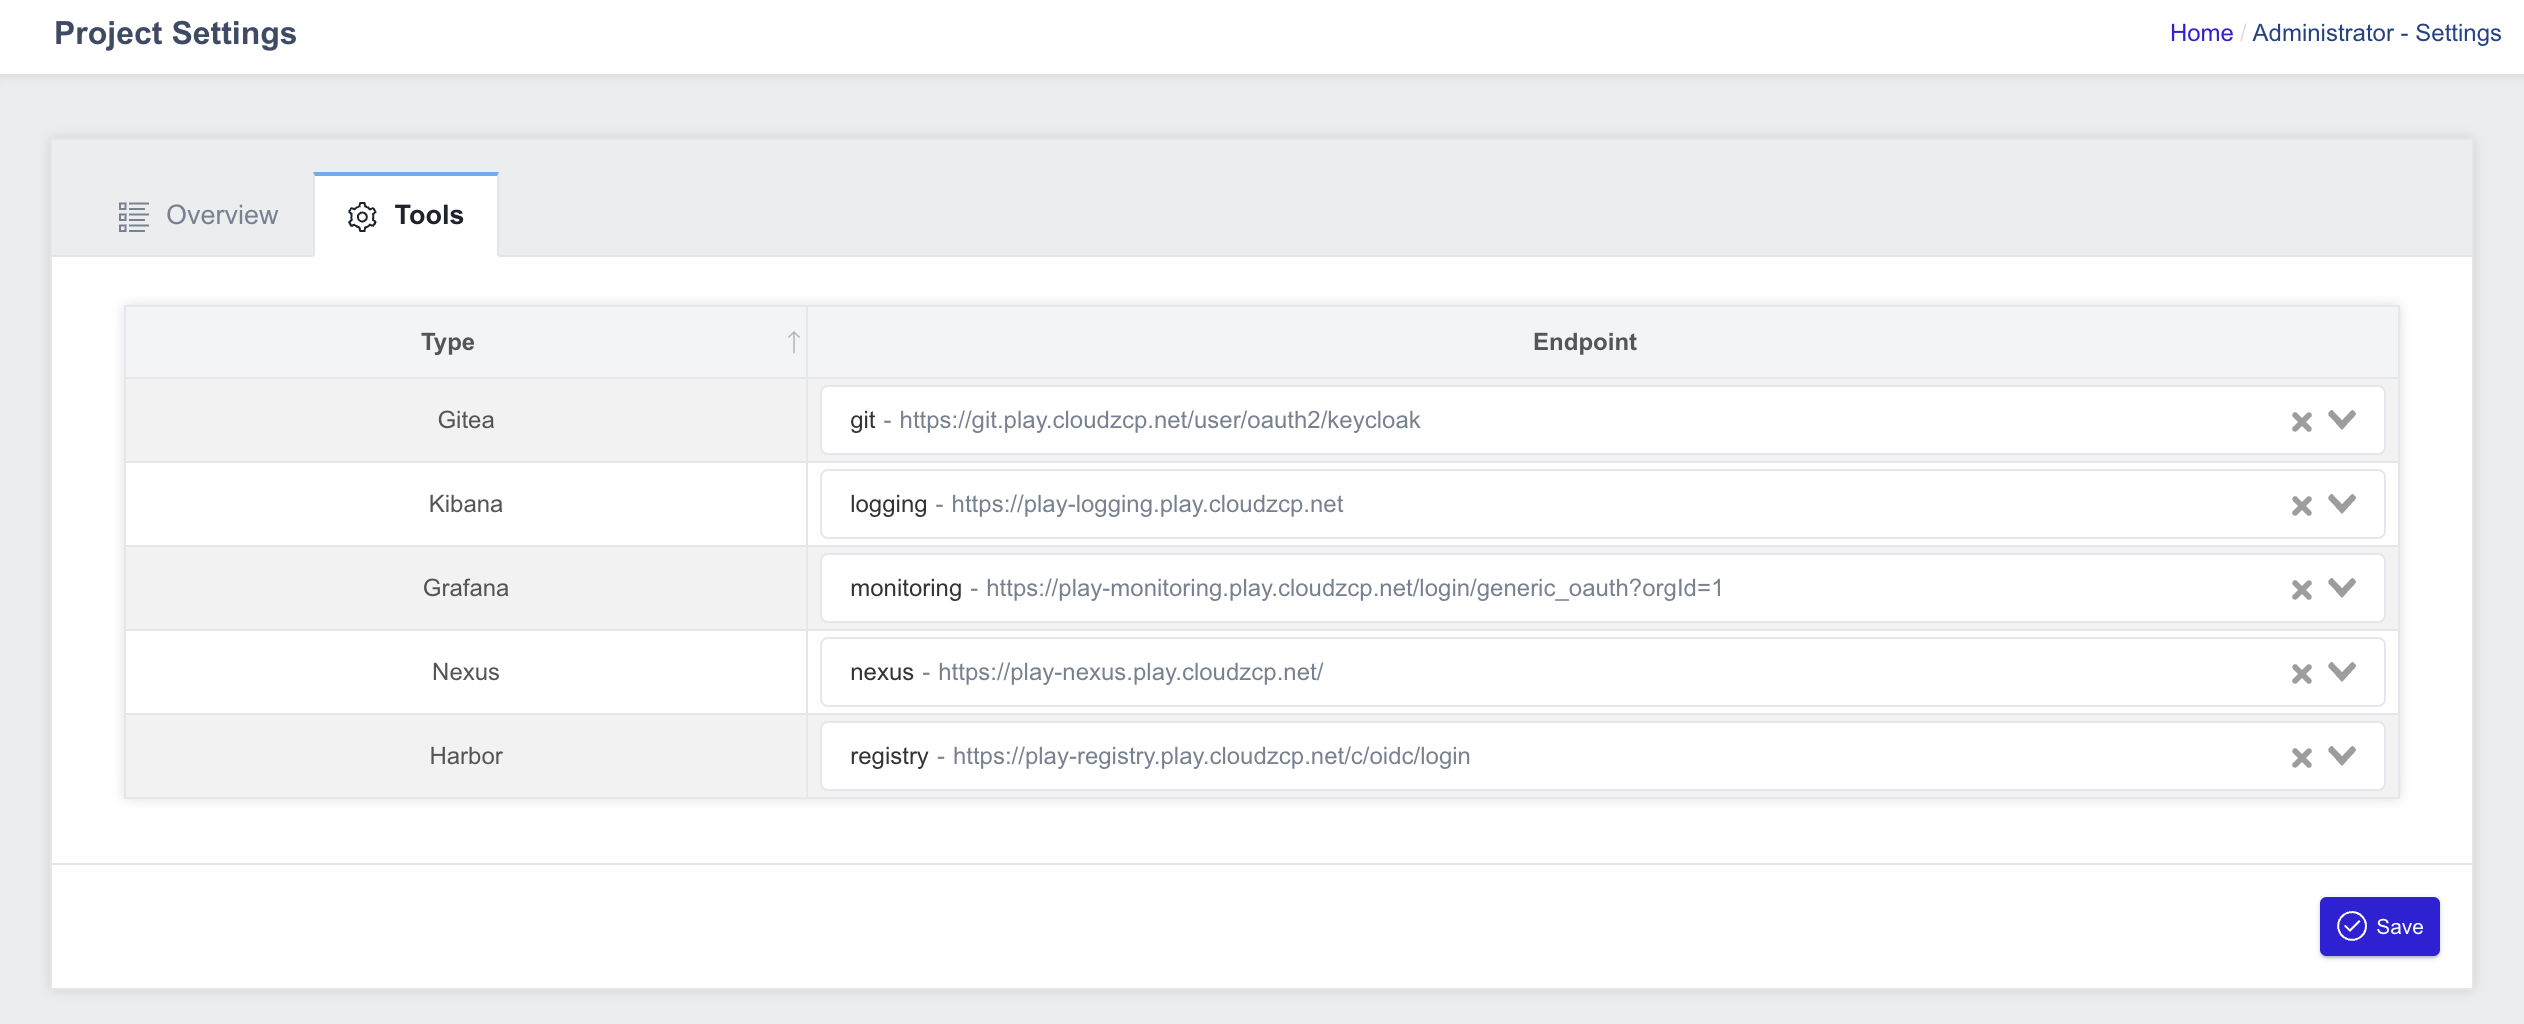
Bạn có thể chọn tab Tools để cấu hình các điểm cuối của các công cụ được sử dụng trong dự án: